• Hi Guest!
    You can help ensure that British Car Forum (BCF) continues to provide a great place to engage in the British car hobby! If you find BCF a beneficial community, please consider supporting our efforts with a subscription.

    There are some perks with a member upgrade!
    **Upgrade Now**
    (PS: Subscribers don't see this gawd-aweful banner
Tips
Tips

TR2/3/3A TR3A Wiper Motor Rebuild

SteveBones

Jedi Trainee
Country flag
Offline
I am in the process of rebuilding my wiper motor. I wanted to check and see if there is anything I should be looking for during the process.

Reason Why I am Rebuilding
--------------------------------
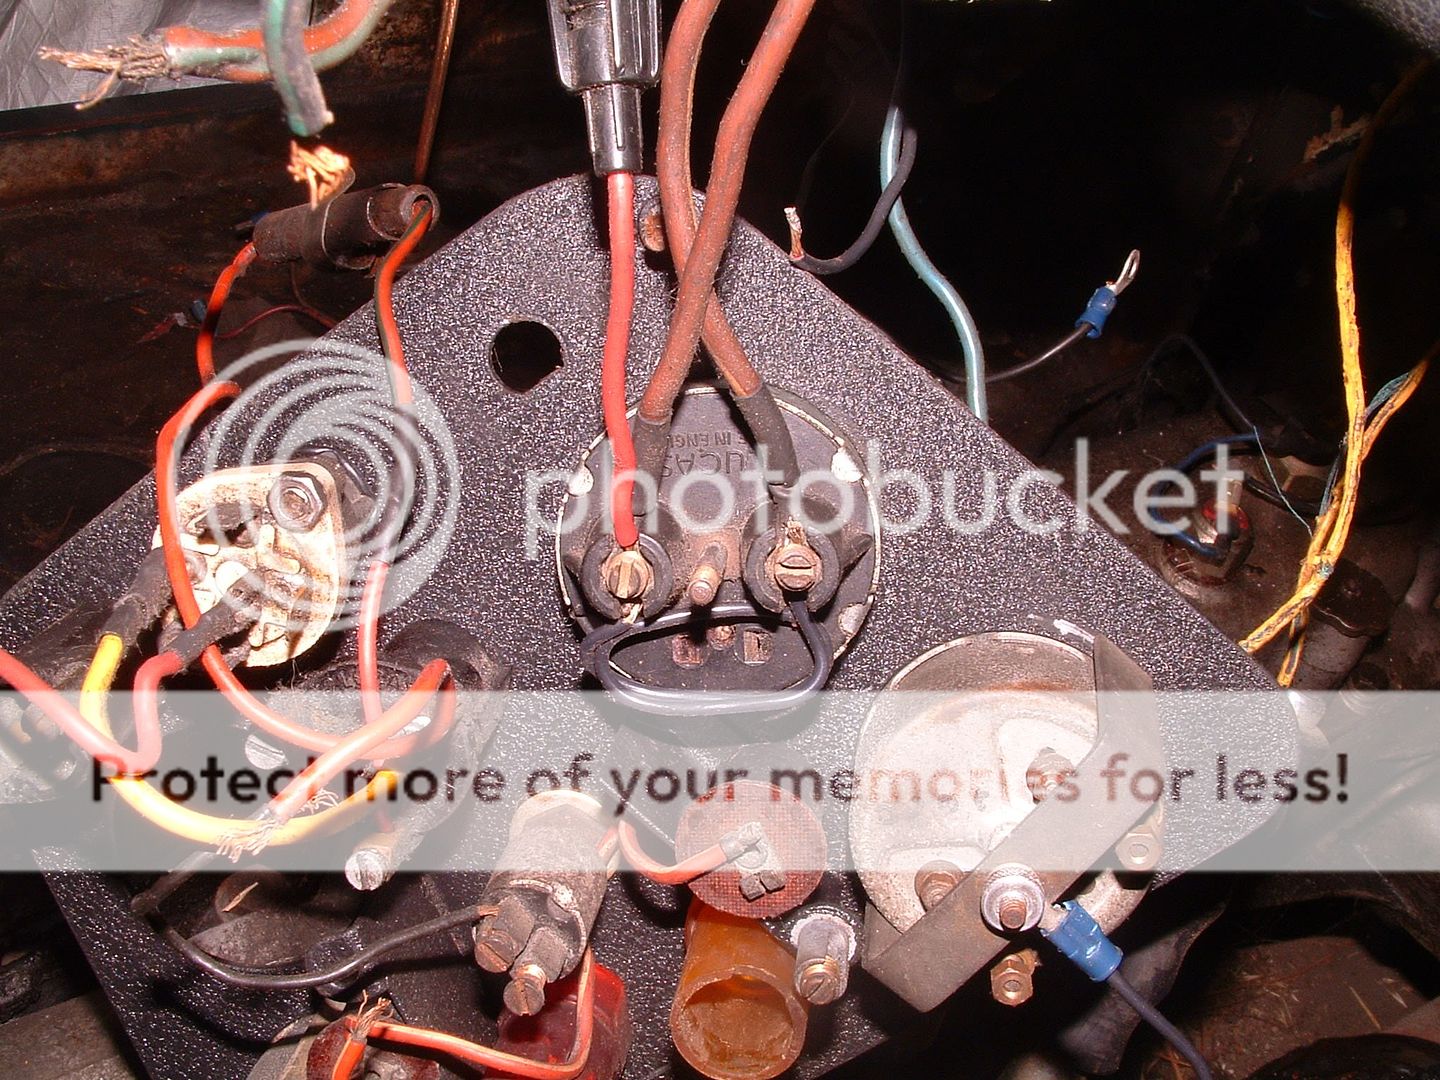
1) Was not working until it did starting working briefly today. Prior when I pulled the wiper switch, I would see approx 20 amp current draw on the amp meter without any movement from the wiper. When the wiper briefly started working today, it stopped before parking. Even when I pushed the wiper switch "closed", I was still drawing the 20 amps of current. I went to disconnect the wires at the wiper motor and notice the wiper motor was very warm.

2) After taking the wiper motor apart, I cleaned the armature communicator (sp?) with emery cloth so should be good to go.

3) The brushes are worn down to where the spring loaded arm where the brushes fit is just starting to make contact with the communicator. I believe this is why the wiper is not working but drawing 20 amps of current.

4) The wiper mechanism itself is working well without binding when the motor is disconnected and I manually move the wipers.


What I plan to do?
---------------------

At this point I will only replacing the brushes. I wanted to check and see if there is anything else I should do while the wiper motor is out of the car. The wiper motor gear is well greased by the PO so good to go here.

Thanks,

Steve
 
New grease will be better. The last one I took apart had green grease from WWII still in there and it was "crunchy" . I think you can get new brushes at some Ace Hardware stores.

Jerry
 
In addition to fresh grease, it wouldn't hurt to clean and re-soak the bushings that carry the armature in oil.

I would run the motor on the bench for at least 5 or 10 minutes; then be sure to get the wires on the correct terminals when installing in the car. If you hook the green wire(s) to terminal #1, it creates a short through the park switch only when the wipers are not parked. Which sounds a lot like your description.

You should probably also check the fuse. The original Lucas fuses were rated in a funny system that gives roughly twice the value of the American fuse system, so if you have substituted American (eg AGC or SFE) fuses, they need to be 20 amp rather than 35 amp (or 50). If the motor was stalled or shorted through the park switch, I would expect the fuse to blow within just a few seconds.
 
...3) The brushes are worn down to where the spring loaded arm where the brushes fit is just starting to make contact with the communicator...

These motors seem to be robust. When I opened mine up (in 2001) to replace that red wire I found one of the brushes was completely missing -- the motor was running with the just the metal arm riding against the commutator. Upon disassembly I found the missing brush lying inside the motor - it was brand new.

I can only guess that it had run like that from new -- 40+ years. Ran even better with both brushes in place.
 
John, Jerry,

Good suggestions regarding the grease. It helps for me to understand that without refreshing, will cause problems later.

Thanks,

Steve
 
In addition to fresh grease, it wouldn't hurt to clean and re-soak the bushings that carry the armature in oil.

Good point regarding the bushings. I did not see anything in the manuals about this, but it makes sense to do.

I would run the motor on the bench for at least 5 or 10 minutes; then be sure to get the wires on the correct terminals when installing in the car. If you hook the green wire(s) to terminal #1, it creates a short through the park switch only when the wipers are not parked. Which sounds a lot like your description.

Steve's Response (and Questions):

I will need to make sure the wires are connected to the correct terminals. I was able to locate and recently checked out a wiring diagram for a TR3A vs a TR3. The wiring for a TR3A looks to be slightly different based on just now checking it out. When I originally connected up the the wiper wiring including at the switch, I used the original TR3 diagram

TR3A wiring diagram for wiper summary:

1) Green wire connecting from wiper motor to fuse box. (Should this green wire be connected to Terminal 1?)
2) Another wire (color not specified on wiring diagram) going from wiper box terminal to wiper switch (I believe this should be the black with green wire. Should the wire from the switch be connected to Terminal 2 on the wiper motor?)
3) Third wire (black) from wiring harness to back of wiper motor located close to the T1 and T2 terminal locations. This has an E stamped next to where the wire connects.
4) Forth wire (also black) from wiring harness connecting to metal base of wiper motor that attaching to the car body

You should probably also check the fuse. The original Lucas fuses were rated in a funny system that gives roughly twice the value of the American fuse system, so if you have substituted American (eg AGC or SFE) fuses, they need to be 20 amp rather than 35 amp (or 50). If the motor was stalled or shorted through the park switch, I would expect the fuse to blow within just a few seconds.

Good point regarding the fuses. I did replace what was in there, with original Lucas type fuses I purchased from TRF. I will need to see if the fuse blew and replace.

Thanks again for the help.

Steve
 
These motors seem to be robust. When I opened mine up (in 2001) to replace that red wire I found one of the brushes was completely missing -- the motor was running with the just the metal arm riding against the commutator. Upon disassembly I found the missing brush lying inside the motor - it was brand new.

I can only guess that it had run like that from new -- 40+ years. Ran even better with both brushes in place.

Great story. Those brushes are small and hard to handle so I can see how that would happen. I am not sure of the thought process originally when this was designed. Though the brushes are a bit hard to handle, it does make it easier and less complicated to replace. I wonder how often it was expected that the brushes would need to be replaced? Maybe Lucas was way ahead of it's time with the idea of recycling vs having to replace the complete wiper motor. Though with Lucas's reputation for reliability, I might be giving them a little too much credit.

Thanks,

Steve
 
1) Green wire connecting from wiper motor to fuse box. (Should this green wire be connected to Terminal 1?)
No! The green wire (which may be two wires joined at the terminal depending on which harness you have) needs to go to terminal 2. The park switch grounds terminal 1 any time that the motor is not parked.

The green/black wire goes to terminal 1. When you turn the switch "on", it also grounds terminal 1, making the motor run continuously. When the switch is turned off, the motor continues to run until the park switch also opens and terminal 1 is no longer grounded.

Here is a diagram that I doctored up slightly for my early TR3A to show the wiper terminals and LHD control head connection. Although some of the other details are different for the later cars, the wiper wiring should be the same.


https://i258.photobucket.com/albums... pages/TR3ALHDSCHEMATICMODIFIEDFROMPRAC-1.jpg

PS, You are correct, the book does not mention re-oiling the Oilite bushes, and quite possibly it doesn't actually do any good. But old oil dries out just like old grease does (and for the same reason), so it seems like a good idea to me.

 
I'm with Geo... Had to replace and resolder the red wire on top. The original insulation was disintegrating. New rubber firewall grommet, touch of grease, and good to go for another 50 years!
 
No! The green wire (which may be two wires joined at the terminal depending on which harness you have) needs to go to terminal 2. The park switch grounds terminal 1 any time that the motor is not parked.


Here is a diagram that I doctored up slightly for my early TR3A to show the wiper terminals and LHD control head connection. Although some of the other details are different for the later cars, the wiper wiring should be the same.


https://i258.photobucket.com/albums/hh260/TR3driver/Manual%20pages/TR3ALHDSCHEMATICMODIFIEDFROMPRAC-1.jpg

PS, You are correct, the book does not mention re-oiling the Oilite bushes, and quite possibly it doesn't actually do any good. But old oil dries out just like old grease does (and for the same reason), so it seems like a good idea to me.


Thanks for the diagram confirming the wire connections to the wiper motor. I already noticed that I did not have the black wire from the wiring harness connected correctly to the wiper switch. I ordered the brushes today from Moss and will install them when they arrive.
 
:encouragement:
These motors seem to be robust. When I opened mine up (in 2001) to replace that red wire I found one of the brushes was completely missing -- the motor was running with the just the metal arm riding against the commutator. Upon disassembly I found the missing brush lying inside the motor - it was brand new.

I can only guess that it had run like that from new -- 40+ years. Ran even better with both brushes in place.
 
I already noticed that I did not have the black wire from the wiring harness connected correctly to the wiper switch.
Just for clarity (likely you know this), the black harness wire goes into the tie point on the back of the instrument panel, so that the whole panel is grounded. This is important for best brightness from the panel lamps (which also ground to the panel). Then there should be a short black jumper from the tie point to the wiper switch.

I also like to add a jumper from the tie point to the mounting post for the fuel gauge, as I've had problems with the gauge not grounding well enough through the panel. The jumper was already disconnected from the panel in this shot, but you can see where it is attached to the gauge
Ammetershunt1.jpg
 
Hi Randall,

Thanks for the heads up on this. You helped me catch something I had missed. I had it right before looking at the TR3A wiring diagram.

1) Correct way (Confirming I have the right) - Connect black wire from harness to the ground connector screw on the dash. I will also plan to remove the wrinkle paint from this "dash ground screw". I believe this is also why the wiper motor was not working, and also drawing 20+ amps of current when the wiper motor switch was turned on.

After you mentioned the correct way to connect up both the wiper motor and ground wire to the dash, I am now understand that this also applies to the TR3A wiper motor and ground wire connections. I will be able to verify all this when I receive the wiper motor brushes this week.

Also, thanks for the picture. It helped confirm that the connection for the ground wire on my dash will need to have the paint removed in order to have a good ground connection.

Thanks again for the help. Very much appreciated!

Steve


Just for clarity (likely you know this), the black harness wire goes into the tie point on the back of the instrument panel, so that the whole panel is grounded. This is important for best brightness from the panel lamps (which also ground to the panel). Then there should be a short black jumper from the tie point to the wiper switch.

I also like to add a jumper from the tie point to the mounting post for the fuel gauge, as I've had problems with the gauge not grounding well enough through the panel. The jumper was already disconnected from the panel in this shot, but you can see where it is attached to the gauge
Ammetershunt1.jpg
 
The wiper motor works! I did have a few surprises along the way, but sorted it all out.

Thanks again for all the help! It is a great feeling to now have all these items working as intended (wiper, generator, regulator, amp meter).

I do have one question regarding the wiper motor "parking". My understanding is that wiper "parking" works by having the wipers continue and stop at the bottom of the window frame (as they should) regardless of when the wiper switch is shut off. Any info on this would be greatly appreciated. Also, I read somewhere that to "set" the wiper motor "parking" correctly is done my loosening the screws that attach the wiper motor cover for the gear and rotate the circular metal "cap" where the red wire attaches. Any info on how to do this would be much appreciated.


For those that might be interested, here's some background on getting these latest items all sorted out. This is more for humor and entertainment for those how have gone through similar experiences.

1) Even thought I "tested" everything before reattaching the center dash, the black wiper wire at the switch (behind the dash) came loose when I also reinstalled the felt glove box.

2) When the black wire came loose, not only the wiper stop working. I am pretty sure the loose black wire settled up on the fuel gauge. There were a few sparks from inside the fuel gauge while it pegged to full and them dropped to empty. I know Lucas electrical did not have the best reputation, but after sorting this all out, the fuel gauge is back alive and working like a champ. I was sure that I would have to scrap and buy a replacement, but the "hearty and mighty" Lucas electrical fuel gauge survived.

3) During all this, my turn signals also stopped working. I was pretty sure I had blown a fuse when the other electrical gremlins were taking over (reference #2). I started to get real nervous when I checked the fuse and it looked fine. I decided to swap it anyways hoping and praying for the easy way out though expecting much worse. I was right on this one. For some reason the fuse had blown at one of the ends so it could not be seen from glass area. What a relief!

It is great to get these issue all taken care of (Wiper, Generator and Regulator, Amp Meter). Thanks gain for all the help!

Steve
 
I also wanted to post a picture of my TR3A driving a few weekends ago. My daughter took this picture on her iPhone. I liked the way it turned out and wanted to share.

Steve

fTR3A Driving II.jpg
 
Good to hear you are making progress, Steve. If it is any comfort, you are way ahead of me. The wiper motor for TS15371L is in pieces in a box somewhere (I hope), and I haven't dealt with the mechanism under the dash being bound up even though I've been driving the car for going-on 4 years now. I even had a police officer yell to me (in the rain) that I should use Rain-X !

I do have one question regarding the wiper motor "parking". My understanding is that wiper "parking" works by having the wipers continue and stop at the bottom of the window frame (as they should) regardless of when the wiper switch is shut off. Any info on this would be greatly appreciated. Also, I read somewhere that to "set" the wiper motor "parking" correctly is done my loosening the screws that attach the wiper motor cover for the gear and rotate the circular metal "cap" where the red wire attaches. Any info on how to do this would be much appreciated.
Basically, the wiper switch on the dash and the park switch inside the gear housing are both wired in parallel. As long as the ignition is on, the wiper motor runs whenever either switch is making the connection to ground. The park switch makes contact during most of the wiper sweep, so you want to have it turned so it opens just as the wipers reach the bottom of the sweep (where you want them to park).

So first, make sure the arms are installed so they cover the proper area. It's probably best to wet the glass with a weak soap solution while checking this. On my TR3A, they had to be set so they didn't quite reach the frame with the glass dry, otherwise they would pop over the frame in the rain. Then turn the dash switch off and watch where they park. If you don't like that, loosen the gearbox cover, turn the park switch housing (the dome that sticks up) slightly and try it again. you'll need to turn the dash switch back on and off each time, to get the motor to run until the point where the park switch just opens. IIRC, the big gear turns clockwise, so turning the dome clockwise will make the motor park later in the cycle.
3) During all this, my turn signals also stopped working. I was pretty sure I had blown a fuse when the other electrical gremlins were taking over (reference #2). I started to get real nervous when I checked the fuse and it looked fine. I decided to swap it anyways hoping and praying for the easy way out though expecting much worse. I was right on this one. For some reason the fuse had blown at one of the ends so it could not be seen from glass area. What a relief!
In my limited experience, that is caused by poor contact between the fuse and the clip in the holder. You might want to shine up the clip surface a bit (I used a Scotchbrite pad) and put a little contact cleaner, silicone grease, or even vaseline on as a sealer to helpfully reduce future corrosion. Maybe even carefully bend the clip just a bit, so it grips the fuse tighter.

In case I haven't mentioned this recently (sometimes I feel like a broken record), be sure you are using the proper rating of fuse. The book calls for a "35 amp" fuse, but that is in the oddball Lucas rating method. If you substitute an American fuse, it should be 20 amp, not 35.
 
Hi Randall,

Thanks for the info. I ended up ordering the fuses from Moss. Going by memory, they had a couple of fuse options.......25 amp and 35 amp. I ended up ordering the 35 amp since I was thinking that the fuses from Moss used the same oddball Lucas rating method. Do you know if this is true or not?

Thanks,

Steve
 
I don't for certain whether it is true or not, but most likely it is.
What were the markings on the fuses you got? The original Lucas fuses had a paper insert inside that would say something like "17.5 A Continuous" for a "35 amp" fuse.
 
Here is what the "original" style fuses look like that I bought from TRF for my 56 TR3. Cheers, Mike

FusesMedium_zpsd3ae557d.jpg
 
Back
Top