• Hey Guest!
    British Car Forum has been supporting enthusiasts for over 25 years by providing a great place to share our love for British cars. You can support our efforts by upgrading your membership for less than the dues of most car clubs. There are some perks with a member upgrade!

    **Upgrade Now**
    (PS: Upgraded members don't see this banner, nor will you see the Google ads that appear on the site.)
Tips
Tips

TR2/3/3A TR3 Gages

CJD

Yoda
Country flag
Offline
Alright, it's now time for the part of the restoration I have been dreading the most. Gages! Before I spend too much time on the wrong parts, just wanted to ask if I have the correct ones to begin with:

The temp, oil pressure, and fuel are "British Jaeger". The ammeter reads "Lucas". Are these correct or replacements?

Thanks,

John
 
Aloha John,

Those manufacturers are correct. The glass should be convex not flat. The temperature gauge is a capillary tube thermomator. Sometime these get replaced with the electric gauge from the TR4.
 
Should look something like this:

Gauges.jpg
 
John,

As Dave said, those are the right manufacturers. What are the part numbers on them?

Scott
 
I'm ahead of you with this, here's mine, but if you look closely, you might be able to tell that these were taken from an early TR4. The temp is electric, and all lens are curved. It's close enough for me. I took each one apart and cleaned everything, testing what I could, and so far so good...
 

Attachments

  • 26463.jpg
    26463.jpg
    68.2 KB · Views: 806
Geo, Jer,

Great looking gages! I've got my work cut out...at least I know I'm working on the right ones...

Thanks!

John
 
If installing a TR4 electric temp gauge, a voltage stabilizer is needed in the loom. The voltage stabilizer operated on the TR4 fuel gauge circuit as well.

Viv.
 
Looks very sharp! Did you do the wrinkle paint yourself?

Scott
 
OK, I'm pretty excited. I finally broke open the bezels. Since I bought the car, I have been sweating gages, trying to come up with a way to repaint the faded faces. It turns out the "fade" is just a ton of barn dust. I'm pretty confident the faces will clean up...the needles are all flaky, but that's not a hard job.

Here's what I've got:

_DSC7045.jpg


_DSC7040.jpg


_DSC7050.jpg


_DSC7052.jpg


Now for the next step...is there a consensus on the best way to clean these without cleaning off the numerals?
 
I used the Eastwood wrinkle paint, and warmed it in the oven to get it to wrinkle. It may not be exact, but it looks sharp. I used several different types of cleaners and waxes on the gauge faces, being careful to clean around the white markings and needles. The white paint comes off very easily, so I used a lot of Q-tips. I didn't repaint the faces, they were just very very dirty.

This is the only small gauge that came with my car that was under 20' of storm surge -I didn't try to clean it.
 

Attachments

  • 26476.jpg
    26476.jpg
    66.8 KB · Views: 733
JP,

Outstanding help for restoring gages. Thanks for sending it.

I'm going to do that for two of my gages. Now I just need to figure out how to take the glass cover off.

Paul
 
My Lucas ammeter had 4 small tabs that had to be straightened to remove the full length bezel. The fuel, oil, and temp bezels twisted until the tabs lined up with slots on the case.

John
 
Don't bend the tabs up if you don't have to. Most of the time, the covers will just twist off to the unlock position just like a jar lid, but it's only 1/8 to 1/4 turn. If you must, only bend them enough to loosen and the twist. You don't want them breaking off on you.

I'm glad the gauge rebuilding page helped you guys.
 
Does anyone have a pic or two of how the center gage section is attached/removed from the dash?

Thanks.

Paul
 
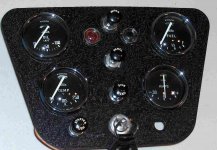
The panel has 4 10-32 studs welded to it, two near the corners on the bottom and two along the top edge, just slightly outboard of the turn and ignition lamps. Behind the dash, there are 4 wing nuts that go on those studs to hold the panel to the dash.

IIRC it's nearly impossible to reach the top two wing nuts with the heater installed, so remove the nut inside the engine compartment and one of the braces, so you can lower the heater to rest on the tunnel and reach over it to get to the wing nuts. You'll still have to work by feel, but at least the heater core won't strip the flesh off the back of your hand.

But I just left the (optional) heater out, so perhaps I've mis-remembered.

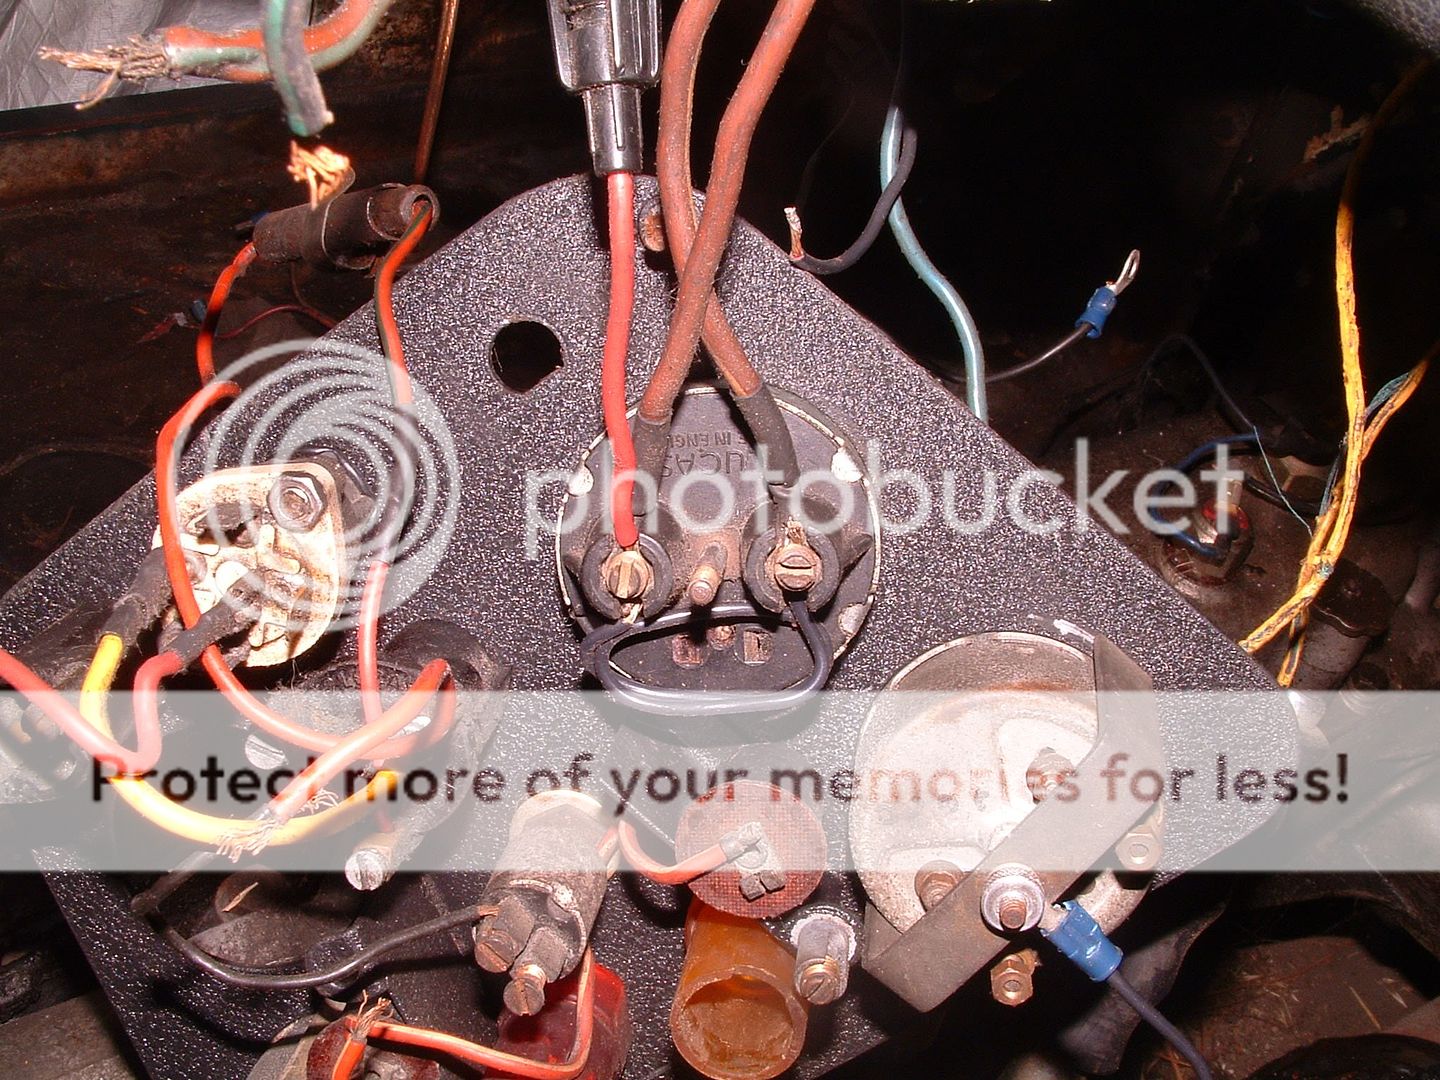
Not very good, but you can see one of the lower studs peeking out between the ammeter wires in this photo:

https://i258.photobucket.com/albums/hh260/TR3driver/TS39781LO/Ammetershunt1.jpg

Ammetershunt1.jpg


PS, Don't forget, you'll need to disconnect the line to the oil pressure gauge, and make sure there is sufficient slack in the line to the temperature gauge, BEFORE trying to remove the panel. Generally I've found it wise to remove the temperature gauge entirely before taking the panel loose, as the capillary tube is fragile and very prone to get hung up on things.
 
Thanks Randall.

I'll try it this afternoon. I want to replace my oil gage with a rebuilt one and try to take the glass cover off my temp gage so I can paint the needle white.

I haven't had any luck trying to get the glass cover off my temp gage and am hoping that with the gage removed, I can get the cover off.

Paul
 
Back
Top