
 Hey Guest!


 Hey - did you know if you click on the title of a thread it will take you to the first unread post since you last visited that thread?
 but were afraid to ask:
  STOP!! Never post your email address in open forums. Bots can "harvest" your email! If you must share your email use a Private Message or use the
  smilie in place of the real @
 Pretty Please - add it to our Events forum(s) and add to the calendar! >>
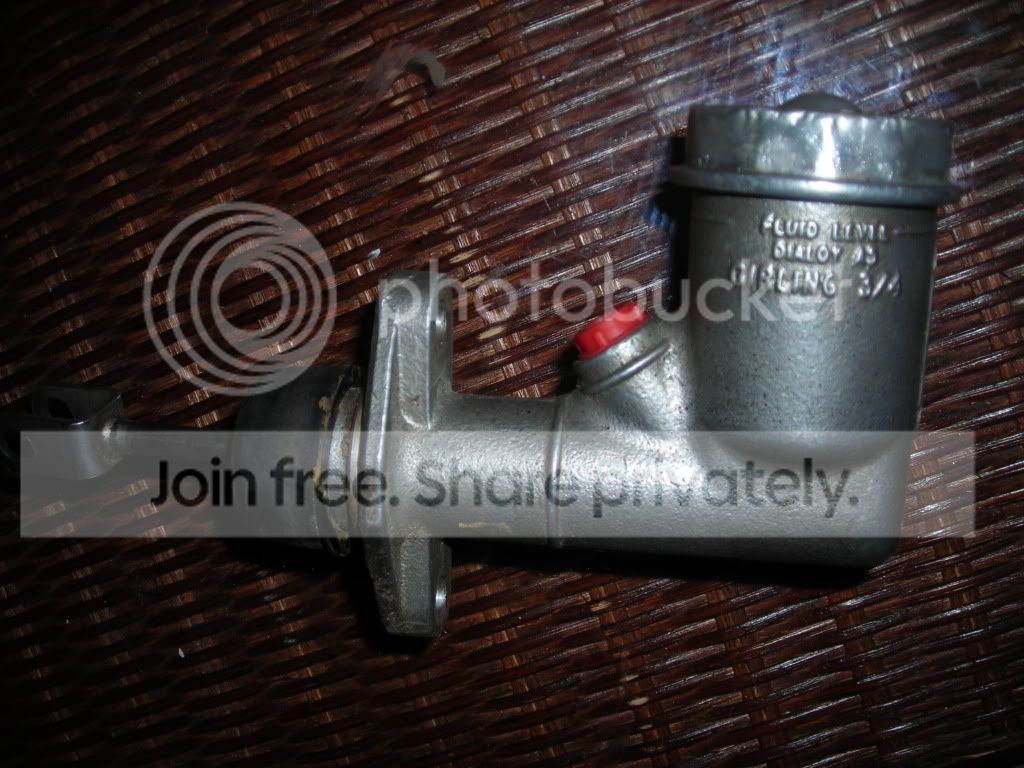
In case you haven't done this job yet, here is how to take apart a clutch master cylinder from a TR4a. It is basically identical to taking apart a brake master cylinder, but here it is in detail for your viewing pleasure (and will be easier to find via search going forward).
As it was bought from Jack Wheeler;
Pull the rubber boot back carefully so you don't tear it, if it is ready to tear or crumbly you should replace it.
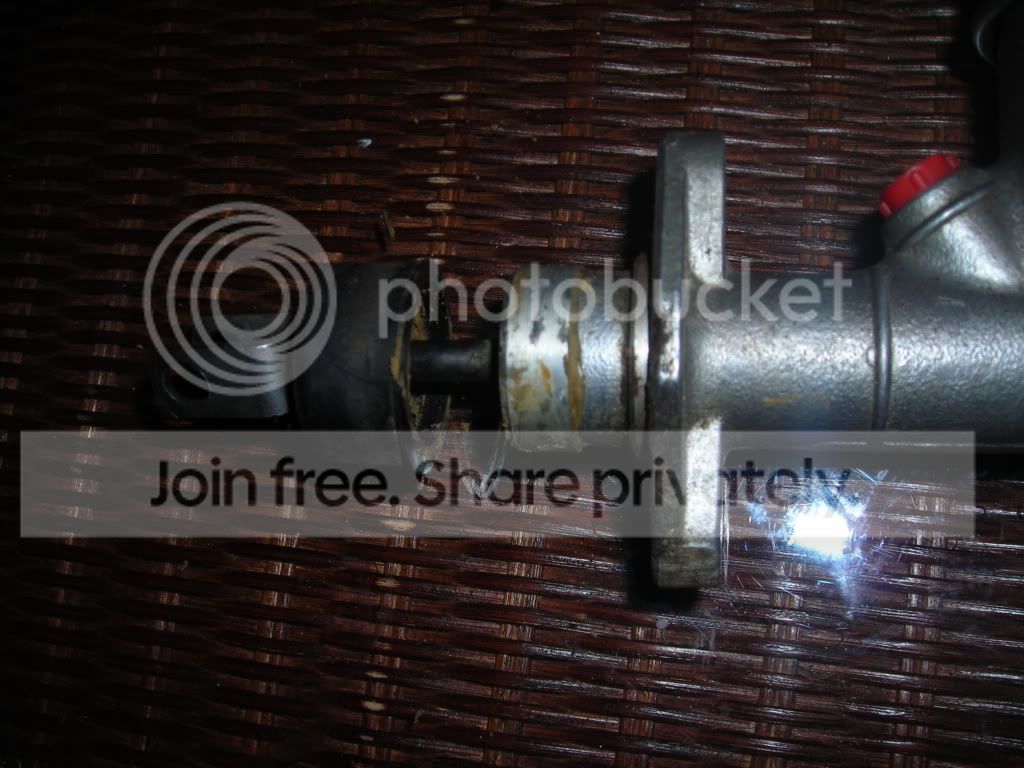
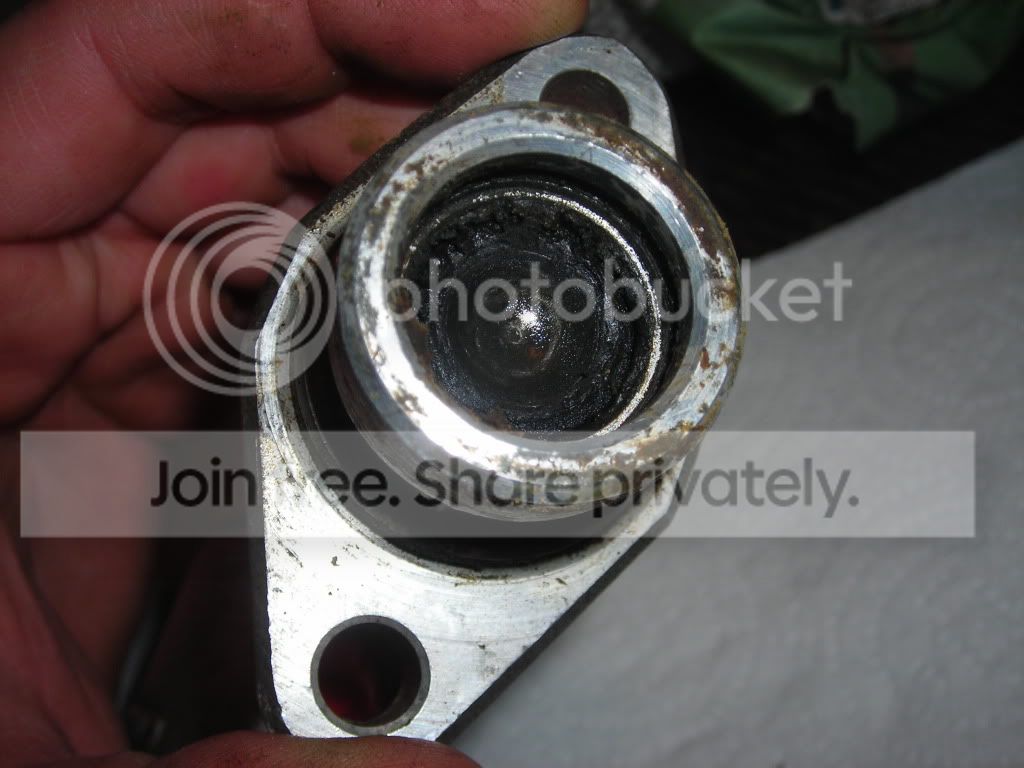
You'll probably need to clean the opening up some, but you'll see a circlip in there. These don't require any special tools to remove, just a pair of pliers to squeeze them together. You can see the square ends of the circlup that you squeeze sticking out of the grease on the bottom there.
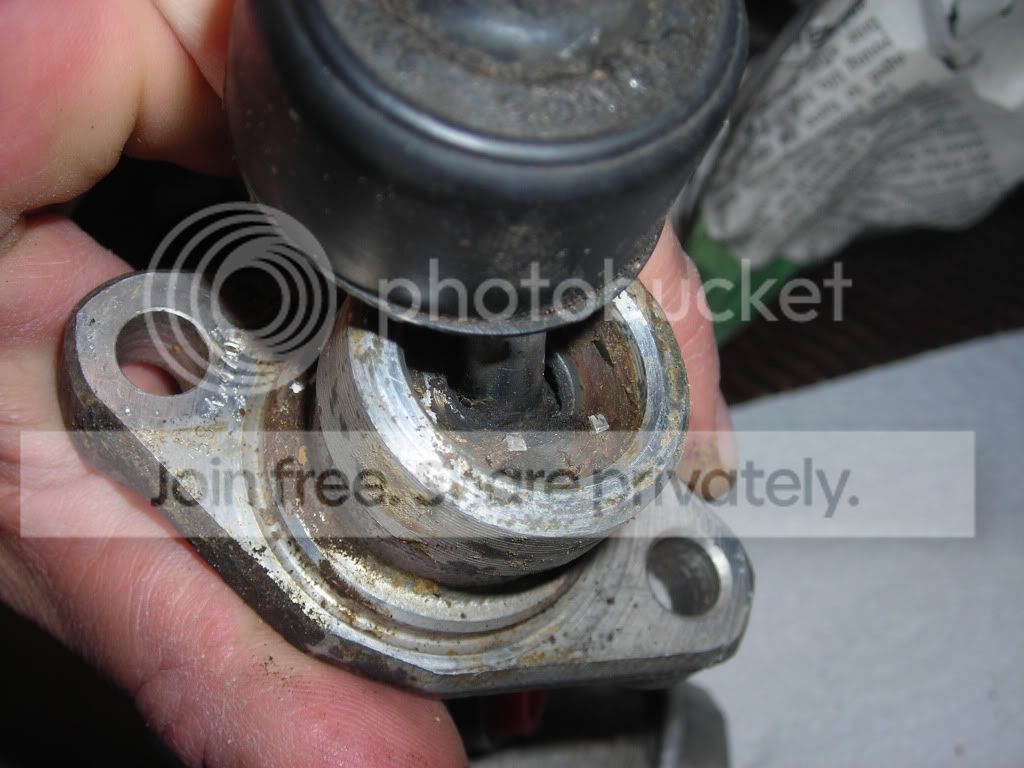
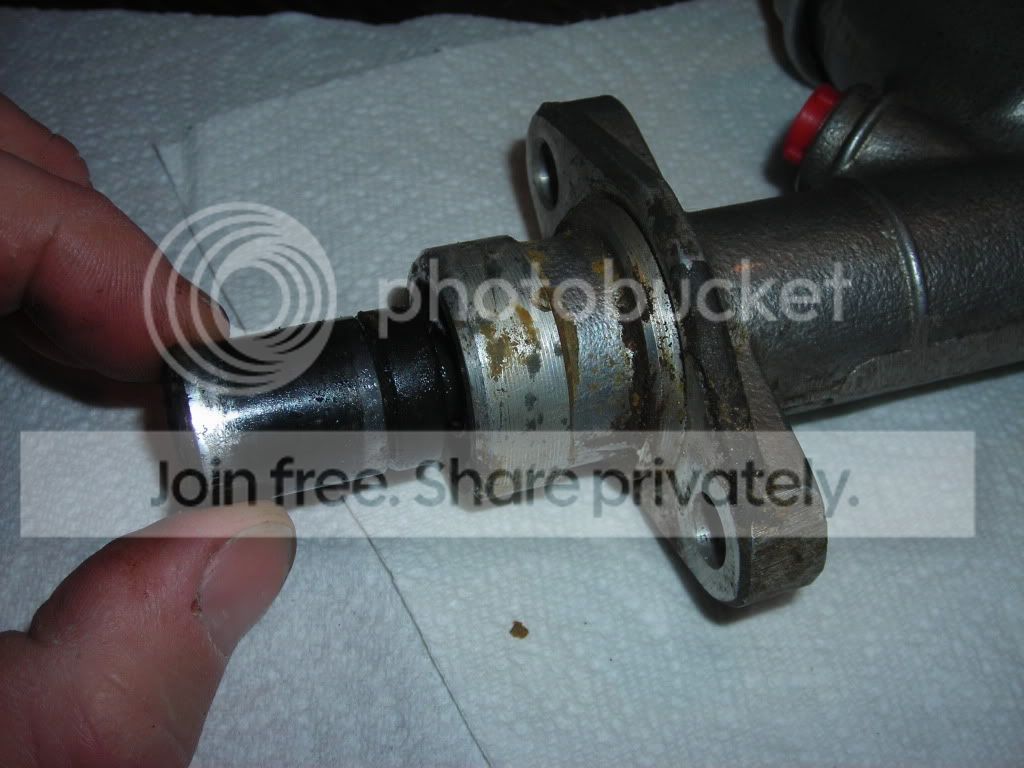
Once the circlip is removed you can pull this part out
That is the piston in there, you will need to probably slam it on a piece of wood a couple of times to get it loose
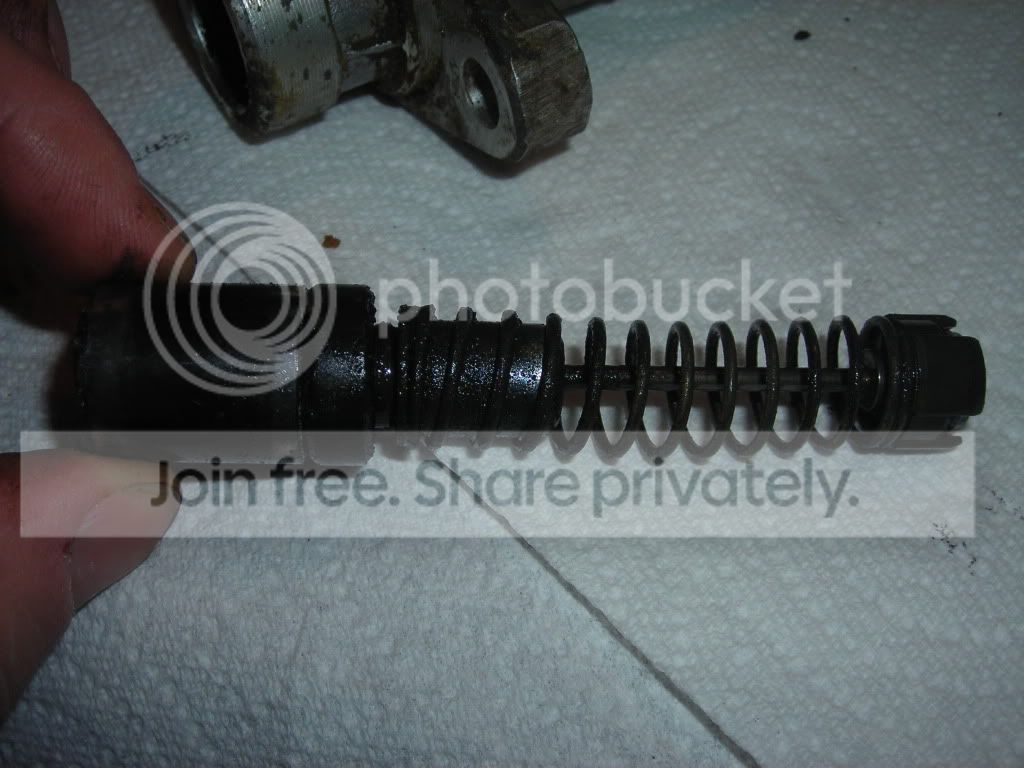
Once the piston is free gently pull it out. You may need to use a pair of narrow tip pliers to get it started
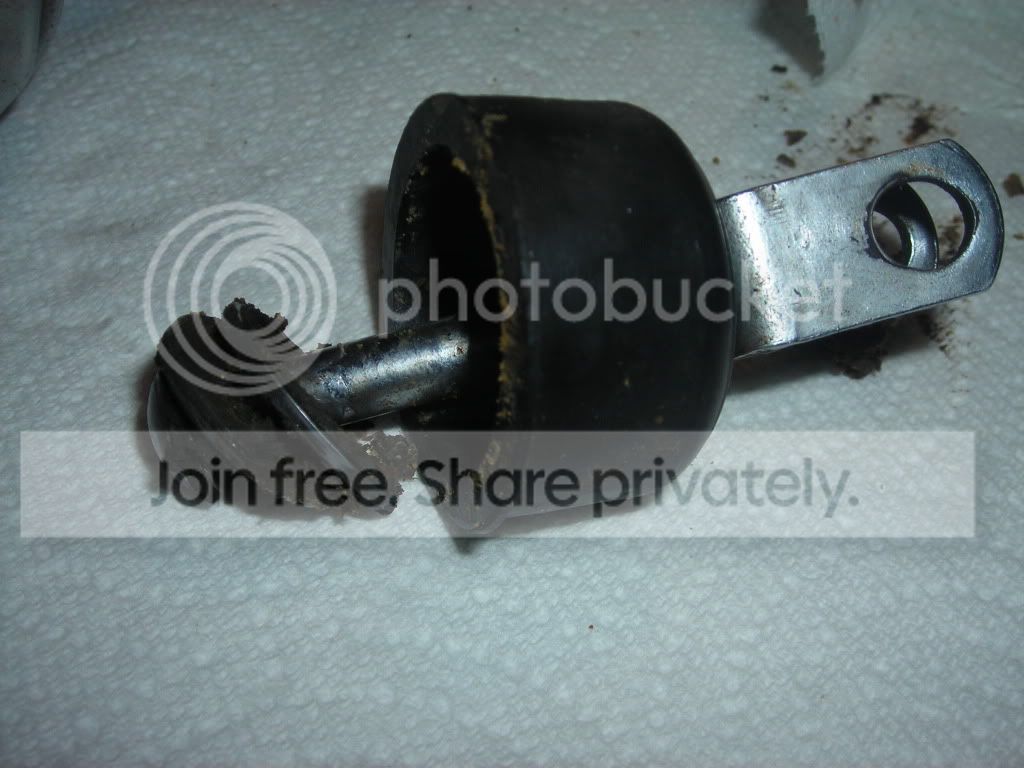
Here is the piston as it comes out
And here it is ready for cleaning and the repair kit. Total elasped time about 5 minutes.
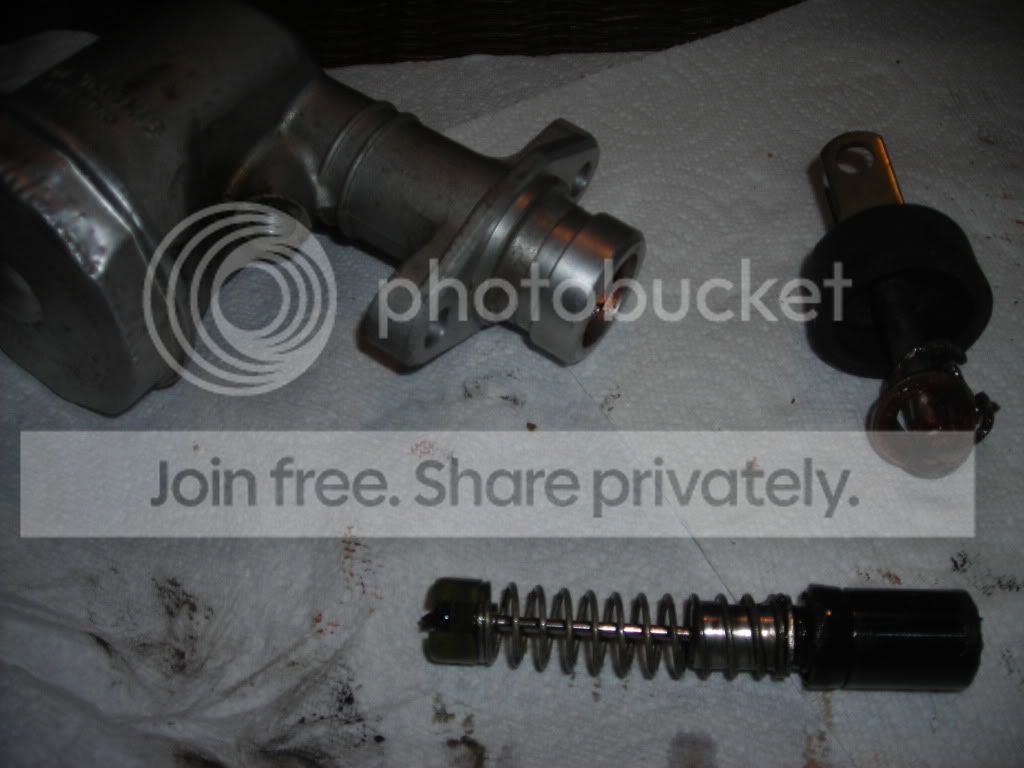
I'll try to document putting it back together tonight or tomorrow.
As it was bought from Jack Wheeler;
Pull the rubber boot back carefully so you don't tear it, if it is ready to tear or crumbly you should replace it.
You'll probably need to clean the opening up some, but you'll see a circlip in there. These don't require any special tools to remove, just a pair of pliers to squeeze them together. You can see the square ends of the circlup that you squeeze sticking out of the grease on the bottom there.
Once the circlip is removed you can pull this part out
That is the piston in there, you will need to probably slam it on a piece of wood a couple of times to get it loose
Once the piston is free gently pull it out. You may need to use a pair of narrow tip pliers to get it started
Here is the piston as it comes out
And here it is ready for cleaning and the repair kit. Total elasped time about 5 minutes.
I'll try to document putting it back together tonight or tomorrow.

