
 Hey Guest!

 Hey - did you know if you click on the title of a thread it will take you to the first unread post since you last visited that thread?
 but were afraid to ask:
  STOP!! Never post your email address in open forums. Bots can "harvest" your email! If you must share your email use a Private Message or use the
  smilie in place of the real @
 Pretty Please - add it to our Events forum(s) and add to the calendar! >>
davidk
Jedi Trainee
Offline
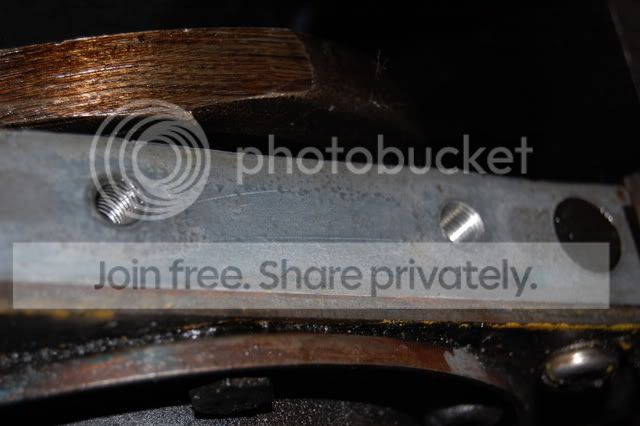
The last time I put the drain pan back on the TR-6, one of the front bolt holes in the aluminum saddle block was stripped. I took the split washer off and was able to get it to grab enough threads to stay in.
With the pan now off again, I didn't want to risk the bolt coming out. I also didn't want to have to remove the timing cover and replace the saddle block (although I do have the steel replacement on the shelf).
So, I decided to redrill the hole and tap it out (to 3/8-24) with the saddle block in place. It went surprisingly well. I put blue tape above the hole to try to catch filings, and masked everything off to help contain filings.
The front crossmember is almost in the way. I was able to get a straight shot to drill with an older, smaller drill. If I was doing it again, I would get a 12" drill bit. I also used a 'bottoming' tap to be sure I got threads all the way thru since there's a main journal bolt just above this hole.
I also had to drill out the hole in the oil pan to a larger size, and grind down a bolt to the correct length.
Obviously the best thing to do is remove and replace, but this method seemed to work pretty well. It's kind of hard to tell from the photo, but the newly tapped hole is on the right.