• Hey Guest!
    British Car Forum has been supporting enthusiasts for over 25 years by providing a great place to share our love for British cars. You can support our efforts by upgrading your membership for less than the dues of most car clubs. There are some perks with a member upgrade!

    **Upgrade Now**
    (PS: Upgraded members don't see this banner, nor will you see the Google ads that appear on the site.)
Tips
Tips

TR6 Starting The Tear Down Of MY 1969 TR6

Got_All_4

Luke Skywalker
Country flag
Offline
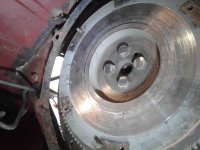
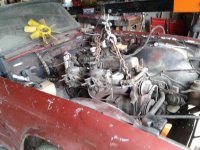
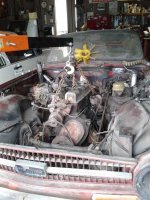
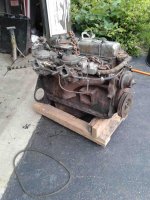
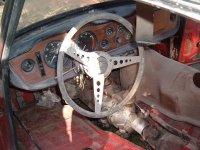
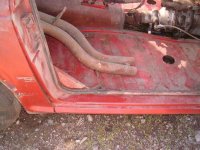
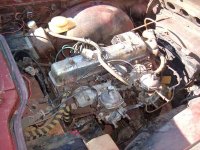
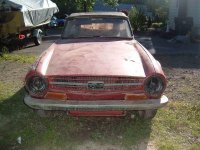
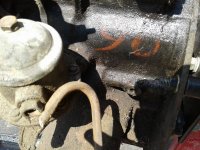
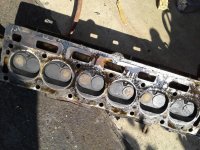
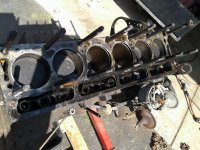
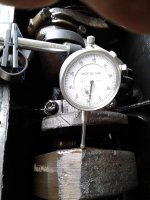
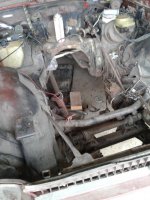
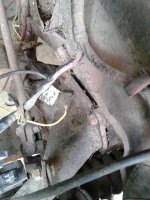
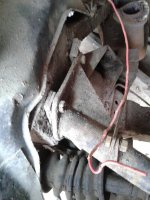
I finished my TR250 a 6 year project in August of 2006. In June of that year another project showed up and it was the TR6. It was stored inside since 1982 where someone was starting a paint job. Has a Earl Shibe job on it now. Wrong color of red too as it should be Signal Red. Very solid car and the only hole is under the battery on that ledge. I like all of the original striped hoses too. Built on Jan 1 1969. Took the overdrive out a couple of years ago and put it in my TR3A as I wasn't going to do the car. Changed my mind and I bought a 1970 parts car in Febuary of this year and got the overdrive back. I'll post some pics time to time to show progress. Take a look at the flywheel bolts. The clutch plate was rubbing on the bolt heads. I'm assuming it was installed backwards? That had to make a racket! Plan to get the body off this summer and ether get the frame dipped or sand blasted and do the motor and tranny this winter,
 

Attachments

  • 1969TR61.jpg
    1969TR61.jpg
    62 KB · Views: 204
  • 1969TR62.jpg
    1969TR62.jpg
    75.9 KB · Views: 199
  • 1969TR63.jpg
    1969TR63.jpg
    56.7 KB · Views: 206
  • 1969TR65.jpg
    1969TR65.jpg
    54.8 KB · Views: 201
  • 1969TR603.jpg
    1969TR603.jpg
    79.9 KB · Views: 205
  • 1969TR604.jpg
    1969TR604.jpg
    81.1 KB · Views: 199
  • 69engine.jpg
    69engine.jpg
    101.5 KB · Views: 190
  • 1969TR601.jpg
    1969TR601.jpg
    93.5 KB · Views: 213
Good luck with the restoration. Please post lots of pics :cool:

Cheers
Tush
 
Your 6 looks like a diamond in the ruff; it should turn out quite nice when you’re done.
 
Got the head off today and engine on the stand. Had to do it this week as our longest running auto machine shop in our county is closing in September. Probably been around 60+ years. Sad that all these speed shops are closing. I guess few are doing what we do. Anyway doesn't look to bad in side but a bunch more measurements are needed. Hopefully I'm not going to need much more maching.

What is that 90 written with red paint on the left side of the engine block? Never seen that before.
 

Attachments

  • 20180804_102805.jpg
    20180804_102805.jpg
    90 KB · Views: 175
  • 20180804_092459.jpg
    20180804_092459.jpg
    106.7 KB · Views: 180
  • 20180804_102416.jpg
    20180804_102416.jpg
    102.6 KB · Views: 175
Having a hard time getting to this project. Removed the oil pan today. No parts laying in the bottom and that's a good thing but the thickest gook I've ever seen. Good thing I did try to start it.

Don't know what going on between the shock towers. Large gaps and shims between the support bar.
 

Attachments

  • 20180825_113301.jpg
    20180825_113301.jpg
    40.9 KB · Views: 171
  • 20180721_184035.jpg
    20180721_184035.jpg
    47.1 KB · Views: 171
  • 20180721_184102.jpg
    20180721_184102.jpg
    47 KB · Views: 168
  • 20180721_184049.jpg
    20180721_184049.jpg
    45 KB · Views: 166
Yeah, a bit worrisome with all those shims in there...it's usually hard enough to just get that cross piece in there even with the center front of the car jacked up....definitely will require some investigation there.

Cheers
Tush
 
Doesn't look like there were any accidents. However the paint code is 32 which is signal red but there is a bright green metallic and then this burgundy color on the top. Haven't investigated which colors come first but I suppose that will be my next step. May revel something.
 
Back
Top