

-
 Hey Guest!
British Car Forum has been supporting enthusiasts for over 25 years by providing a great place to share our love for British cars. You can support our efforts by upgrading your membership for less than the dues of most car clubs. There are some perks with a member upgrade!**Upgrade Now**
(PS: Upgraded members don't see this banner, nor will you see the Google ads that appear on the site.)
You are using an out of date browser. It may not display this or other websites correctly.
You should upgrade or use an alternative browser.
You should upgrade or use an alternative browser.
Sigh, is this TA toast?
- Thread starter tdskip
- Start date

D
DougF
Guest
Guest
Offline
No. It can probably be welded and redrilled, or drilled and bushed.


HerronScott
Darth Vader
Offline
I had some of that when I did my TR4A and used one of the J-B Weld products to build it back up. Drove the car for 75,000 miles and don't think I had any problems but we'll see when I'm able to get back to fixing it up again.
Might have just been youthful inexperience and optimism.
Scott
Might have just been youthful inexperience and optimism.
Scott


HerronScott
Darth Vader
Offline
Tom,
That was what I did but please remember that I was a young poor college kid at the time with little mechanical knowledge. In fact I remember doing it in my parent's kitchen (which my Mom loved!).
I seem to recall that my concern was how well it would bond longterm with the trailing arm since as Paul mentioned this is the thinnest part of the arm and there was not a lot of contact area.
Scott
That was what I did but please remember that I was a young poor college kid at the time with little mechanical knowledge. In fact I remember doing it in my parent's kitchen (which my Mom loved!).
I seem to recall that my concern was how well it would bond longterm with the trailing arm since as Paul mentioned this is the thinnest part of the arm and there was not a lot of contact area.
Scott
HerronScott
Darth Vader
Offline
Would love to hear what the cost is and some pictures of the repair afterward!
Scott
Scott
Hi Scott - well the JB-Weld got me thinking, thinking right back to some of the suggestions I got when I first posted that the original one was worn. Your college exploits got me researching JB-Weld and that research helped me realize that the earlier suggestions to fill in the wear with JB-Weld would probably work just fine.
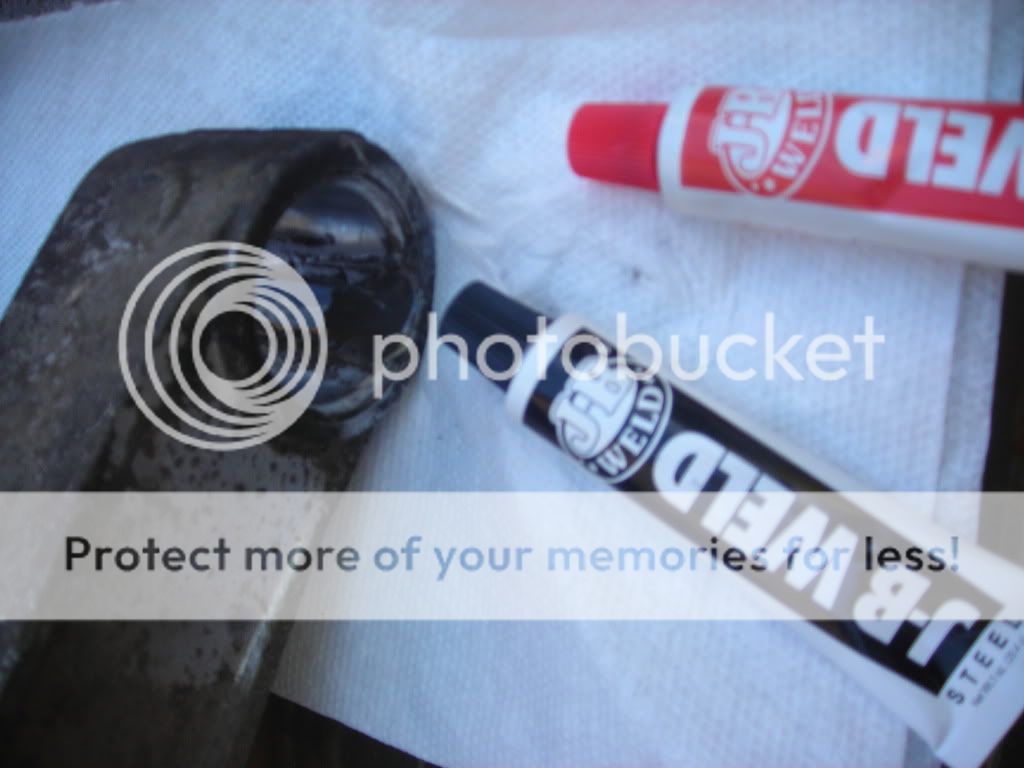
Cleaning and scuffing the inside where the ridge / wear spot is;
Mixing the JB-Weld;
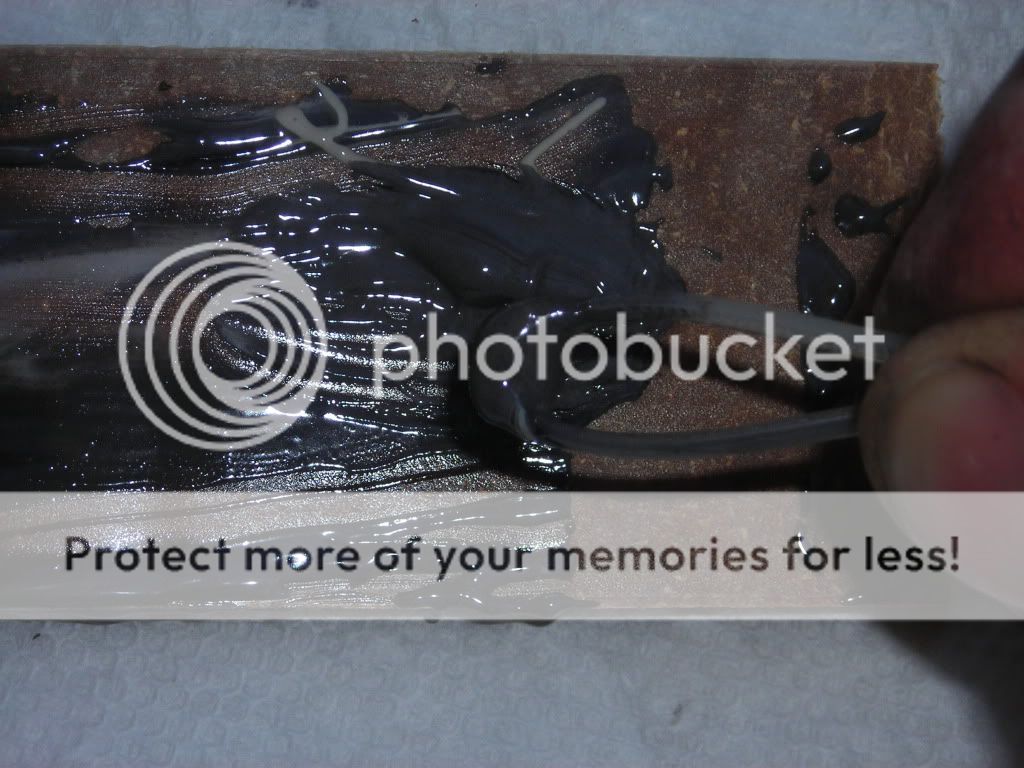
It is still has some self-leveling to go here, but starting to take shape. Will need some clean up with a Dremel for sure, but not looking too bad...

We'll see how it comes out, but figured it was worth a shot. I will let you know what I get quoted for the weld repair to the one in the pictures from earlier in the thread.
Cleaning and scuffing the inside where the ridge / wear spot is;
Mixing the JB-Weld;
It is still has some self-leveling to go here, but starting to take shape. Will need some clean up with a Dremel for sure, but not looking too bad...
We'll see how it comes out, but figured it was worth a shot. I will let you know what I get quoted for the weld repair to the one in the pictures from earlier in the thread.
HerronScott
Darth Vader
Offline
I must have missed that earlier posting. I'm assuming the bushing was shot causing this wear? Mine were pretty solid except for dryrot on the outside exposed parts which meant they were lots of fun getting out before I had the fun of getting the new ones back in.
Scott
Scott

startech47
Jedi Knight
Offline
Tom decided to make headers for his Corvair in my high school shop class. He ordered the tubing bends and flanges from J C Whitney and cut them to size. I offered to weld them since I knew he couldn't weld. He told me he had another way. When the big moment came for the test drive I got all of my buddies in my car and we followed him. We picked up all of the pieces as the headers heated up and the epoxy adhesive he used to glue them together failed. We had a big laugh at his expense. Not to think that I am not empathetic. I did weld his headers together after he scraped the remaining epoxy off. Just illustrates the need to use the correct product.

TR3driver
Great Pumpkin - R.I.P
Offline
Or, to put it another way, "Man's got to know his limitations."startech47 said:Just illustrates the need to use the correct product.
:laugh:

