Hi Guest!

 Hey - did you know if you click on the title of a thread it will take you to the first unread post since you last visited that thread?
 but were afraid to ask:
  STOP!! Never post your email address in open forums. Bots can "harvest" your email! If you must share your email use a Private Message or use the
  smilie in place of the real @
 Pretty Please - add it to our Events forum(s) and add to the calendar! >>

Offline
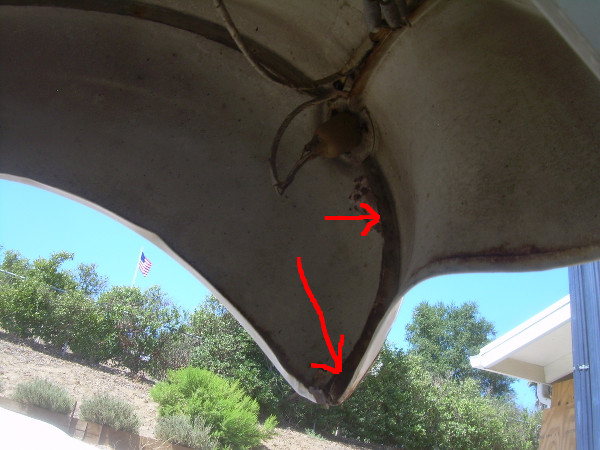
Was talking to my body folks a couple days ago -- they're working on getting the new fender beading fit and attached. They had a suggestion for the short pieces below the turn signals (front and back). They were suggesting using a seam sealer-like product and shaping it to the correct profile. Their concern is that those shorter/lower areas are more likely to hold moisture and they are concerned about rust coming back -- the short bits of beading there could trap moisture in a way that the seam sealer stuff wouldn't.
This seemed a reasonable approach to me. Thoughts?
This seemed a reasonable approach to me. Thoughts?