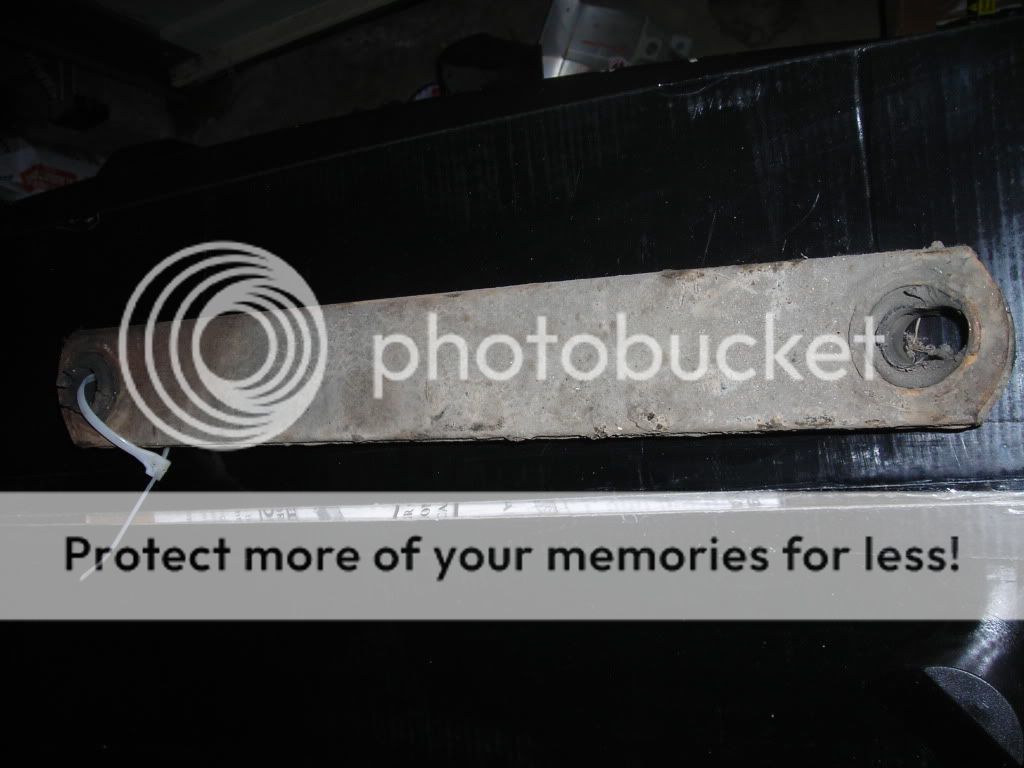
As I recall, the bushings actually fit into the welded tube shown in the picture. After I knocked out the rubber, what was left was the outer metal shell of the bushing stuck inside the welded tube. I split the bushing shell carefully with a hacksaw in several places then knocked the pieces out with a cold chisel. A quick cleanup and the new bushings knocked in with a bit of effort.
A tip I read while reassembling the refurbished radius arm to the car was not to tighten up the bolts holding the radius arm until the suspension is setting at ride height. If you tighten everything up while the suspension is hanging off the car, when it gets lowered, the rubber bushing is likely to get sheared (or fail a lot earlier) as it gets put under a lot of torque as the suspension settles into the road position. Could be just a old wives tale, but I thought it made sense at the time.
 Hi Guest!

 Hey - did you know if you click on the title of a thread it will take you to the first unread post since you last visited that thread?
 but were afraid to ask:
  STOP!! Never post your email address in open forums. Bots can "harvest" your email! If you must share your email use a Private Message or use the
  smilie in place of the real @
 Pretty Please - add it to our Events forum(s) and add to the calendar! >>