• Hey Guest!
    British Car Forum has been supporting enthusiasts for over 25 years by providing a great place to share our love for British cars. You can support our efforts by upgrading your membership for less than the dues of most car clubs. There are some perks with a member upgrade!

    **Upgrade Now**
    (PS: Upgraded members don't see this banner, nor will you see the Google ads that appear on the site.)
Tips
Tips

OK - this is more like it

tdskip

Yoda
Country flag
Offline
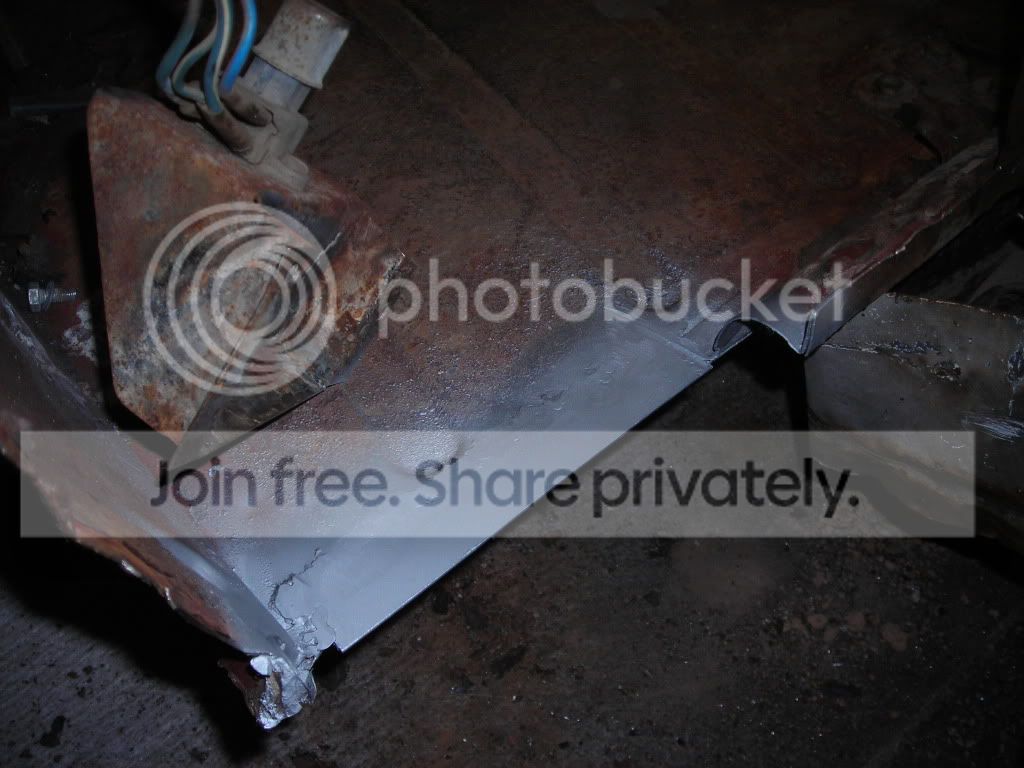
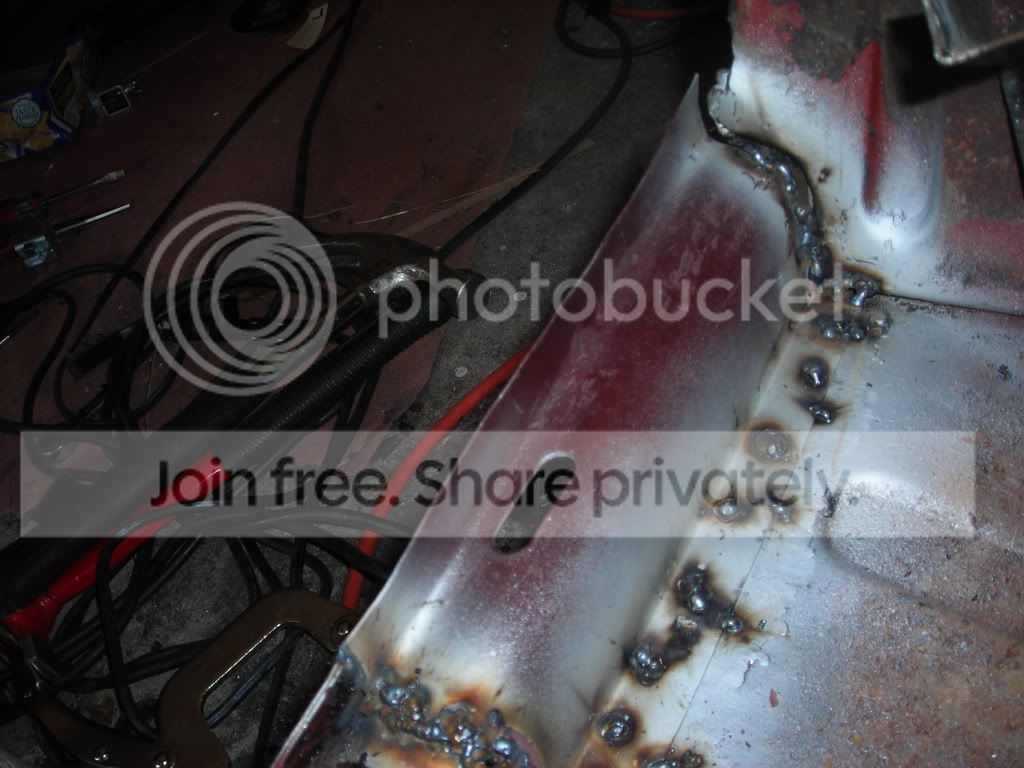
OK, OK. So the passenger side repair left a lot to be desired. I'm going to have to go in and butt weld the floor patch in. In my defense, I didn't need to remove as much metal on that side and wanted to keep the reference points, but still, that side leaves a lot of room for improvement. I'm not quite done cleaning up the front/back points but the middle long weld came out pretty well I think.

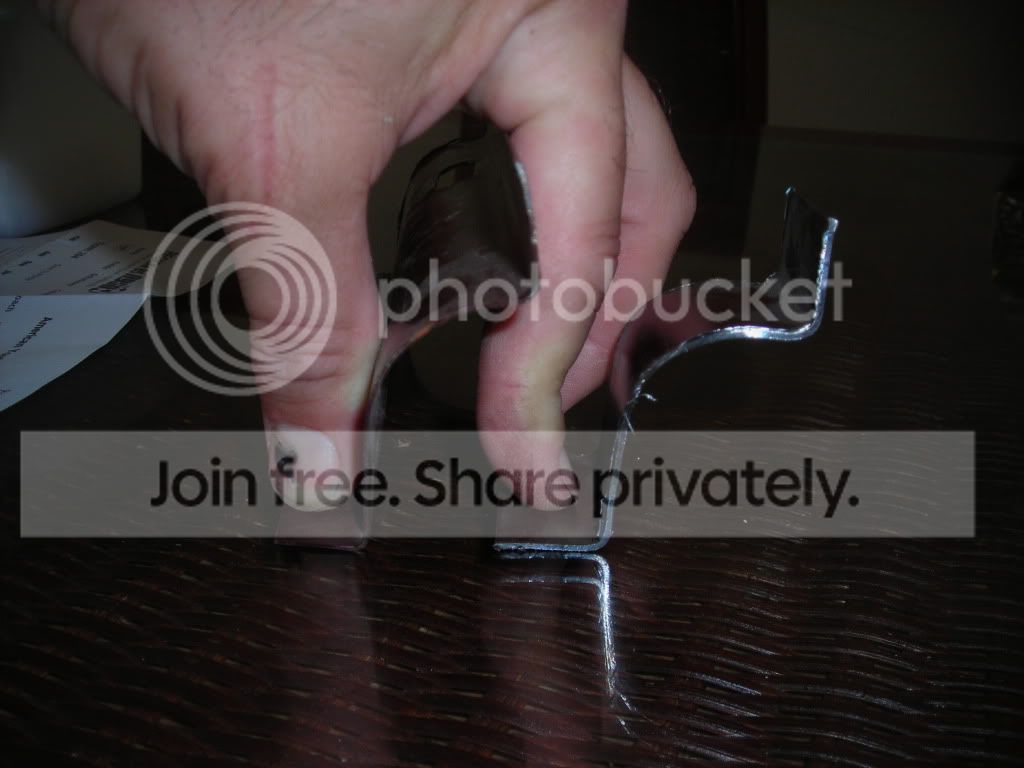
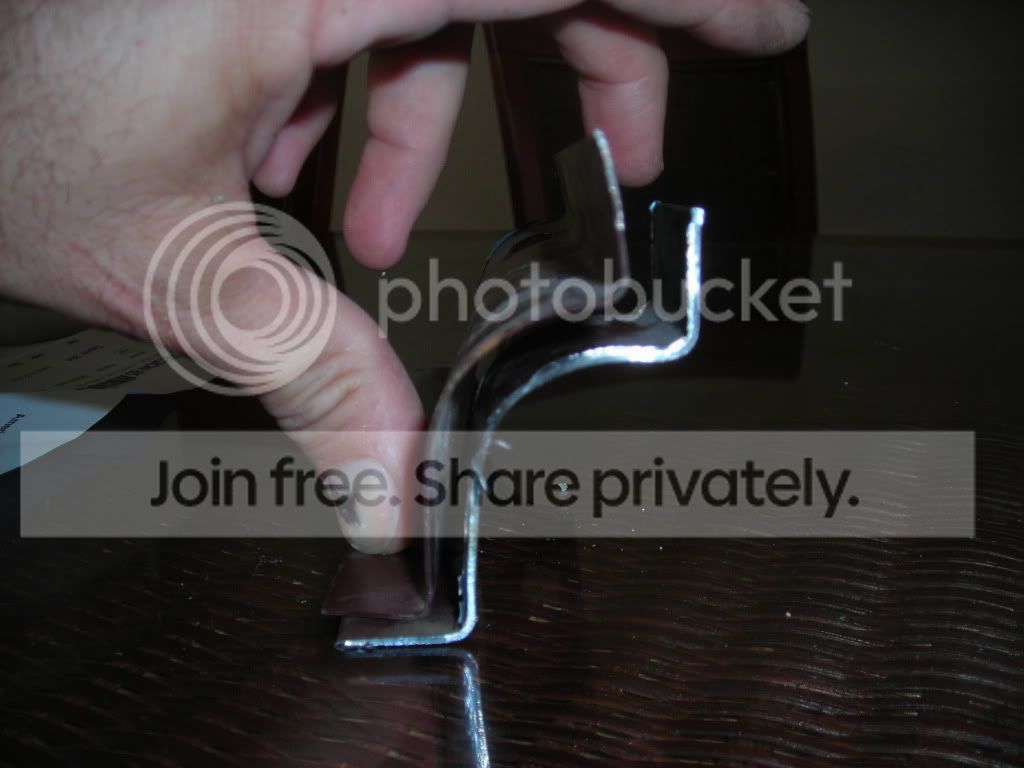
If I can do this, so can you guys!

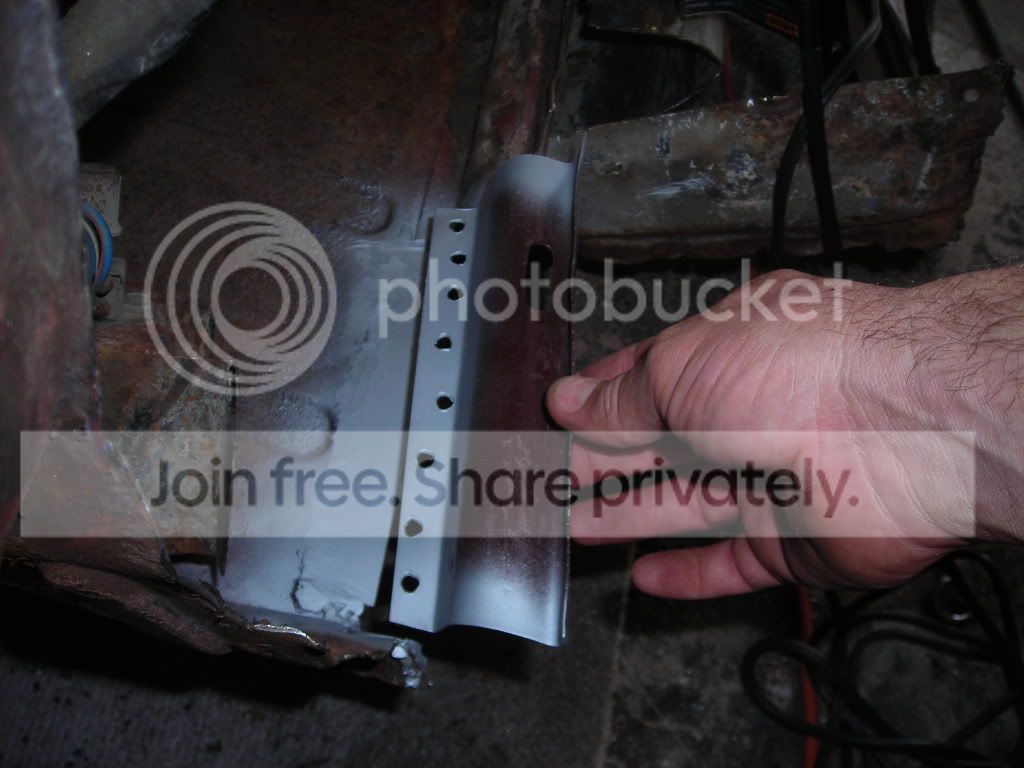
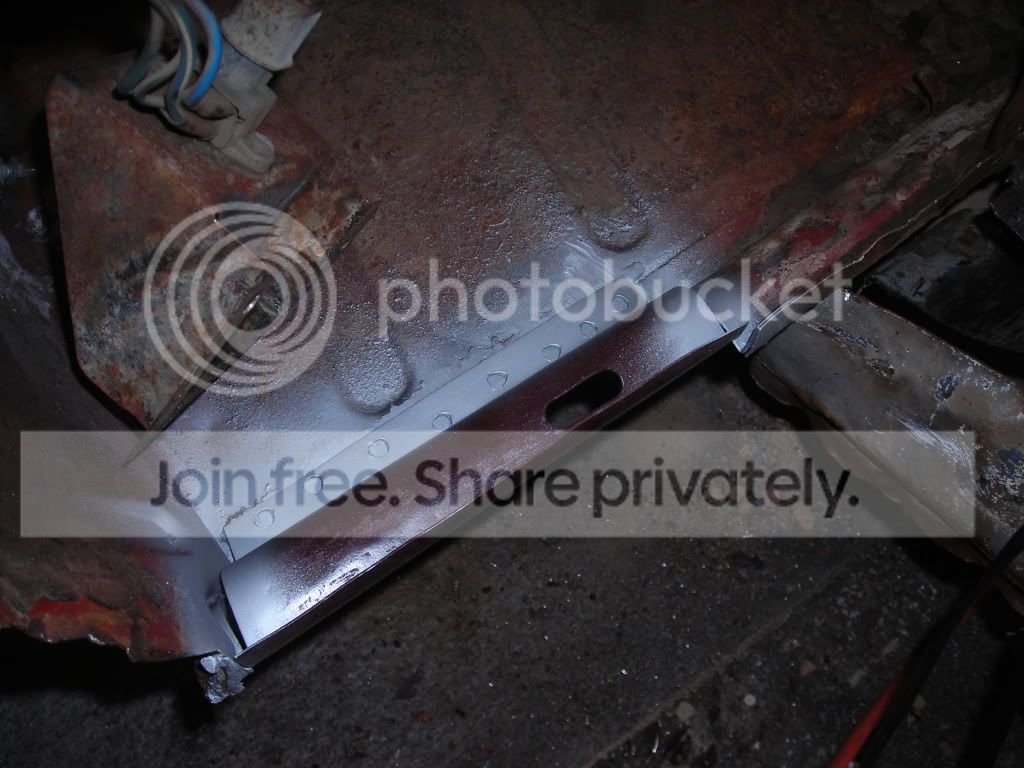
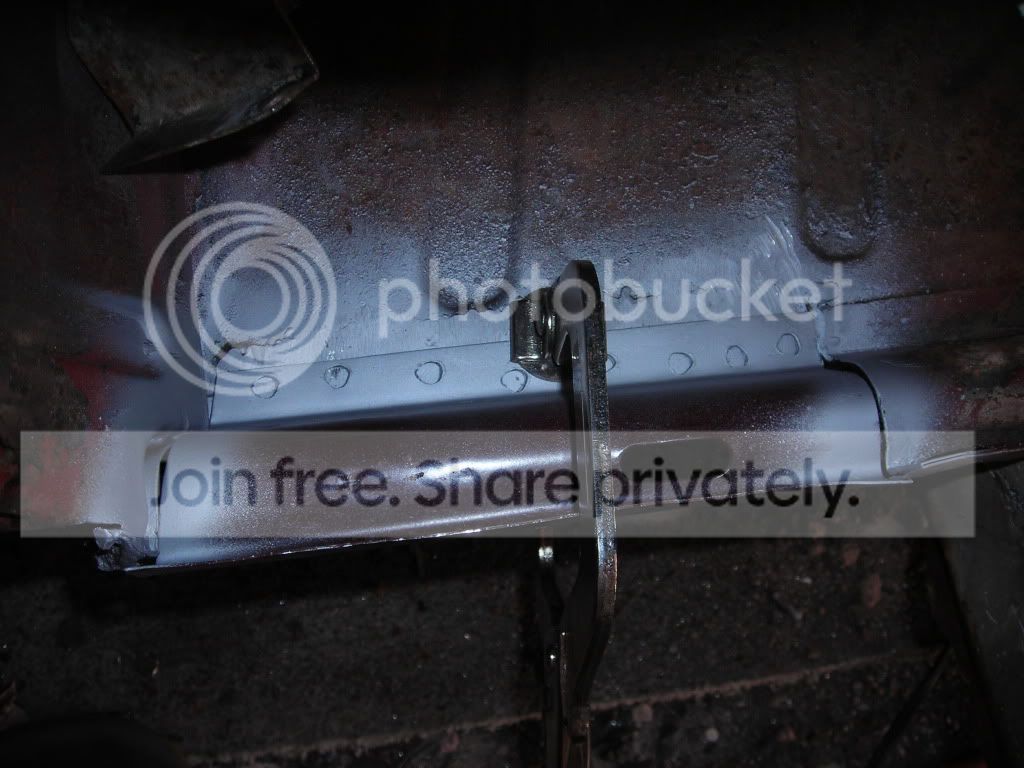
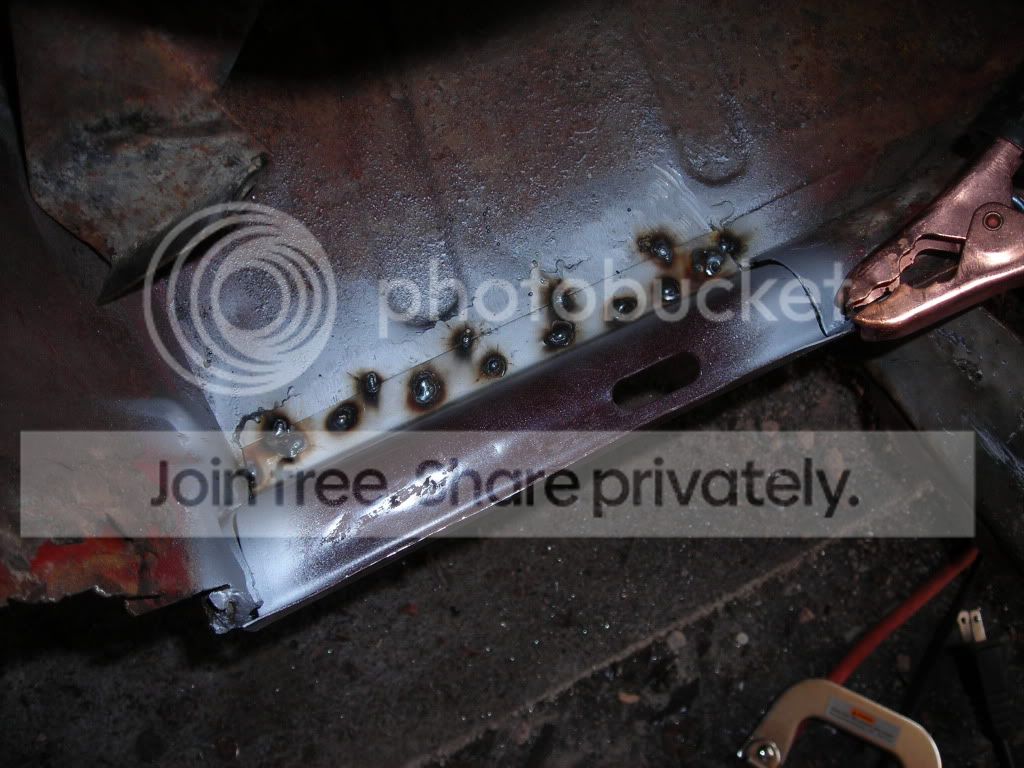
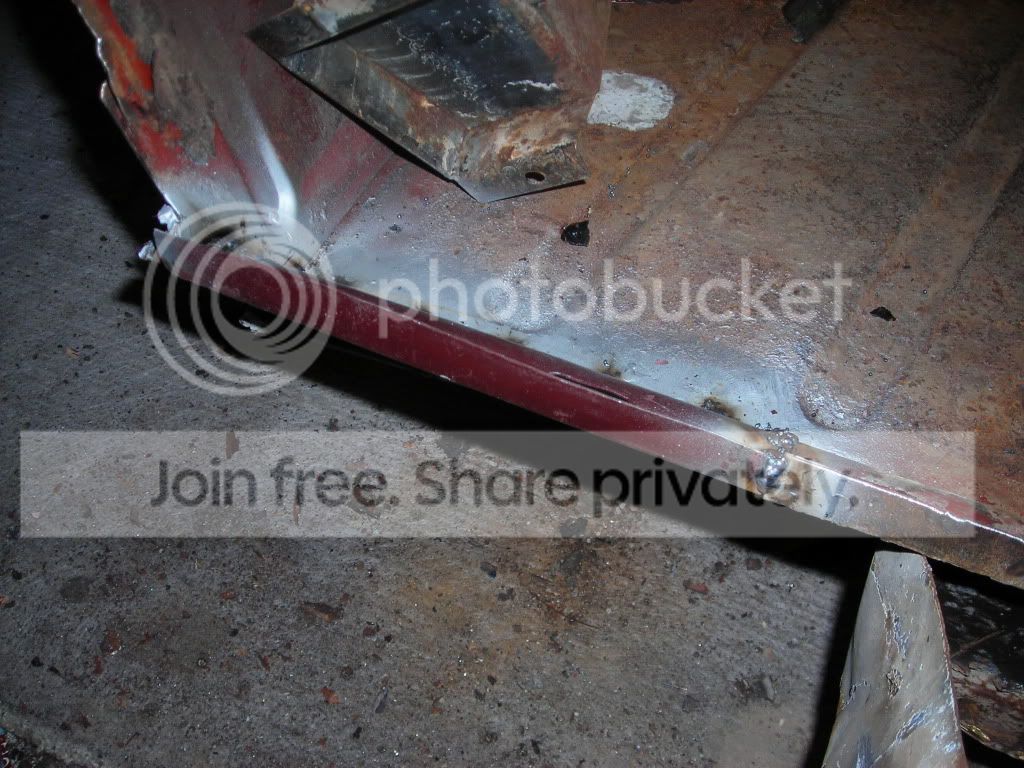
Now on to the driver side, and with more room to work and thicker floor metal this came out much better. The floor looks worse than it actually is, it cleans up nicely with aggressive wire brushing and took the welds just fine.

1971TR6floorrepair8-28-091.jpg


1971TR6floorrepair8-28-092.jpg


1971TR6floorrepair8-28-093.jpg


I still need to trim the outside edge back some, but better to trim than have to try and add metal on an edge, right?
 
Dang, that looks pretty good. Little trimming and grinding needed but otherwise looks spot on.
 
Looks good. I will bring over some of my projects.
 
Tom-

That looks fantastic. Just curious, did you worry about the bottom side at all when you did this? I bought some copper plate with the idea I'd back up weld areas with it which should keep one side smooth. But I'm not sure that technique is that good especially if the copper takes too much heat away from the weld area.

Randy
 
Hi Randy - I wire brushed and cleaned the underside of course, but otherwise did not take any other steps. I've found that the penetration usually works out OK, and some minor touch up with an angle grinder takes care of it.

Was that what you were asking?
 
tdskip said:
About to go after this on one your projects Randy?

Yes, but on a time scale which will make it seem like I'm doing nothing at all, which is the way most of my projects drag out! Seriously, as soon as it cools down here a bit to make garage work bearable I will be attempting some of this. I've practiced on some scraps and I found that panel work is a little tricky - getting reasonable penetration without blowing through the metal has been tough.

Randy
 
TR4nut said:
tdskip said:
About to go after this on one your projects Randy?

Yes, but on a time scale which will make it seem like I'm doing nothing at all, which is the way most of my projects drag out! Seriously, as soon as it cools down here a bit to make garage work bearable I will be attempting some of this. I've practiced on some scraps and I found that panel work is a little tricky - getting reasonable penetration without blowing through the metal has been tough.

Randy

When it cools down? Ugh, IF it cools down is how I'm feeling this year. I have a pedestal oscillating fan in my garage, and can get about 2 hours in there after dark with the door open. I'm trying to have my car ready for Texas All British Car Days in Round Rock next month. It will be close...
 
Some more progress;

As you can see, these sills aren't quite the right shape. It took about an hour of re-working them to have the same contour of the existing sills. I don't think I noticed this yesterday since I lap welded the passenger side in.

DSCN3225.jpg


DSCN3226.jpg


DSCN3227.jpg


Not the best job of aligning the holes. I started off thinking I would stagger them, but.....

DSCN3228.jpg


Test fitting and clamping

DSCN3229.jpg


DSCN3230.jpg


Initial welds

DSCN3231.jpg


DSCN3232.jpg


It took a lot of hammering once the bottom and lap welds on the rear most side where in place to get everything to line up.

DSCN3233.jpg


Certainly not perfect, but I don't think you'll be able to easily notice the repair once ground down and the seam filler has been installed.

I did some more shaping and the gap you can see on the front is closed up now.
 
Go Skip Go!!!!!!
I've been doing a little body work on the doors so I know they will line up correctly when I weld up the floors. I have one door that the po had open up and break the stop. Classic door dent.........Very difficult to pull out with the stud welder and then shape. I used a little lead and a little filler and the lines look good. Don't forget to keep on checking the door gaps as you move on......... " Roger Williams"


Paul
 
Let's see some pictures Paul!

I hear you on the door gaps. At some point I need to tackle the rockers in the TR3 and currently those door gaps are good, so I'm going to brace like crazy and make sure I get some strength back into it.
 
Before
2863292807_dd52b5e2db.jpg


After pulling, some lead and then a few thin coats of filler. I'll give it a shot of primer and and then shoot a guide coat to do some final touch up.
3866543390_c509f4e3d4.jpg

Paul
 
Back
Top