Hey Guest!

 Hey - did you know if you click on the title of a thread it will take you to the first unread post since you last visited that thread?
 but were afraid to ask:
  STOP!! Never post your email address in open forums. Bots can "harvest" your email! If you must share your email use a Private Message or use the
  smilie in place of the real @
 Pretty Please - add it to our Events forum(s) and add to the calendar! >>
CJD
Yoda
Offline
Alright, next dumb question...
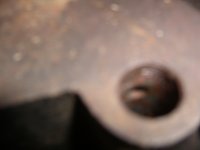
I've got the block as bare as it goes, with the exception of the oil gallery plugs. So, what's the deal with these things? How do you remove them, as they are just flat with nothing to grab. Then, what do you put in their place? The front oil plug will foul the front plate if not totally flat, and the rear looks like it may be very close to the flywheel.
I usually send the blocks off to be tanked, but that gets grunge in every crevace. I am tempted to just give it a good bath with carb cleaner and call it a day.
Is there an easy secret to these plugs?
Oh, and what about the crank "bung Holes"? Love that term!?! How do those go out and back in?