• Hey Guest!
    British Car Forum has been supporting enthusiasts for over 25 years by providing a great place to share our love for British cars. You can support our efforts by upgrading your membership for less than the dues of most car clubs. There are some perks with a member upgrade!

    **Upgrade Now**
    (PS: Upgraded members don't see this banner, nor will you see the Google ads that appear on the site.)
  • When posting a classified ad, you MUST select a prefix from the drop-down next to the subject line. If you don't you will get an error and your ad will not be posted!
Tips
Tips

Lessons learned from installing a gearbox cover

tdskip

Yoda
Country flag
Offline
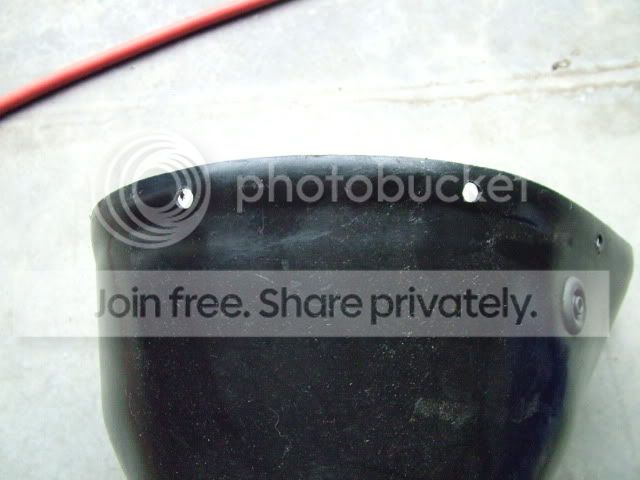
Hi guys - so I installed the poly gearbox cover on the '74 TR6 today, and man what a total pain. So in case anyone is about to do this I thought I'd pass along what I learned. I'm sure there are other, probably better ways to do this, so please just take this as some ideas not anything definitive.

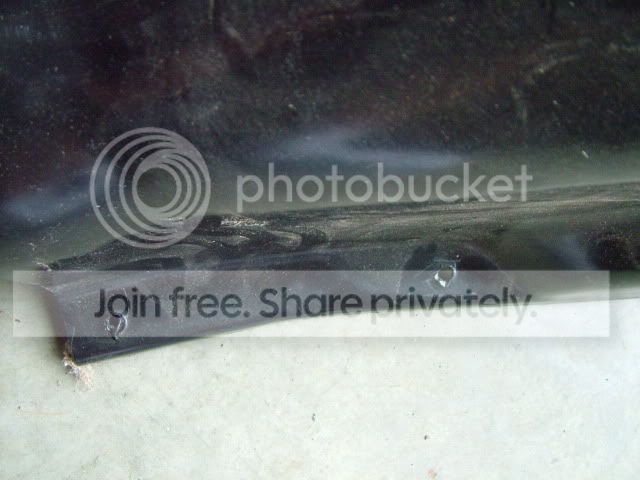
I drilled holes in the cover based on measurements and do test fitting, next time I won’t drill ahead of time since the cover flexes and instead drill based on installed fit hole by hole. I'd suggest start with the rear most section and then move forward from there.

I used ÂĽ inch longer bolts than the bolts provided in the kit. It makes it easier to get the threads started on a couple of the holes, or at least did for me.

Anyway, hope this is useful to someone.
 
I'm going to agree with you, Tom. It is not a fun job. While I was in there, I replaced the rear gearbox mount.
 
Oh goody. I'm getting ready to do the overdrive conversion. I'm not looking forward to either the g/box cover or the grunt work of getting the trans out and in. I haven't done it since the 70's. This OD better be reliable.
 
I think I marked the cover with an awl from underneath while someone held it in place from above.

There's no easy way to do it. The key was to drill a bigger hole to allow for error. I used a 3/8" or 1/2" drill.
 
TRDejaVu said:
Oh goody. I'm getting ready to do the overdrive conversion. I'm not looking forward to either the g/box cover or the grunt work of getting the trans out and in. I haven't done it since the 70's. This OD better be reliable.

But you are at an advantage. While you have the g/b out you can put the cover in place and mark where to drill the holes, around the bell housing, from the underside of the car. I've installed the same cover and had the same challenges--I wish the manufacturer had drilled the holes for me.
 
Tom,

I think that Bobby D had a good solution to fitting the cover. Maybe he will jump in here and share it with us.

Cheers,
M. Pied Lourd
 
It it's drilled already, thread a couple of bolts up through the bottom of the floor pan to make alignment for the bolts from the top easier. Then place the cover over the exposed bolt threads and screw in the rest.
 
The one I bought from BPNW came pre-drilled for the floor plan bolts but did not have holes around the bellhousing part. It was dimpled in that area. Since I still have much do to before final assembly of the interior I just left the bellhousing bolts out for now so that pain is still to come.
 
Tom, Now I know why this topic struck me as weird. My cover was pre drilled to.

DSCF6305.jpg

DSCF6306.jpg
 
The cover that came on my 1958 TR3A is made of steel sheetmetal and all the holes along the floor pans are slotted so I can easily align the screws with the captive nuts and get them started about 1/2 way tight, then I slide the tunnel forward about 1/2 a slot that is left for each bolt so the holes match with the front holes up over the bellhousing.

And when I bought my 1958 TR3A brand new - guess what - the slotted holes were already there !

Another one for Don Kelly !
 
cheseroo said:
The one I bought from BPNW came pre-drilled for the floor plan bolts but did not have holes around the bellhousing part. It was dimpled in that area. Since I still have much do to before final assembly of the interior I just left the bellhousing bolts out for now so that pain is still to come.

No matter what weekend you go to install it Rich, I'm out of town.


(having a spotter for the top/bellhousing bolts will help. let me know)
 
M_Pied_Lourd said:
Tom,
I think that Bobby D had a good solution to fitting the cover. Maybe he will jump in here and share it with us.Cheers,
M. Pied Lourd

My engine & tranny were out of the car so I was able to test mount the poly cover and "precisely" drill the holes for the firewall screws. That made getting those screws in much easier. The easiest way to install the cover is to drill all the holes in the cover out to 1/2" and then screw the tunnel bolts up from the bottom of the car so that the threaded end is sticking up into the interior. Now it's just a matter of wrestling the cover over the bolt ends and securing it with washers and nuts.

The next best thing I did was to cover the tunnel with FatMat and a synthetic fiber rug pad that I got at Lowes. That made a huge difference in keeping heat out of the cockpit. And I used Ultra-Black to hold the rubber sealing strip in place before installing the tunnel cover.

FatMatTunnel.jpg


PaddedTunnel.jpg
 
DNK said:
Fat Mat and the rug ,BOTH?

Yes......and then I cursed my decision as I tried to install the center console over the FatMat, Underlayment & rug! :wall: 
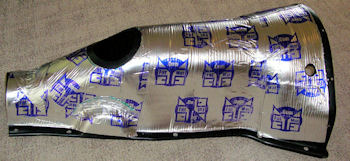
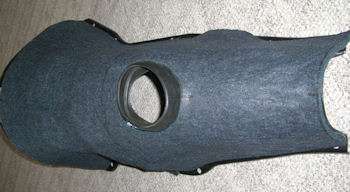
The added thickness on top of a poly tunnel that has no "give" to it made for a challenging installation. But it all went back together and it really quieted things down and keeps all the heat out.
 
I installed double faced insulation on the underside with havy duty 3M adhesive and aluminum tape made for this purpose...think I sourced it from Moss, then just carpet pad and carpet above....much cooler and it only took a few hours ...do it after you make any mods and test fit.

Installation with an overdrive has another interesting dimension. I needed to modify (as in cut a hole) to clear the angle drive for the speedo cable. Don't know if the plastic cover molds have been changed in the past 5 years to address this problem, but I have seen that two piece covers are available and would surely check them out.

Also, made a modification in order to access the solenoid from inside the car. If you look at page 2-304 of the workshop manual you will see a picture of the access cover on the original cardboard designs. It was simple to do and I did use it to make adjustments once the OD was installed. I drove the car for a few days before installing the carpets and dash support to make sure that all was in order. There is a common problem with the lever slipping on its shaft to distortion from over-tightening....Many OD "problems" are caused by solenoid failure, engagement lever adjustment, etc. so this is highly recommended.

Also, have the drive shaft balanced and checked for straightness. A drive line shop will do this for under $100, including installation of the u joints ( you supply the u joints). What a difference this made.

Reliability....where are you getting the unit and who is doing the conversion, bench checking, etc. See that you are in PA..I have 4 words of advice on this John Esposito -Quantum Mechanics

Good Luck
 
Bobby, do you think if you would ever do it over that you would maybe fit the tunnel and the console then scribe the area and remove the under layment?
 
Back
Top