 Hi Guest!

 Hey - did you know if you click on the title of a thread it will take you to the first unread post since you last visited that thread?
 but were afraid to ask:
  STOP!! Never post your email address in open forums. Bots can "harvest" your email! If you must share your email use a Private Message or use the
  smilie in place of the real @
 Pretty Please - add it to our Events forum(s) and add to the calendar! >>
Shealey
Jedi Trainee
Offline
Ok, My wiper switch was rusted. I really didn't know how this switch funtioned so I didn't want to force it. So with the help from the board I was advised the switch is in fact a push-pull style.
Now, not knowing if my switch was stuck in the off or on position I was still kind of leary about forcing the switch.
So, I carefully pried the tabs back on the aluminum housing. This was not accomplished without stabbing my index finger with a very sharp awl! Be careful with that part!
Anywho... Once I had the back off I bolted the switch body with the jamb nuts to a 3/8" box end wrench and clamped the wrench into a vise. I sprayed the switch shaft with some PB Blaster and used a small punch to tap the shaft in and out.
The switch free'd up quickly.
Now If I had known the switch was in the off position I could have free'd the shaft by pulling and would not have had to dis-assemble the switch, and stab my finger.
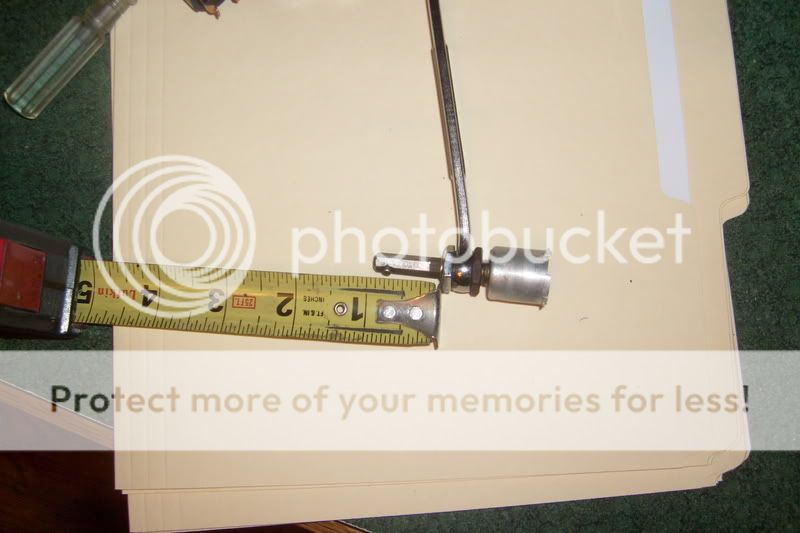
Here's what I found. If your switch doesn't have the knob like mine, you can measure it. Measure the switch shaft from the spring pin that locks the knob to the top of the threads on the body.
If it measures 5/8" the switch is in the off position.
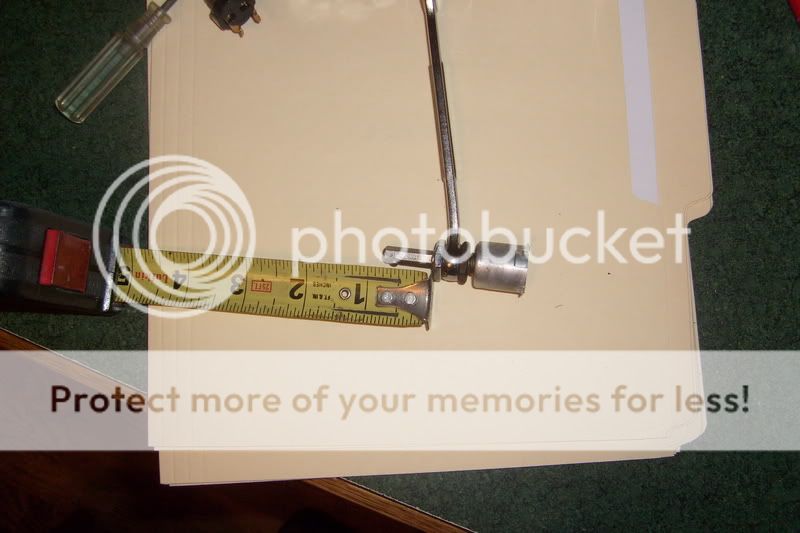
If it measures 3/4" the switch is in the on position.
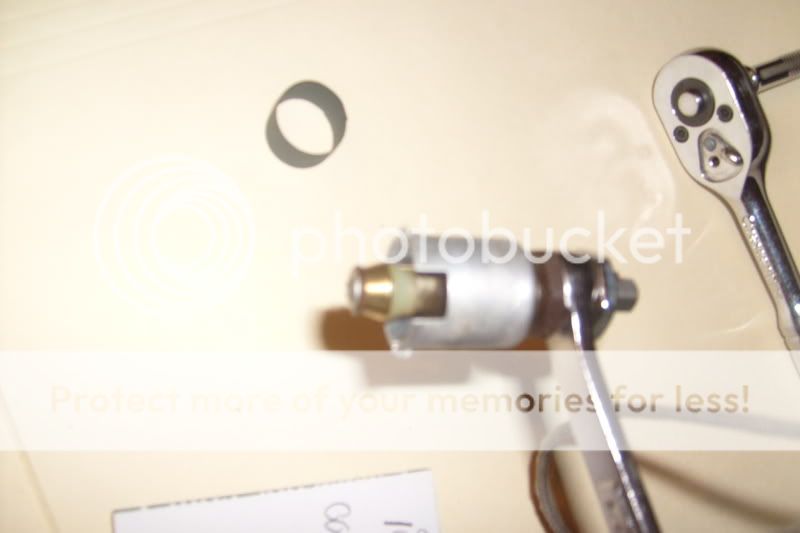
Here's what it looks like inside. The black ring in the photo is a fiber insulator.
Hopefully this will help someone else from stabbing their self. LOL
Now, not knowing if my switch was stuck in the off or on position I was still kind of leary about forcing the switch.
So, I carefully pried the tabs back on the aluminum housing. This was not accomplished without stabbing my index finger with a very sharp awl! Be careful with that part!
Anywho... Once I had the back off I bolted the switch body with the jamb nuts to a 3/8" box end wrench and clamped the wrench into a vise. I sprayed the switch shaft with some PB Blaster and used a small punch to tap the shaft in and out.
The switch free'd up quickly.
Now If I had known the switch was in the off position I could have free'd the shaft by pulling and would not have had to dis-assemble the switch, and stab my finger.
Here's what I found. If your switch doesn't have the knob like mine, you can measure it. Measure the switch shaft from the spring pin that locks the knob to the top of the threads on the body.
If it measures 5/8" the switch is in the off position.
If it measures 3/4" the switch is in the on position.
Here's what it looks like inside. The black ring in the photo is a fiber insulator.
Hopefully this will help someone else from stabbing their self. LOL