Eric,
Here is the "why" the carrier should come out:
When an axle breaks like yours did, it is like a wound spring popping. Little chunks of metal likely were slung out. What concerns me is that these little chunks of metal are sitting in the axle tube, just outside of the carrier bearing on that side. More tiny filings were left when the broken stubs ground against each other after the break.
Here's what I would suggest:
Use a good flashlight and look down the outside of the axle tube on the side that broke. You are trying to look all the way to the carrier bearing, and you are looking for bright colored chunks of metal, or even tiny filings from the broken parts grinding against each other. They should stand out against the black grunge coating the tube.. If you see ANY at all, the carrier must come out to remove them. If you don't remove them, they will eventually get caught up in the bearings and gears...and the axle will then start the tell-tale "whine", signalling a total rebuild.
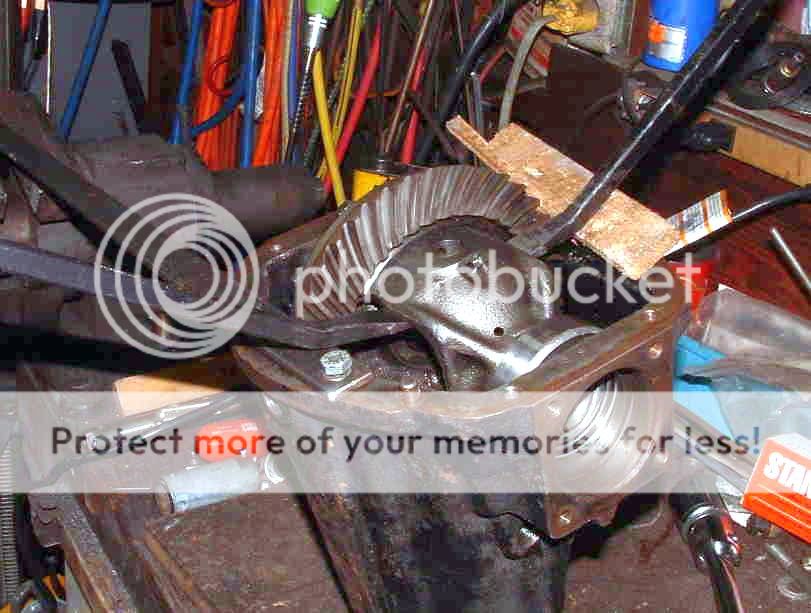
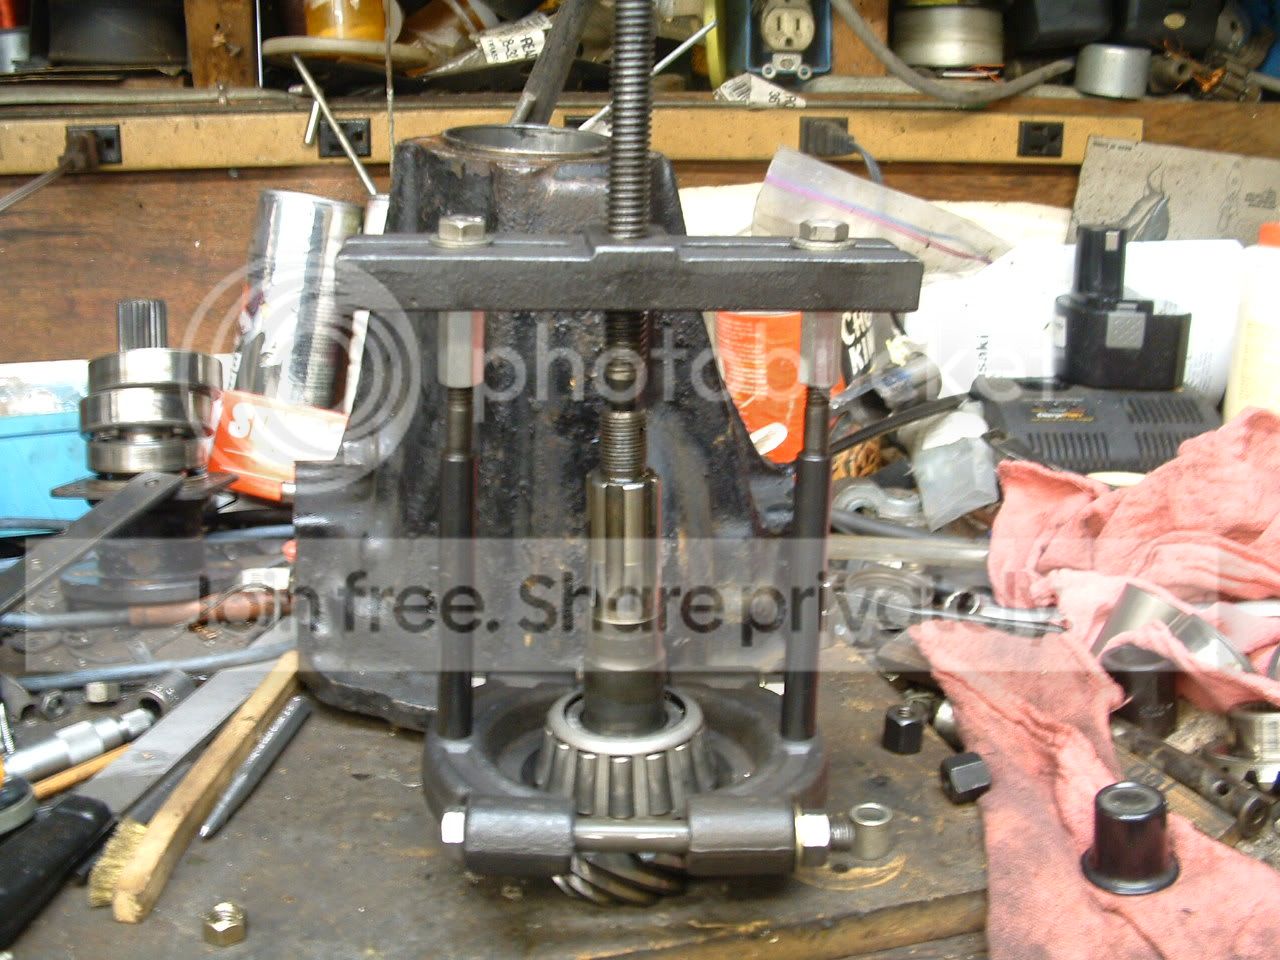
I have never had much trouble just pulling the carrier and putting it back. It is a tight fit, but it can be done without much difficulty. Undo the four bolts...2 on each side. You will then have to tap the bearing caps to loosen them. These caps MUST go back on the same side and same orientation as they come off.
A crow bar like Randall shows will get the carrier out...and a big mallet will work it back. You do not need to change the shim packs, unless you have to change the bearings. If it was working right before, then it will operate just the same if you reinstall everything the way it came out. That's the beauty of it having a tight fit.
Just remember, as the carrier comes out, the shim packs and bearing races, which are on each side of the carrier bearings, will fall out, and they have to go back on the same side. Good idea to have someone with you as it comes out, just to watch the shims and races, and label them right away. (I know that if I even set them down for a minute, I start talking myself out of which is which!?!) The shims set the position of the gears, and have to stay the same or you will get gear noise and the ring and pinnion gears will wear quickly after that.
Now, while the carrier is out, the important thing to do is to use magnets, kerosene, brake cleaner, rags...basically whatever it takes, to get every trace of metal out of the broke side axle tube. This is very important, so plan to spend some time working on it.
Once you are absolutely sure all is clean. You can reinstall the carrier. Place the bearing races first, and then the shims, on their respective sides. You have to hold them in position, on the outside of the carrier, as you lift the carrier up and into the housing. You can usually wedge it in a short distance, and then tap it in with a mallet or using a wood block and hammer. Watch the shims as you go to make sure they do not get hung up and damaged. You may have to tap them in slightly before reinstalling the caps.
If you have trouble with the above method, then start over. This time just slip the carrier in easily, by leaving out the larger of the shims. Once the carrier is in place, tap it away from the side you left the shim out...and then gently tap the shim into place using a drift. This method is easier, but you must be VERY cautious not to bend or otherwise damage the shim. If it binds, stop and figure out why...don't force it.
Torque the caps to 35ft-lbs.
I won't kid you, setting a carrier up from scratch is one of the most difficult things you can do, and it requires some pricey tools. Luckily, you don't need to do that. You just need to take it apart and put it back the way you found it. This job requires no money, just time.
John

 Hey Guest!

 Hey - did you know if you click on the title of a thread it will take you to the first unread post since you last visited that thread?
 but were afraid to ask:
  STOP!! Never post your email address in open forums. Bots can "harvest" your email! If you must share your email use a Private Message or use the
  smilie in place of the real @
 Pretty Please - add it to our Events forum(s) and add to the calendar! >>