Hey Guest!

 Hey - did you know if you click on the title of a thread it will take you to the first unread post since you last visited that thread?
 but were afraid to ask:
  STOP!! Never post your email address in open forums. Bots can "harvest" your email! If you must share your email use a Private Message or use the
  smilie in place of the real @
 Pretty Please - add it to our Events forum(s) and add to the calendar! >>
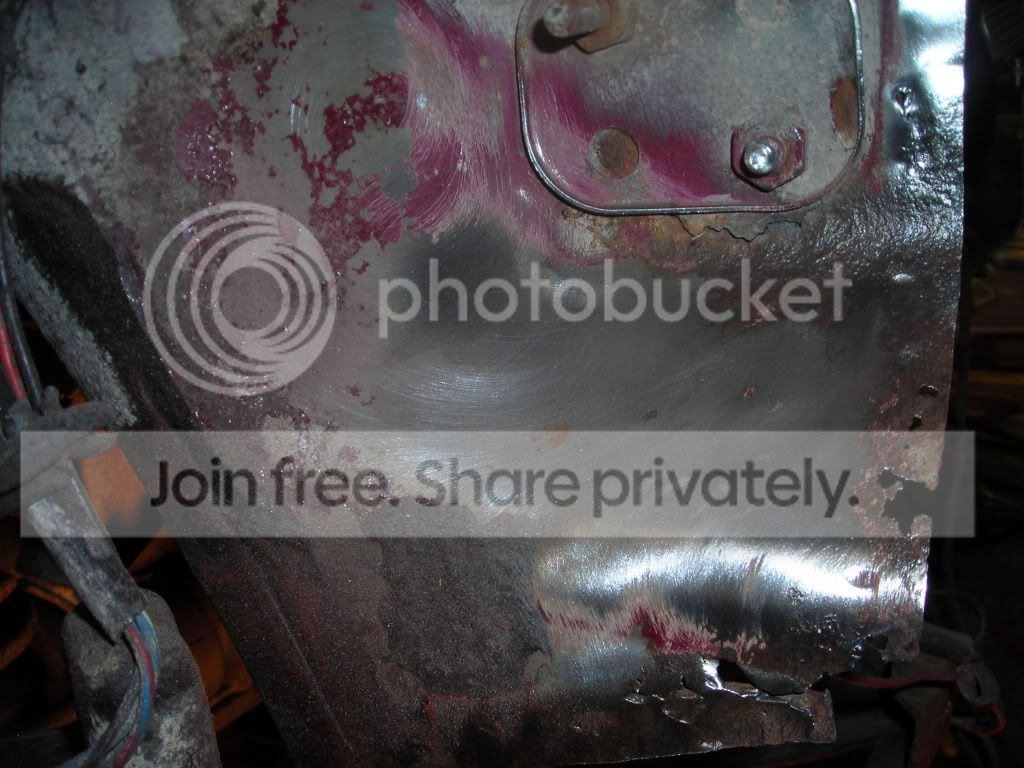
I tried drilling out the spot welds, and that didn't go so well. My spot weld cutters were too big, but the drill bits I had too small. More importantly, you have to drill through metal in some cases I'd rather leave intact for alignment proposes and drill in the replacement panel instead. In any case, I did this a bit unconventionally but the end result is that the original panels are completely intact.
I ended up using a combination of a grinding disc, cutting wheel on a Dremel and a sharpened screw driver and hammer to slice the metal once it was weakened. It took a fair amount of time, probably about 4 hours of total time, but the inner fenders are completely intact now and were not distorted or weakened. Like I said, not the recommended way of doing it but it worked.
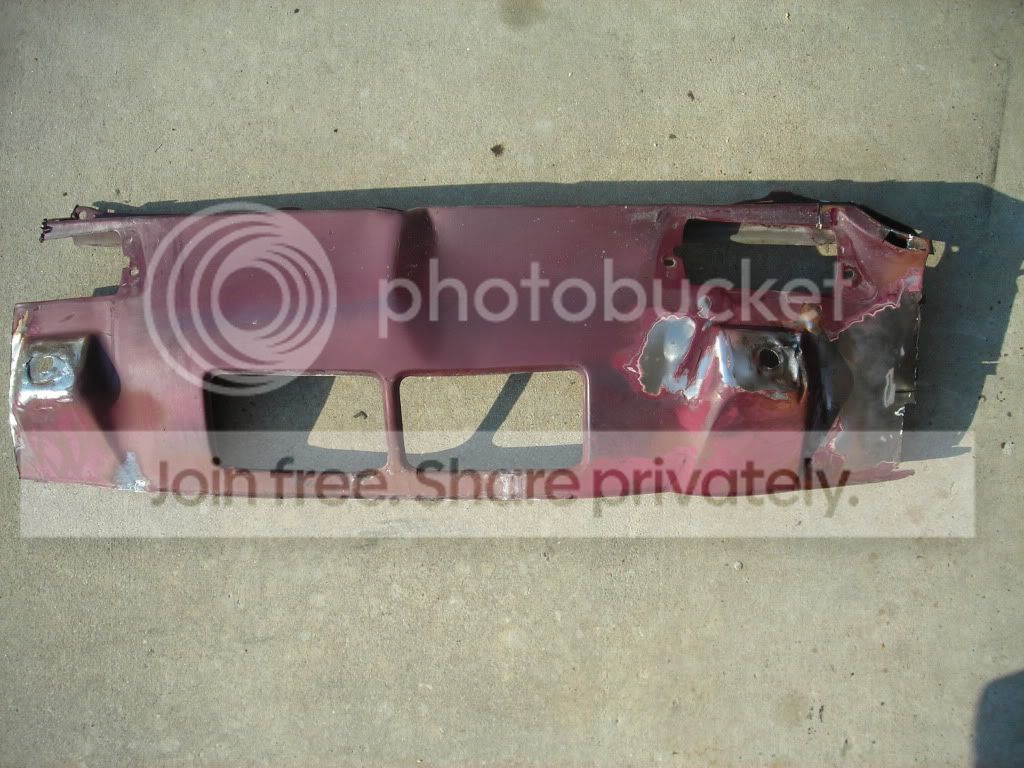
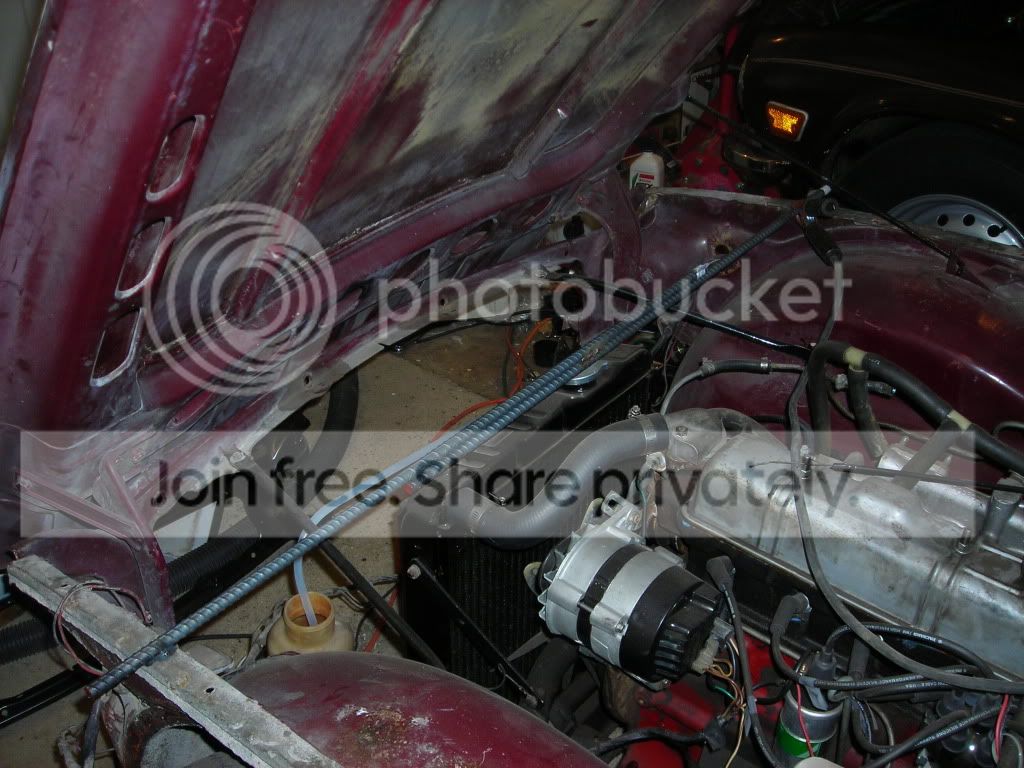
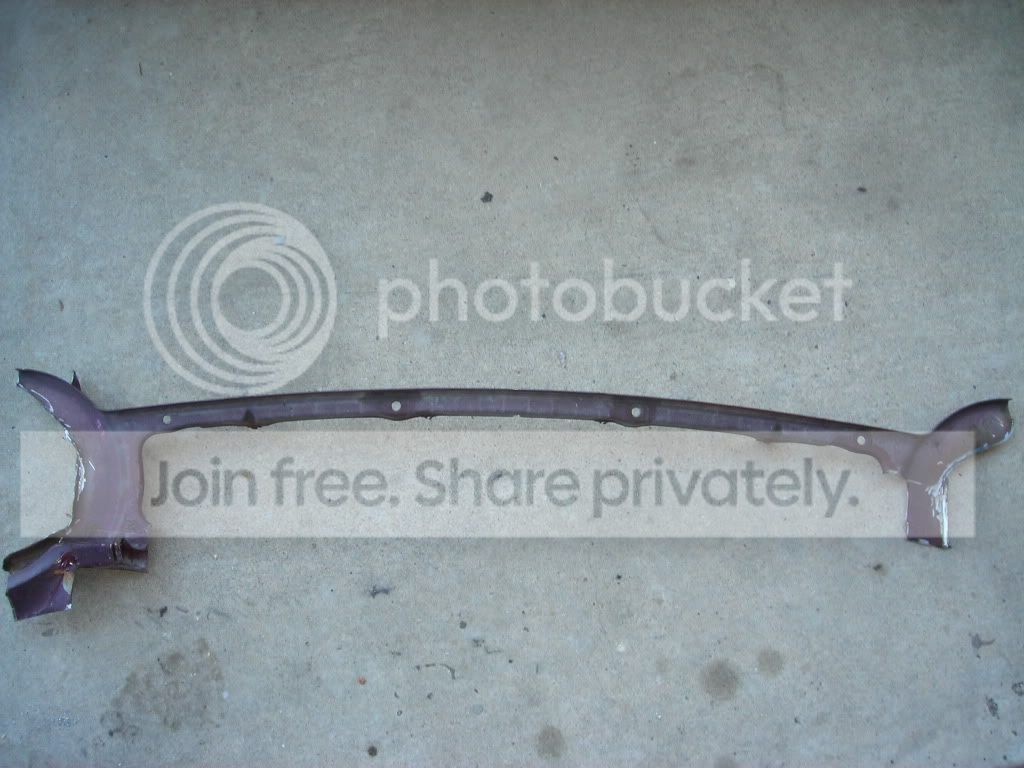
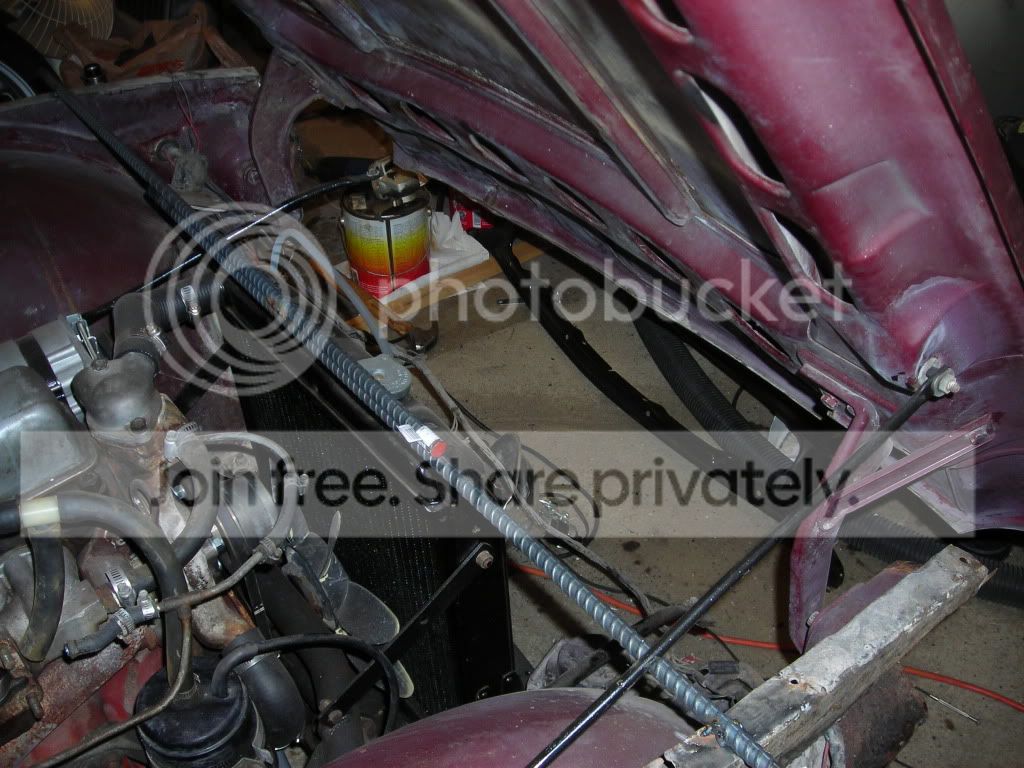
You can probably see that I decided to remove the main section of the valance to allow better access to the section where the valance attaches to the headlight area. I also left the top section of the valance intact to provide some rigidity until I braced the inner fenders
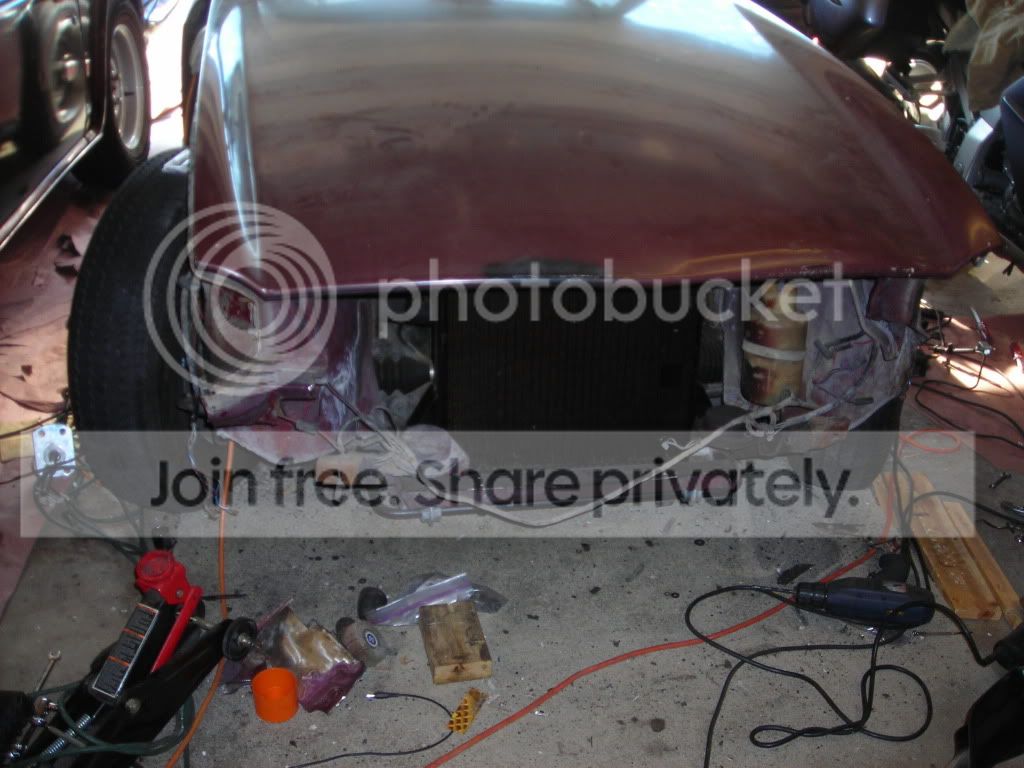
I also decided to leave the hood in place to help me gauge the alignment of the front panel a bit better. Removing the valance removes a lot of strength from the front assemble where it joins the two inner fenders so I welded some rebar together and used that to brace the fenders.
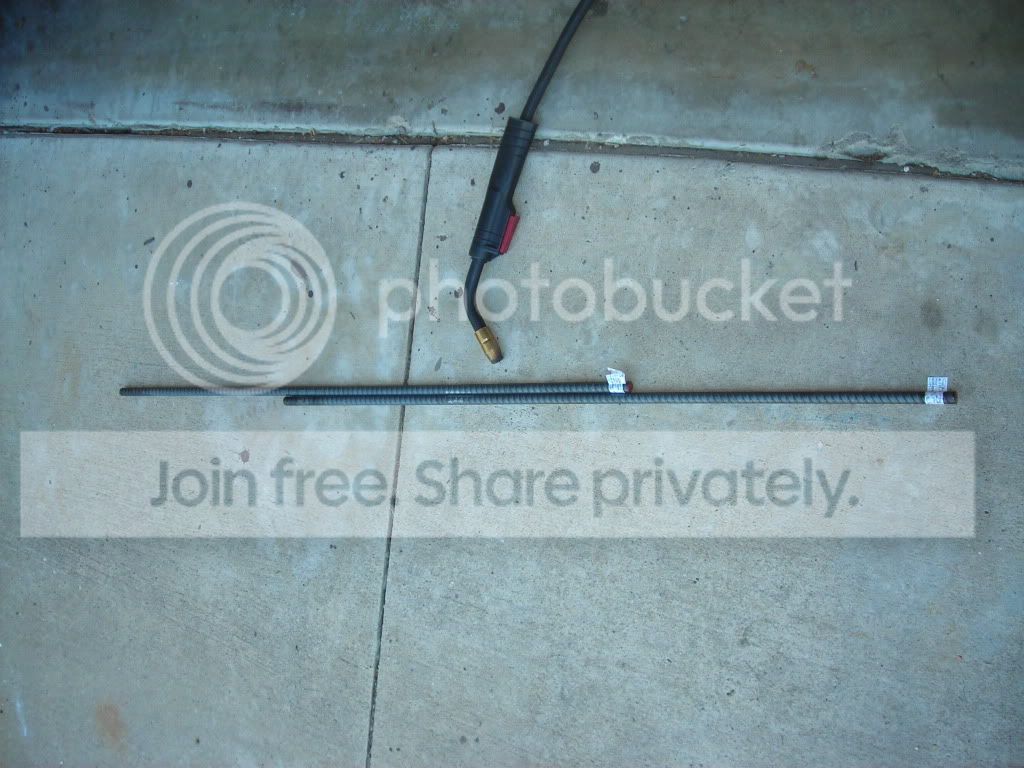
It was nice to just be able to crank up the power and wire feed to weld some substantial metal together, especially since it could be ugly.
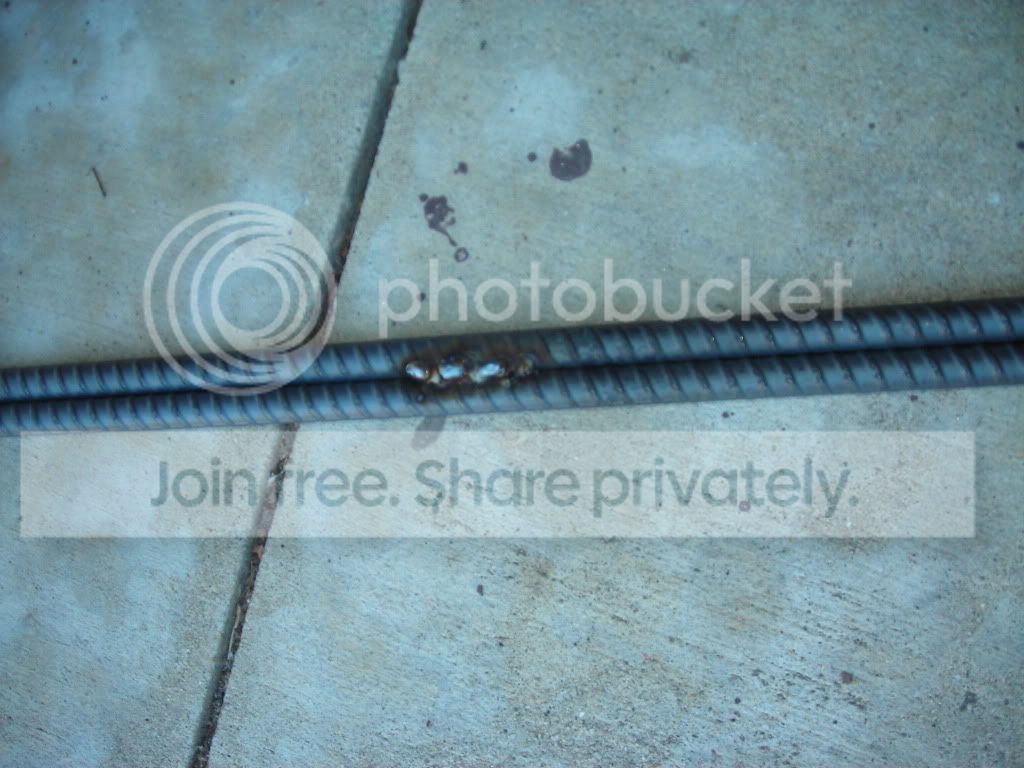
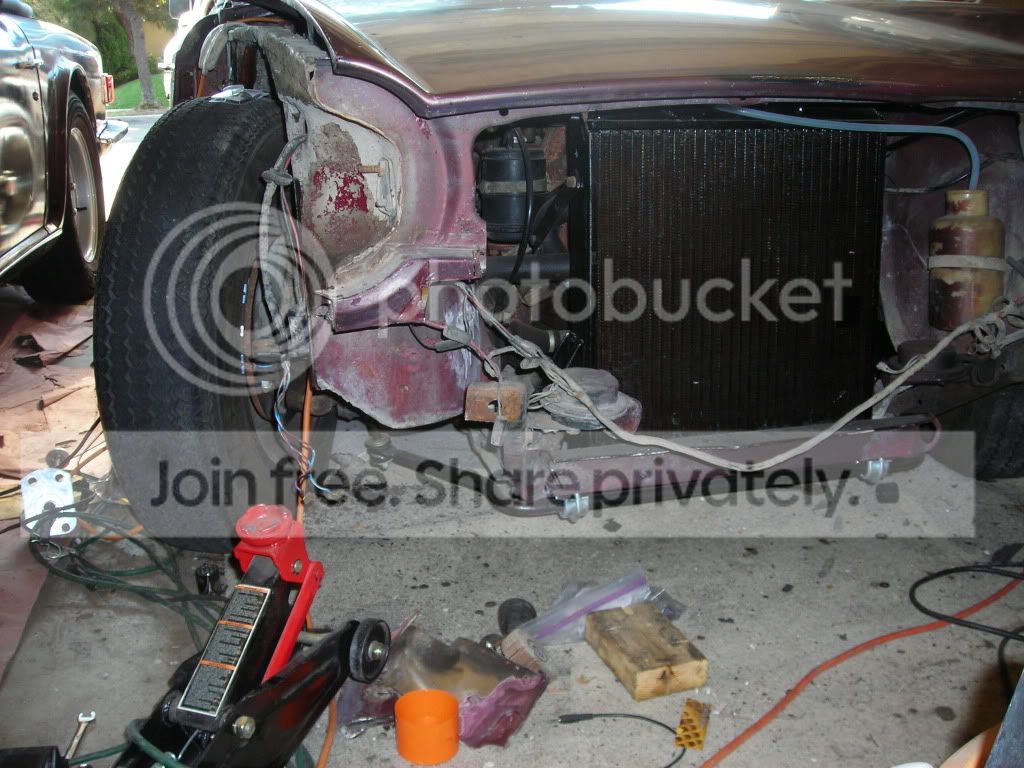
The rebar brace seems to be working OK, but there is some flex to it and if I planned better I'd probably have utilized a more rigid material. Don't sneeze! Actually it only has to brace the fenders and help hold alignment for a little bit, and hopefully I have some strength back in it tonight via welding in the new valance.
I ended up using a combination of a grinding disc, cutting wheel on a Dremel and a sharpened screw driver and hammer to slice the metal once it was weakened. It took a fair amount of time, probably about 4 hours of total time, but the inner fenders are completely intact now and were not distorted or weakened. Like I said, not the recommended way of doing it but it worked.
You can probably see that I decided to remove the main section of the valance to allow better access to the section where the valance attaches to the headlight area. I also left the top section of the valance intact to provide some rigidity until I braced the inner fenders
I also decided to leave the hood in place to help me gauge the alignment of the front panel a bit better. Removing the valance removes a lot of strength from the front assemble where it joins the two inner fenders so I welded some rebar together and used that to brace the fenders.
It was nice to just be able to crank up the power and wire feed to weld some substantial metal together, especially since it could be ugly.
The rebar brace seems to be working OK, but there is some flex to it and if I planned better I'd probably have utilized a more rigid material. Don't sneeze! Actually it only has to brace the fenders and help hold alignment for a little bit, and hopefully I have some strength back in it tonight via welding in the new valance.