• Hi Guest!
    You can help ensure that British Car Forum (BCF) continues to provide a great place to engage in the British car hobby! If you find BCF a beneficial community, please consider supporting our efforts with a subscription.

    There are some perks with a member upgrade!
    **Upgrade Now**
    (PS: Subscribers don't see this gawd-aweful banner
Tips
Tips

Door seals BJ8

HealeyVanZet

Freshman Member
Country flag
Offline
Hi,
Who can help me with some detailed pictures of the door seals of a BJ8 and more specific; in combination with the aluminium shut pillar cover and sill cover.
Thnx.

regards
Henry
 
Hi,
Who can help me with some detailed pictures of the door seals of a BJ8 and more specific; in combination with the aluminium shut pillar cover and sill cover.
Thnx.

regards
Henry
search for posts from asumhly. He posted some very good ones.
 
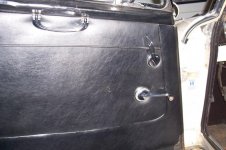
Here's one of my '65. image.jpg
 
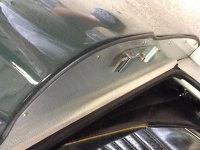
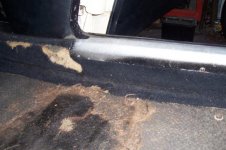
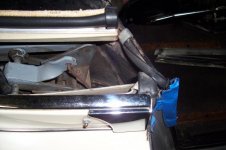
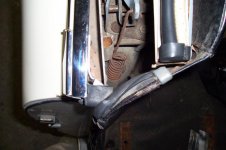
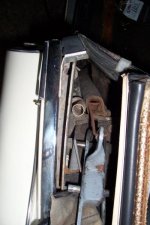
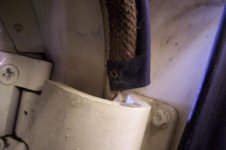
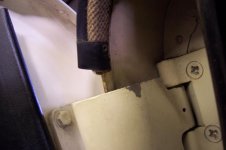
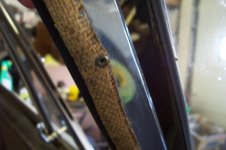
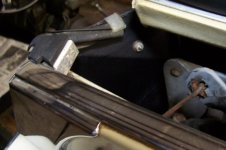
100_5444.jpg100_5447.jpg100_5449.jpg100_5450.jpg100_5451.jpg Here you can see how the door seal terminates on the qrtr panel with clip and small pozi screws. These pics are from a 67 original BJ8 , not restored.
 
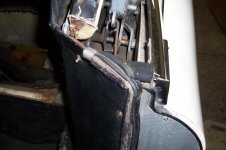
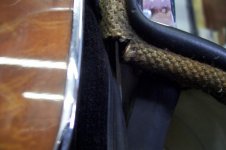
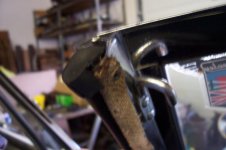
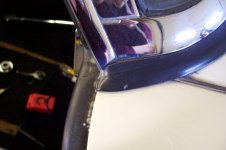
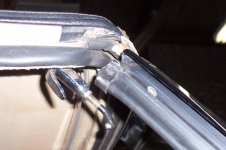
100_5456.jpg100_5472.jpg100_5478.jpg100_5481.jpg100_5482.jpg Better view of original screws and clip, 2nd pic shows how alum can be manipulated to make seal not imprint door panel, 3rd pic shows windshield frame termination, always had black electrical tape and rivet. 4th /5th pics show the cut to the crimp on only so the rubber bulb curves nicely up the windshield post, and termination up behind dashtop.
 
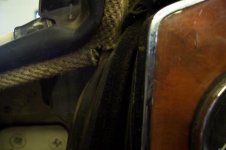
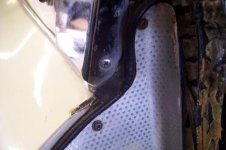
100_5483.jpg100_5484.jpg100_5485.jpg100_5487.jpg100_5488.jpganother seal end shot, rivets on winshield post ,3rd pic end termination and cap 4th pic factory dum dum to seal any gaps,5th pic shows black semi gloss paint on flange that qtr panel and door seal go on ( always seen on any cars Ive done)
 
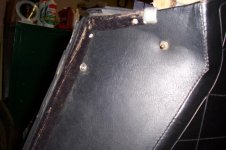
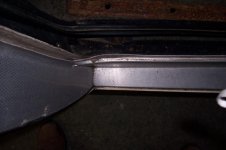
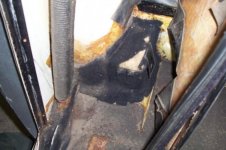
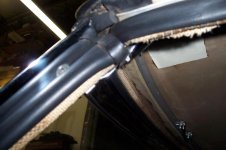
100_5500.jpg100_5503.jpg100_5573.jpg100_5701.jpg100_5721.jpgBackside of qtr panel where seal terminates, door seal terminates up behind dash area, smooth transition of seal at bottom of windshield post, lower windshield tab tucks under, convertible top seal is continuous and not cut at corners or it WILL leak, note imprints of seal cap on top bulb showing a good seal here. Note the original bulb size as most aftermarket bulbs are incorrect, bulbs were larger on the convertible top frame and door seal bulbs are smaller in diameter. I use a rubber mallet and gently set the seal crimp on onto the flanges, its all about a seamless flow and evenness of the flange to start with. Hope this clears any questions. This is the original factory application.
Carroll
 
When the Top was changed none of this ever got out back the way it left the factory.
 
When the Top was changed none of this ever got out back the way it left the factory.

I guess no one paid any attention to the photos in the factory manual
 
thank you all for your contribution.
I don't have the factory manual so haven't got the possibility to have a look at those photos.
 
The factory book will not show any of the little details . Fit and finish is individual car specific, and not that easy to get the door to shut correctly, stick with it , its all about bending the outer flanges that the seal crimps on. I usually close the door and check the gao between the door panel and flanges ( alum shutface panels and F/R steel going up the sides of the door opening) , use a suitable broad clamp to evenly bend the flange slightly as needed to get an even gap all the way around. You do not want to keep removing/installing the seal as the fabric covering the skeleton can fray or loosen if abused. If you are using new door panels it gets tougher as they are generally thicker than the originals causing you to bend the flanges inward even farther.

Carroll
The thicker carpet that comes from Heritage is a blessing and a curse. Nice and plush, but getting the aluminum threshold piece tight against the inner seal just won't go and you have the top of the door seal showing. I'm temped to give it a haircut to see if I can get the threshold trim closer to the inner. I seem to recall the original door seals having a small rubber flange on the bulb to help seal the door better.
 
Patrick,
Before you give it a haircut try making a piece of wood the same imprint of the alum inner piece and clamping it down hard for a few days. That should compress it enough. Even the original carpet was compressed fairly thin over the years !

ps dont forget to take off the outer alum part too so your just clamping on the steel sill : )
 
Back
Top