Hey Guest!

 Hey - did you know if you click on the title of a thread it will take you to the first unread post since you last visited that thread?
 but were afraid to ask:
  STOP!! Never post your email address in open forums. Bots can "harvest" your email! If you must share your email use a Private Message or use the
  smilie in place of the real @
 Pretty Please - add it to our Events forum(s) and add to the calendar! >>
mrv8q
Luke Skywalker
Offline
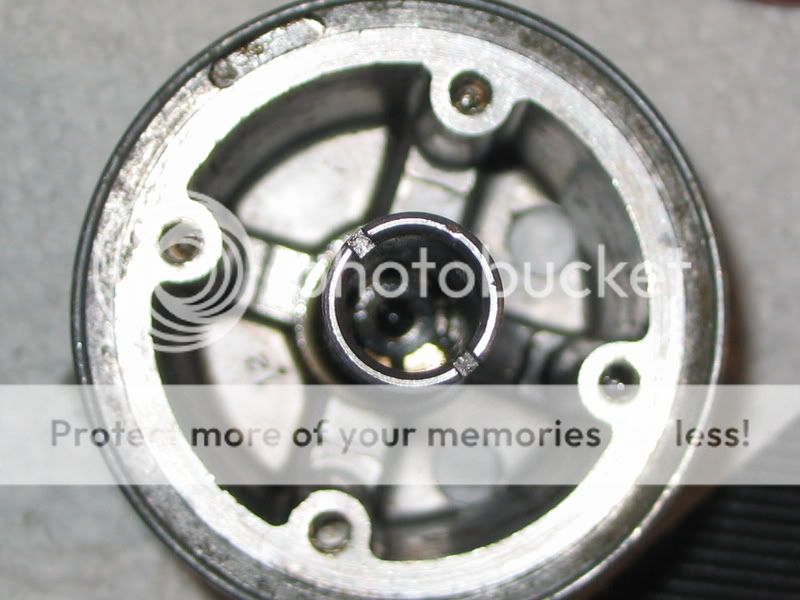
Hello, BCFers, I'm doing a light rebuild of my 175 carbs, and a couple questions for those who've been down this road before. In my TRF carb rebuild kit, there was no inner gasket for the bypass valve; Nelson Reidel shows one on his 3 part rebuild PDF, as seen in my photo,
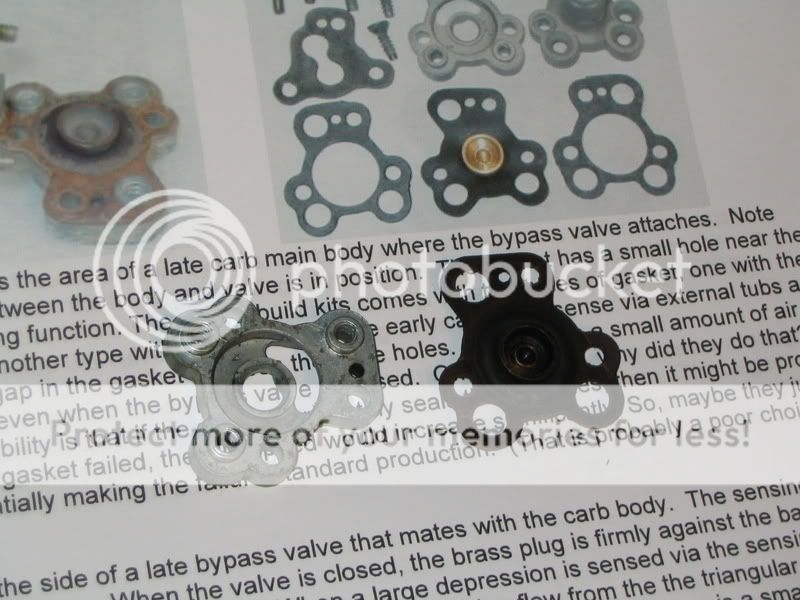
(the one w/ the brass-colored ring),but it's not present in either of the rebuild kit; The one in there now is quite stiff...I guess a call to TRF is in order...
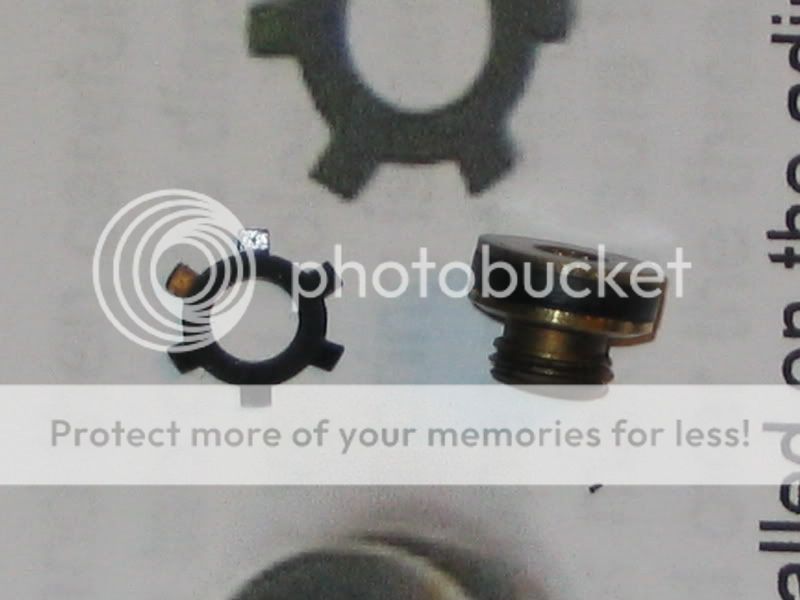
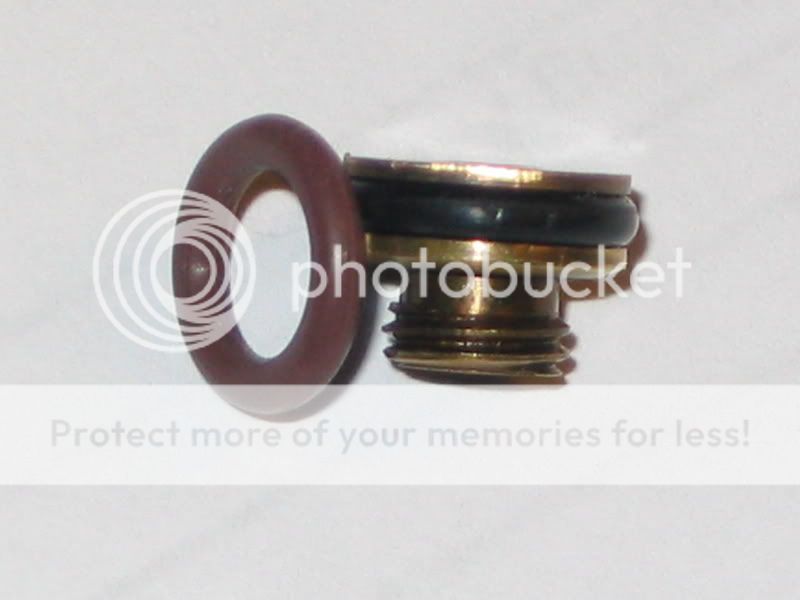
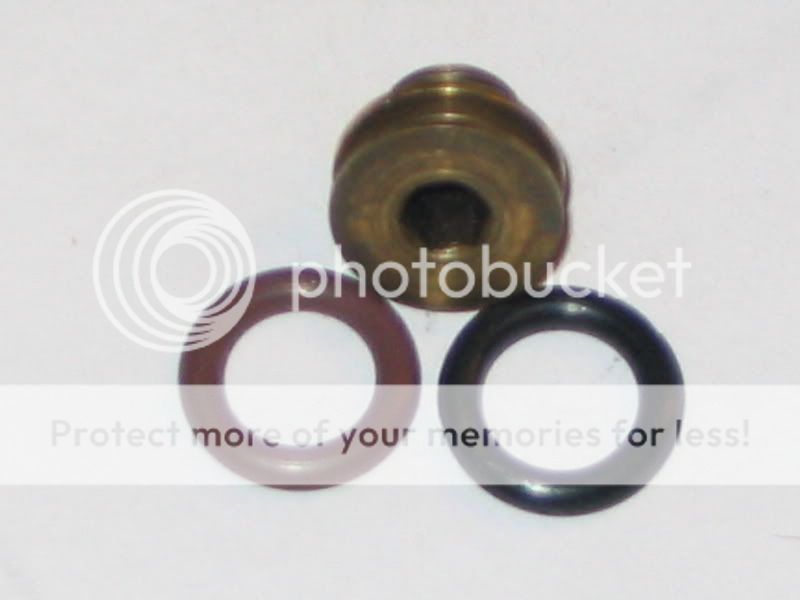
The second questions is a little more perplexing to me: I want to at least see if the o-ring on the needle adjust screw is OK; I'm able to get the needle/carrier out, but the the adjusting screw/o-ring, and 6 prong retaining clip is held fast. (I have the correct tool).
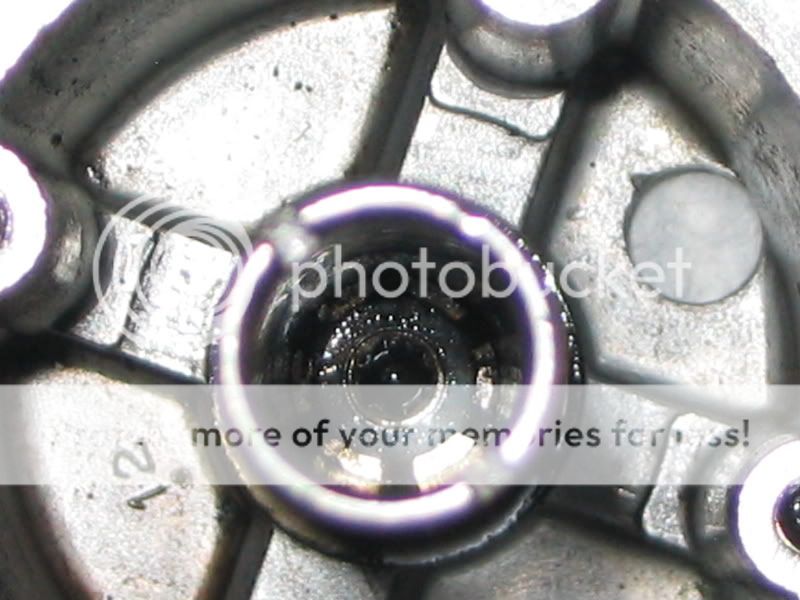 Nelson talks about tapping it out w/ a steel rod, but won't that clip score the air valve guide rod as it comes out, and how do I know how far to tap it in when I reassemble it?
I'm guessing the o-ring is OK, as it's holding damper oil in the guide rod, but as long as I'm here in the neighborhood... Thanks for all comments, and God bless Nelson Reidel!
(the one w/ the brass-colored ring),but it's not present in either of the rebuild kit; The one in there now is quite stiff...I guess a call to TRF is in order...
The second questions is a little more perplexing to me: I want to at least see if the o-ring on the needle adjust screw is OK; I'm able to get the needle/carrier out, but the the adjusting screw/o-ring, and 6 prong retaining clip is held fast. (I have the correct tool).
I'm guessing the o-ring is OK, as it's holding damper oil in the guide rod, but as long as I'm here in the neighborhood... Thanks for all comments, and God bless Nelson Reidel!