Hi Guest!

 Hey - did you know if you click on the title of a thread it will take you to the first unread post since you last visited that thread?
 but were afraid to ask:
  STOP!! Never post your email address in open forums. Bots can "harvest" your email! If you must share your email use a Private Message or use the
  smilie in place of the real @
 Pretty Please - add it to our Events forum(s) and add to the calendar! >>

View attachment TR3A header -Tenax- installation.pdf
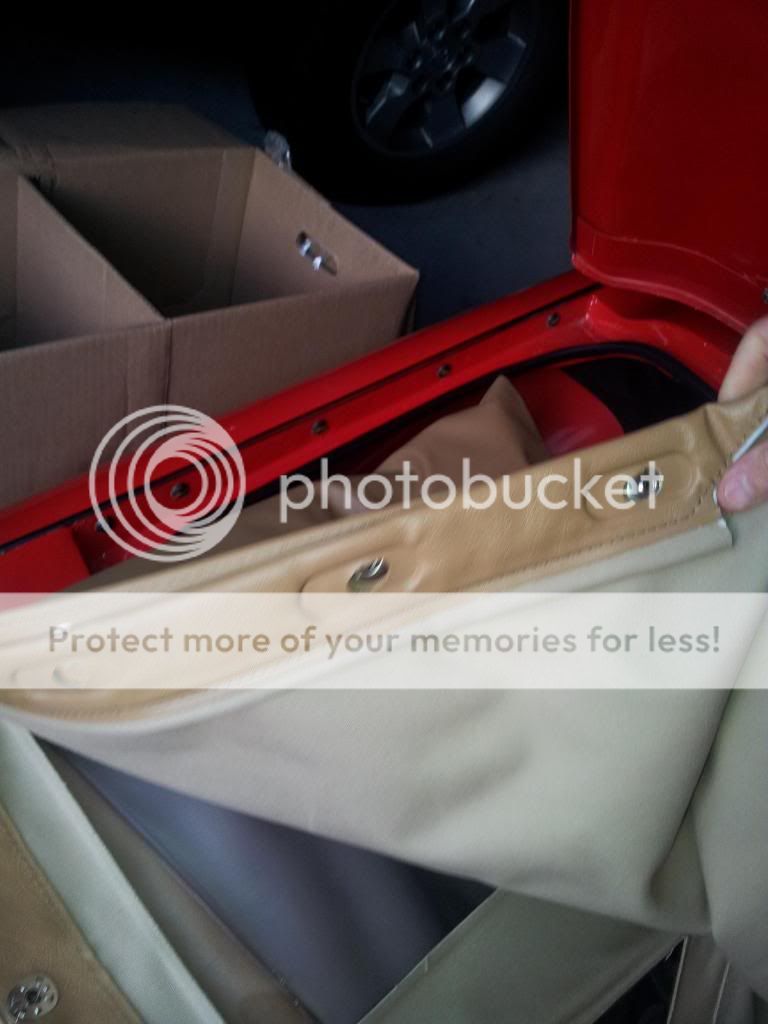
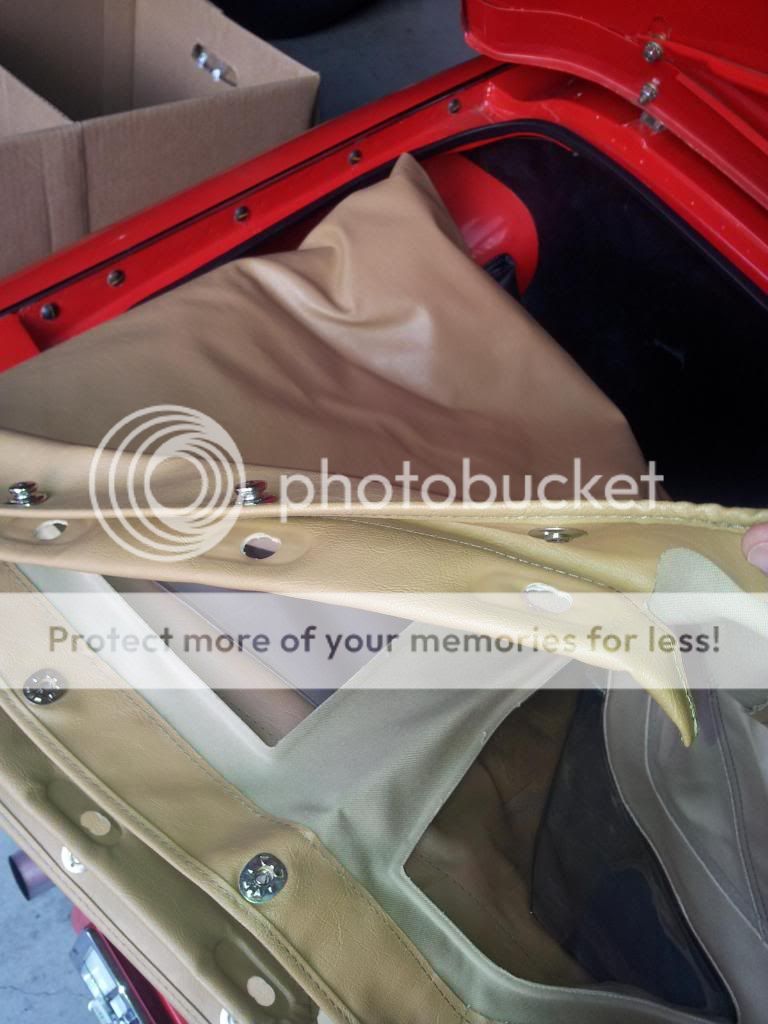
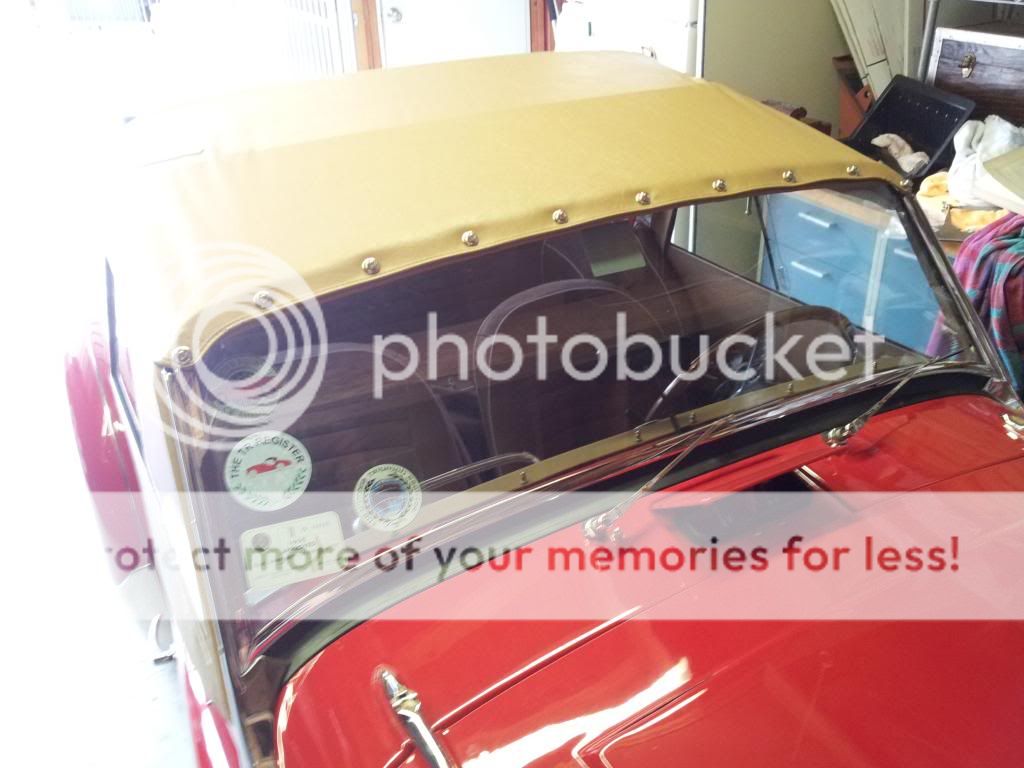
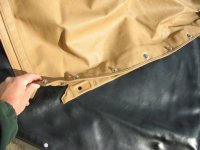
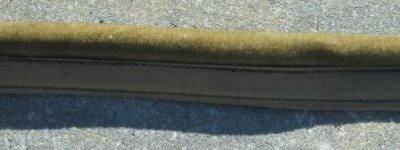
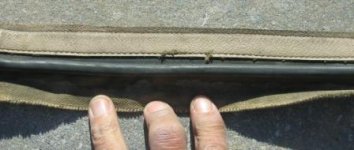
Surprised by searching for above and getting no hits. Just found the instructions for a Sunfast top onto a TR3A. I did not know what the extra flap is for up by the windshield top so this will explain if anyone else needs the info.
Jerry
1960 TR3A with Sunfast top
Surprised by searching for above and getting no hits. Just found the instructions for a Sunfast top onto a TR3A. I did not know what the extra flap is for up by the windshield top so this will explain if anyone else needs the info.
Jerry
1960 TR3A with Sunfast top
Last edited: