• Hi Guest!
    You can help ensure that British Car Forum (BCF) continues to provide a great place to engage in the British car hobby! If you find BCF a beneficial community, please consider supporting our efforts with a subscription.

    There are some perks with a member upgrade!
    **Upgrade Now**
    (PS: Subscribers don't see this gawd-aweful banner
Tips
Tips

TR2/3/3A Clutch slave cylinder / push rod alignment

GTP1960

Jedi Knight
Offline
attachment.php

While bleeding my clutch line, I noticed the pushrod is not in center alignment with the slave cylinder.
do you think this is a problem?
what effect would lowering the pushrod fork to the lowest hole on the clutch shaft have?

advise is appreciated.
 

Attachments

  • image.jpg
    image.jpg
    53.9 KB · Views: 233
Back off the adjustment, then loosen the bolts where the slave bracket attaches to the bellhousing; and adjust the support rod until it is properly positioned. Tighten the bolts and readjust the pushrod.

Fig6Clutchslavecylinderlinkage-1.jpg~original
 
And using the bottom hole will give you less clutch fork action when you depress the pedal.

I notice that you do not have a return spring on there - was it just removed for the photo? I guess not as looking again I also do not see the eyelet gadget that holds the forward end of it.
 
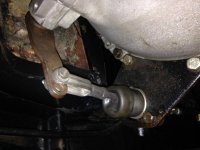
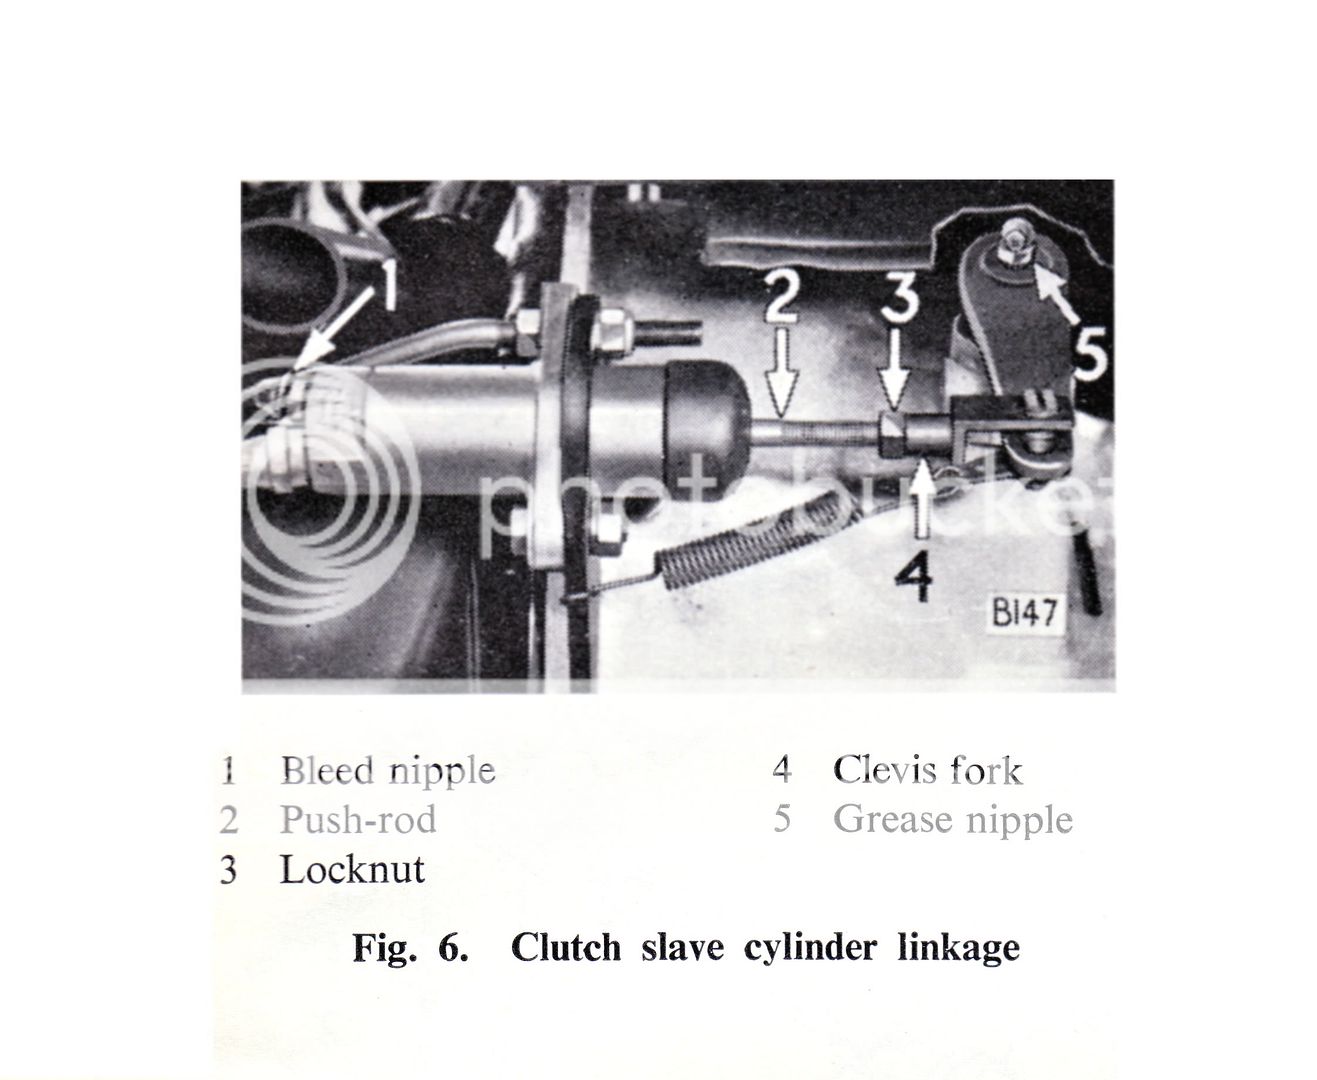
BTW: what is function of that return spring?

It returns the slave piston fully when the clutch is released.

Should be used though in the case of my TR3A the clutch will only work w/o it -- probably because it has a broken clutch fork pin. A jagged break may still move the clutch but will allow the fork to return too far if the spring is used. At least that is my theory -- been waiting 30 years for TOB or clutch or something to fail so I can open it and find out what is wrong.
 
The idea is that it pulls the TOB back clear of the clutch fingers when the clutch is released, so the bearing doesn't turn all the time, or worse yet not turn and drag across the face of the fingers.

I also find that without it, the exact pedal position at which the clutch starts to engage varies from time to time, which I find somewhat irritating. IOW if I haven't used the clutch for some time (like when getting off the freeway), it will engage closer to the floor than usual. Not really a problem, just irritating that the car kind of jumps forward when trying to creep along with a line of traffic when the light turns green; unless I let it out extra-slow (which means it takes longer to start moving).

PS, this is a different situation (TR6 TOB is supposed to turn all the time), but kind of illustrates that having the bearing drag against the fingers is a Bad Thing. Supposedly less than 5000 miles on a new clutch.
Wear.jpg
 
Thx Geo,

i didnt realize the the push rod was loose in there.....I almost ate it.
my clutch shaft does not have zerk fittings on either end.
it looks like a solid shaft with the arm welded on.
(However, the trans. Is an "A" type out of a TR6)
 
I also find that without it, the exact pedal position at which the clutch starts to engage varies from time to time, which I find somewhat irritating. IOW if I haven't used the clutch for some time (like when getting off the freeway), it will engage closer to the floor than usual.

that's exactly what mine was doing........that's why I've bleed the line 3.times in a week.
oh well at least I have very fresh fluid in the rest.

do you think the 6 A type tranny will be an issue?
 
The TR6 did delete the grease zerks, and go to a steel bushing instead of brass/bronze. The result can be severe wear in that area, so I installed brass TR3 bushings in my TR6 gearbox and added zerks. Don't recall offhand whether I added the zerks (as outlined here https://www.buckeyetriumphs.org/technical/clutch/ClutchShaft/ClutchShaft.htm ) or just used a TR3 shaft. Not worth pulling it out just to make that change though, IMO.

If you do want to add zerks without removing the shaft, you can drill & tap the housing for them. I used a 1/8" drill for the passage, drilling until it just nicked the shaft; then went only partway in with a tap drill for a 1/4-28 tap. This was for the Stag, which doesn't have enough room under there for zerks in the shaft; but I see no reason you couldn't do the same thing on a TR3.
 
Randall,

In your picture it shows a lot of brown dust that looks like rust. What is that from? We pulled a friends TR6 clutch off yesterday and found it looked the same as in your picture.
Charley
 
Back
Top