• Hi Guest!
    You can help ensure that British Car Forum (BCF) continues to provide a great place to engage in the British car hobby! If you find BCF a beneficial community, please consider supporting our efforts with a subscription.

    There are some perks with a member upgrade!
    **Upgrade Now**
    (PS: Subscribers don't see this gawd-aweful banner
Tips
Tips

Classic Fuse panel installation has begun.....

Brosky

Great Pumpkin
Offline
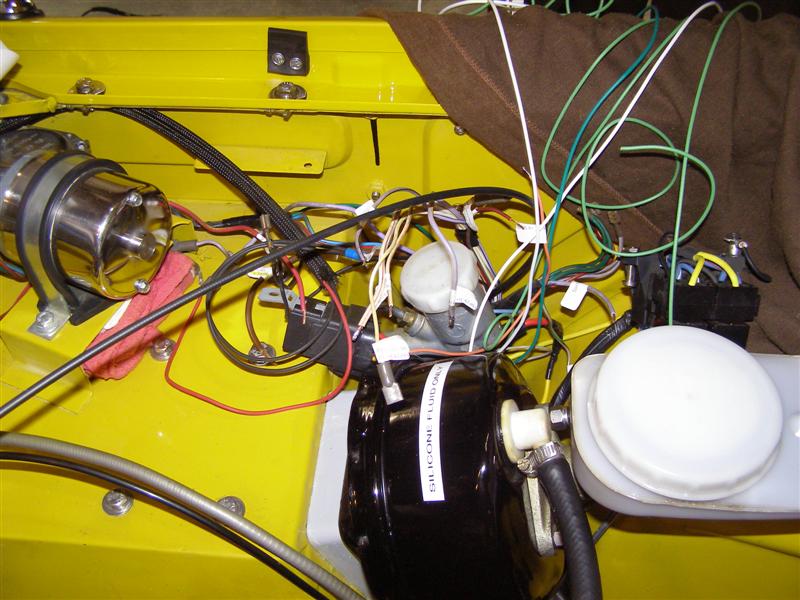
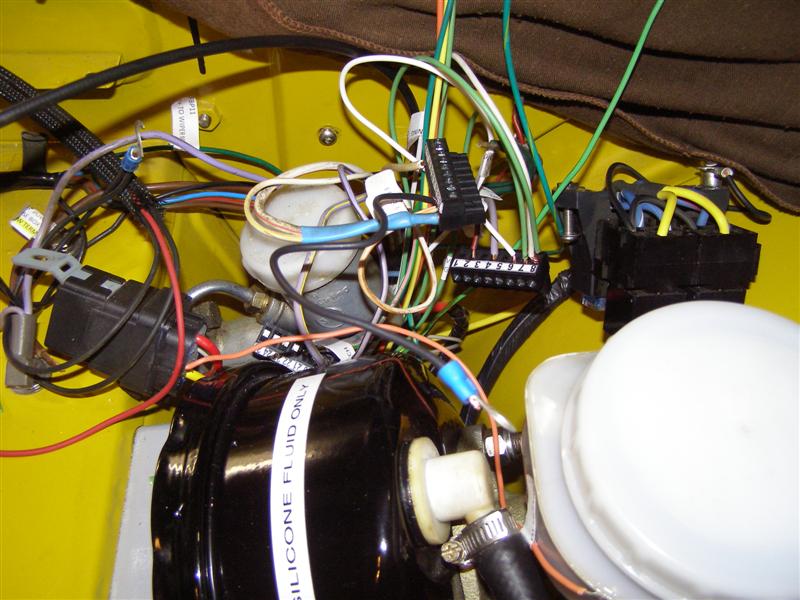
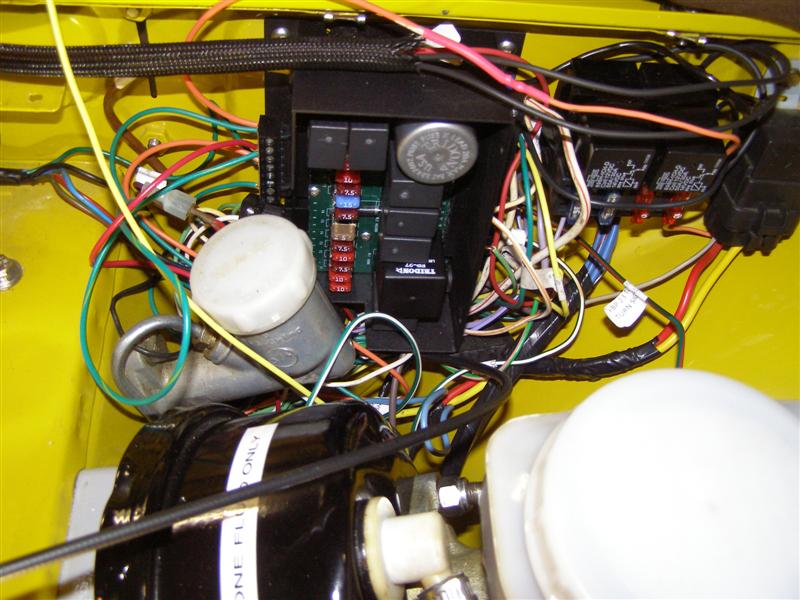
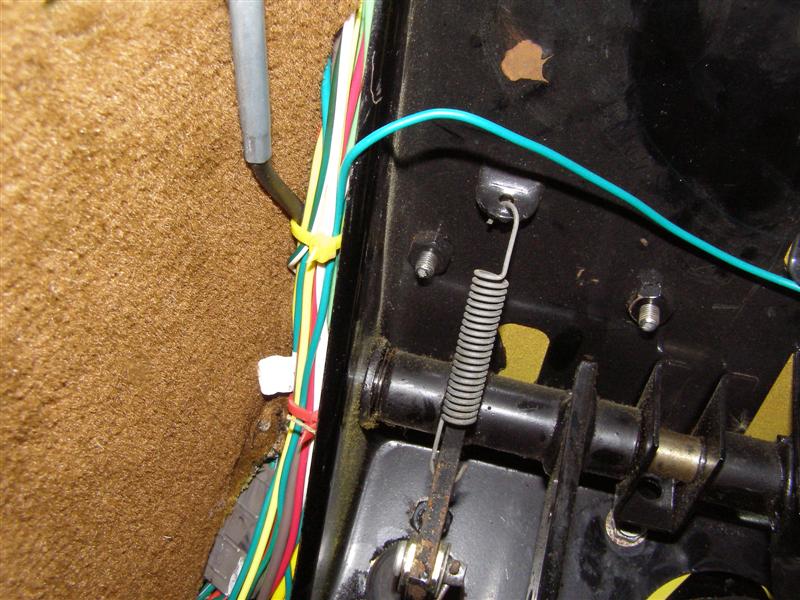
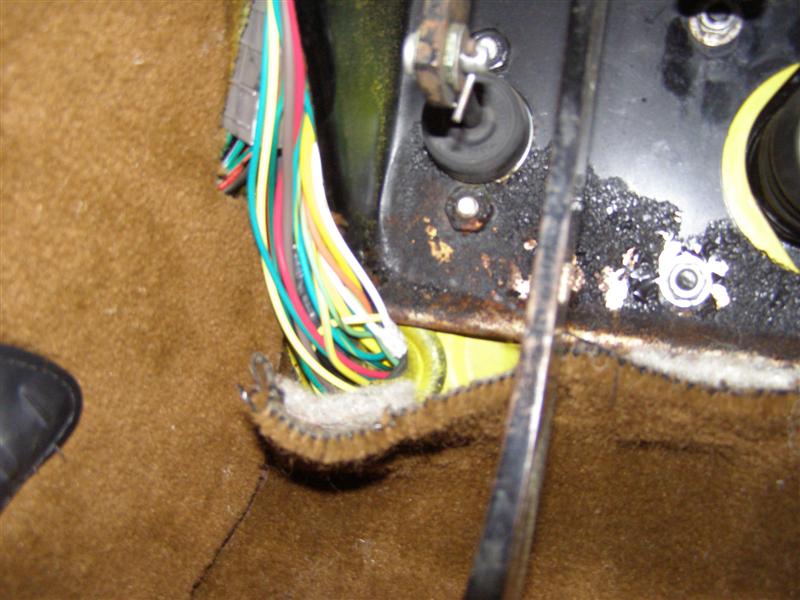
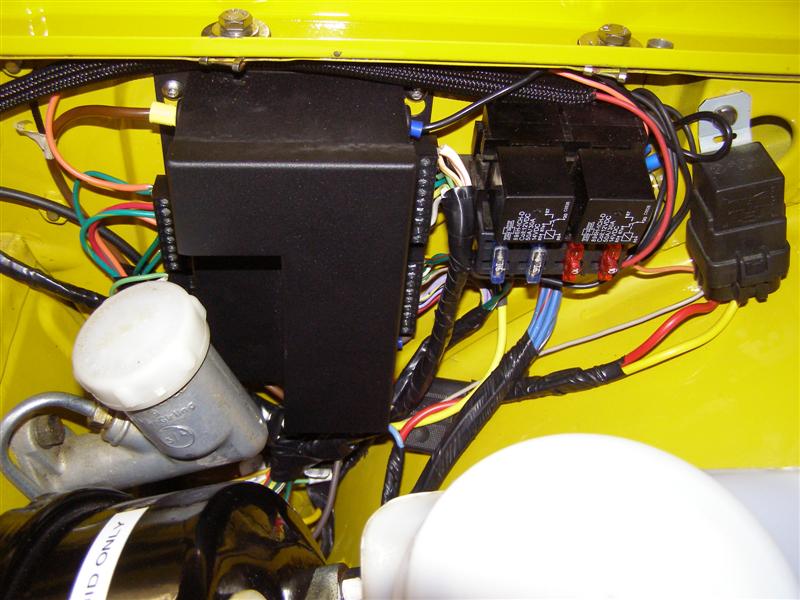
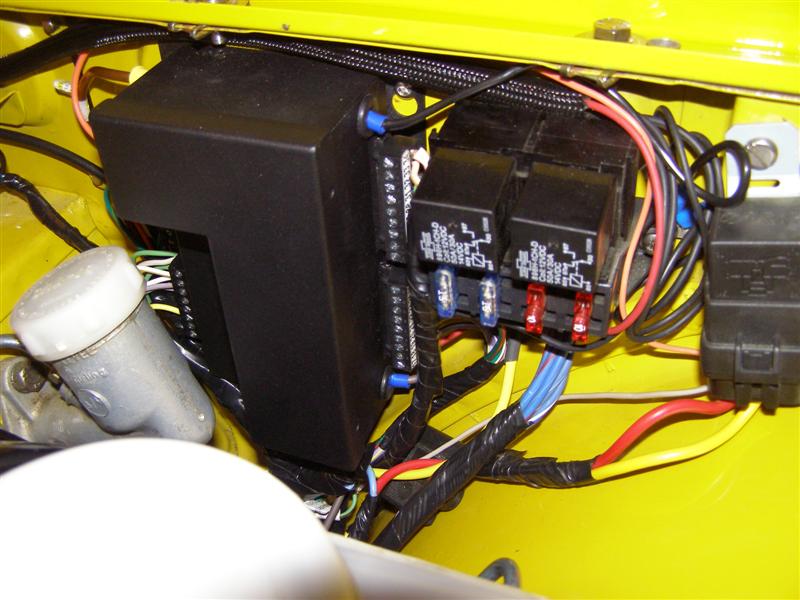
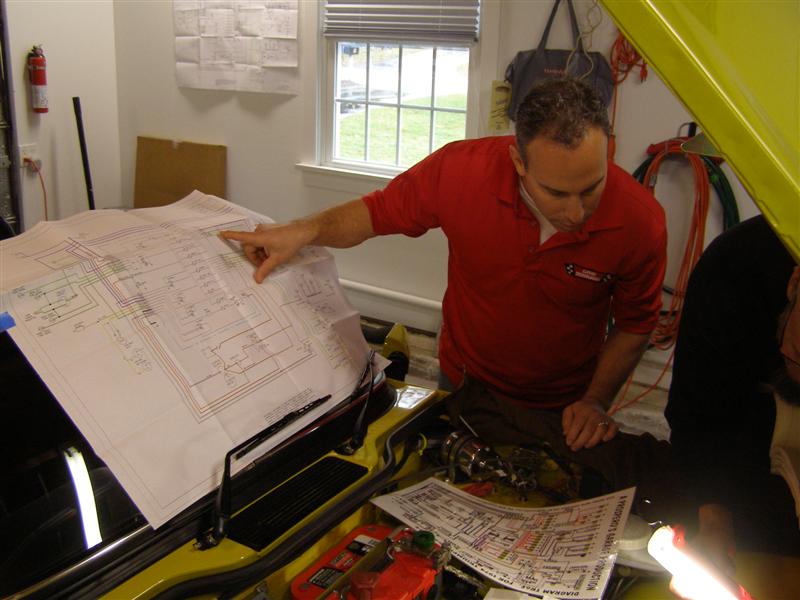
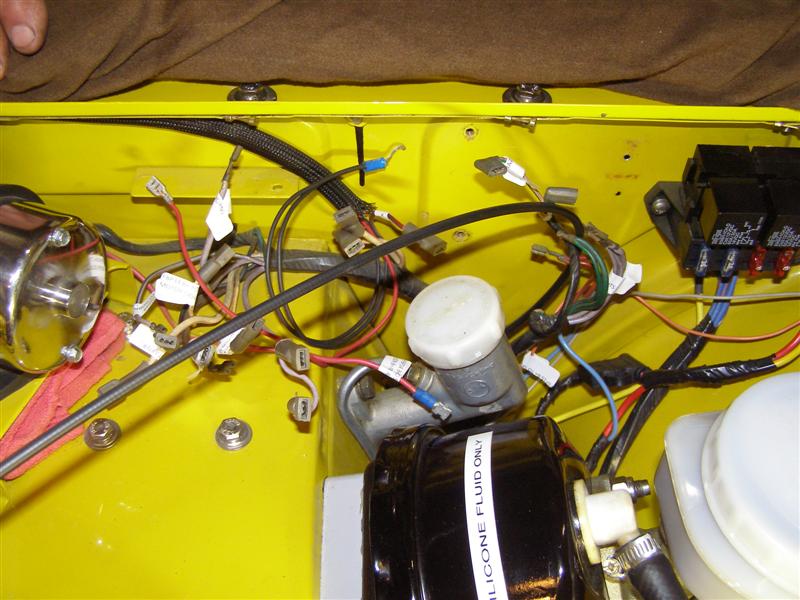
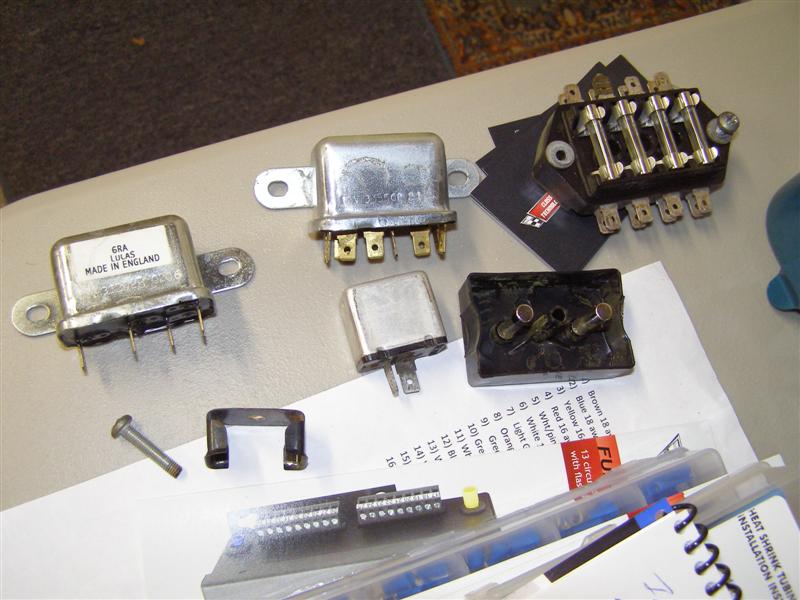
On a miserable cold and rainy day, Marc drove up from CT and Eric from Swansea, and here we are. After a 10 minute strategy session we began the project by identifying wires under the hood, tagging them and removing the old fuse box and relays to allow for the new panel installation.

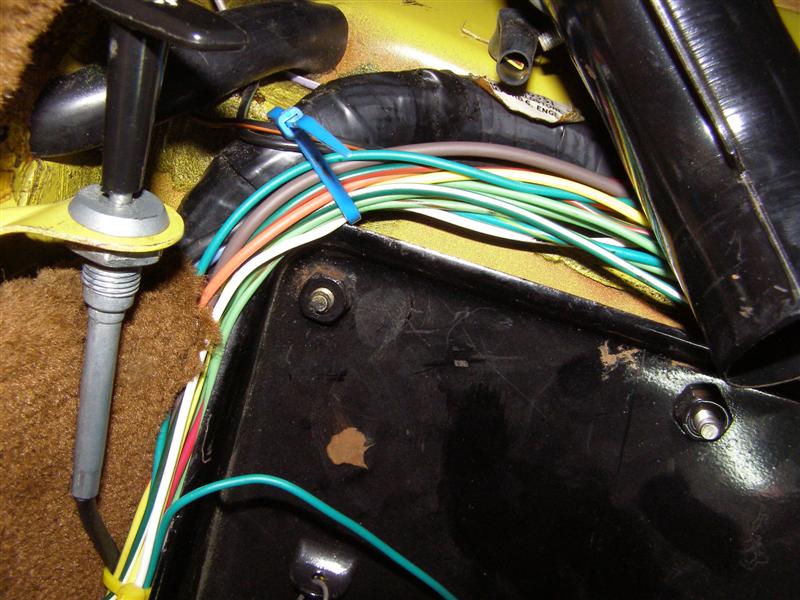
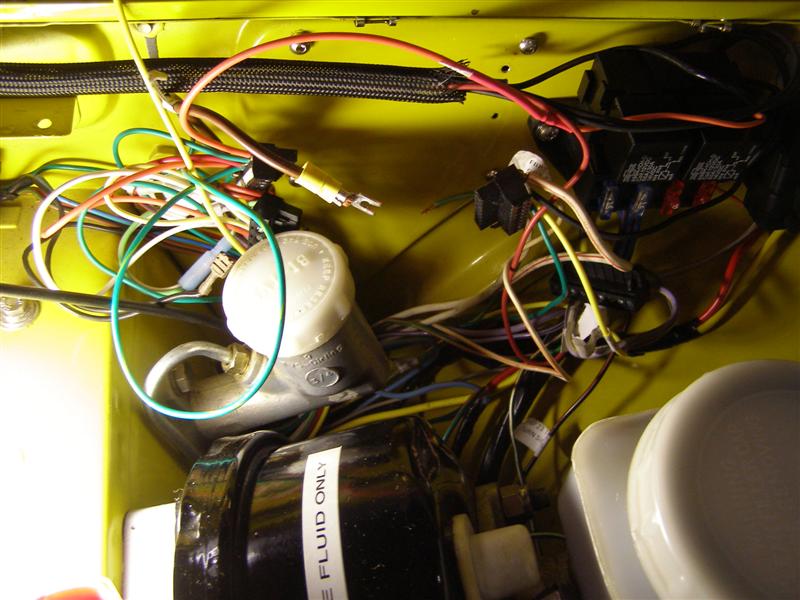
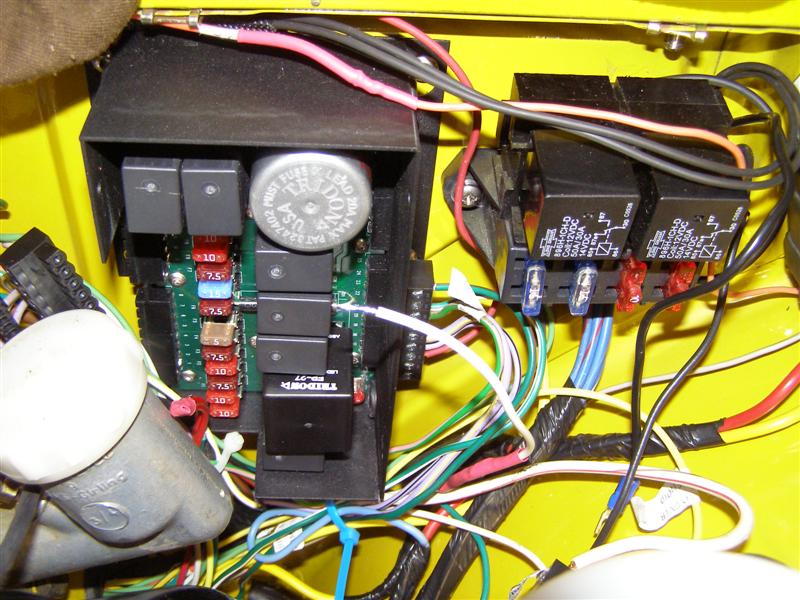
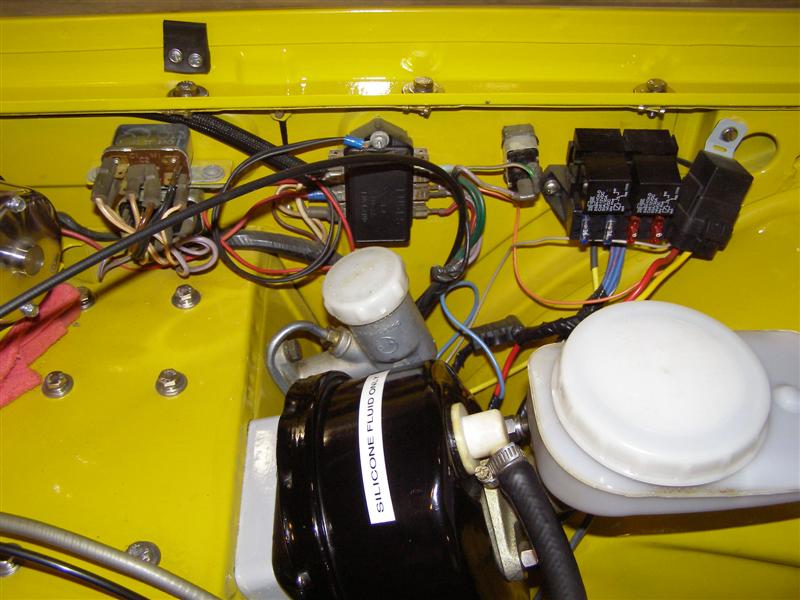
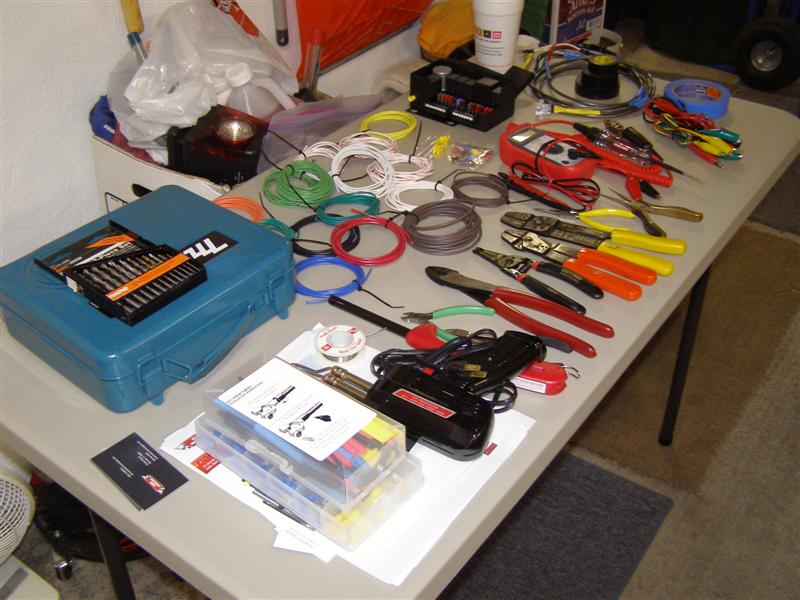
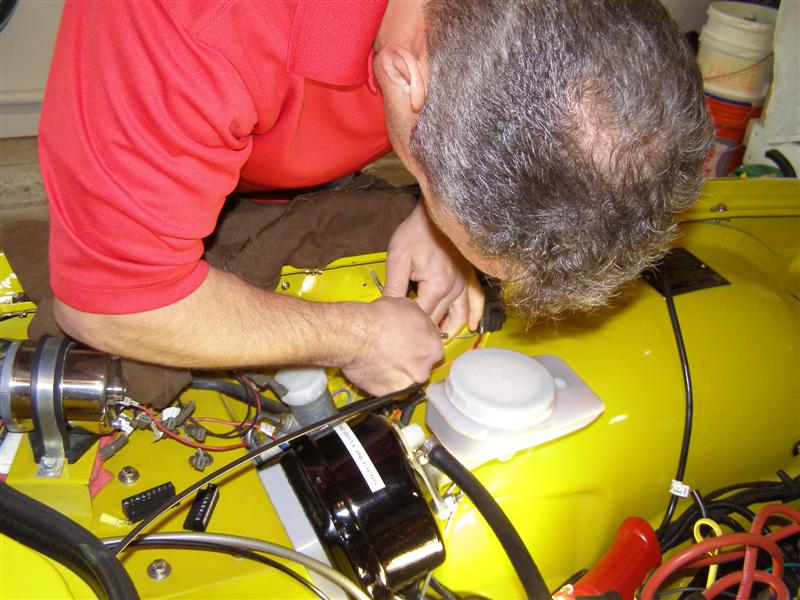
This will give you an idea of how it's going. After lunch, under the dash and start running wires out.

classic011.jpg


classic013.jpg


classic0201.jpg


classic025.jpg


classic027.jpg


classic031.jpg


classic034.jpg


classic036.jpg


classic038.jpg
 
And now it's finished...

Some of the final shots as it progressed along. I will be adding everything and explanations to my site over the next few days. This is a quality product and it can be adapted a variety of ways, depending on how you choose to update your system.

Here we started to run new wires out to break up the lumped together circuits under the dash.

classic046.jpg


More spaghetti and test fitting of connections

classic047.jpg


Test fitting of the box and connectors to make sure everything worked

classic048.jpg


The wiring all neatened up under the dash with all of the circuits broken up and run through relays.

classic051.jpg


classic052.jpg


Guess who had a leaking master cylinder a long time ago....

classic054.jpg


Everything out of the way and time to pull the excess wiring up through, shorten up the wires at the panel, tin each of the leads and tape it all up.

classic058.jpg


This shiny little guy is an example of "tinning" the leads to ensure good solid contact with the connector screws.

classic061.jpg


And the finished product from two different views.

classic063.jpg


I did keep my upgraded headlamp wiring package, which allowed me to run my heated seats on a relay through the new system.

classic064.jpg
 
When I first saw these "upgrade" panels it struck me as a bit TOO modern. After seeing your installation, Paul, I'm swayed. That's very clean and efficient!

:thumbsup:
 
Doc,

There are two headlamp relays built into the system, one of which I used for something that I can't remember at this point, but I also was able to relay my O/D in this. The later TR6's with the J didn't have them as the early A's did.

Not having the previously installed extra relays on that location to the right, or perhaps locating them to another spot, would yield more room in there to work and easier access to the front side of the connectors, but it all fits and works very well.

Now if I'd ever get my Miata seats back....
 
Back
Top