Hey Guest!

 Hey - did you know if you click on the title of a thread it will take you to the first unread post since you last visited that thread?
 but were afraid to ask:
  STOP!! Never post your email address in open forums. Bots can "harvest" your email! If you must share your email use a Private Message or use the
  smilie in place of the real @
 Pretty Please - add it to our Events forum(s) and add to the calendar! >>
Whilst this car started life as a MK1 Frogeye and it is tempting to call this a restoration so much will be changed and has had to be replaced that I don't think it is true to the word to call this a restoration.
Approximately 30 years ago (Unfortunately don't have the paperwork on me!) this car was bought by my grandfather when he travelled up the North of England to buy a completely different car....
The Sprite was brought back to the West Country but unfortunately sat in a barn on his farm until August 2011 when it was dragged out to start a fresh project for myself and my little brother....we had no idea what we were getting ourselves into.
Whilst I personally am pretty green behind the ears on this kind of thing my brother had recently finished rebuilding a 1974 Mini Clubman Estate that had been rotting in the barn in a similar state for just as long and my father who lives on the farm has seemingly had one restoration or another on the go since he was 18.
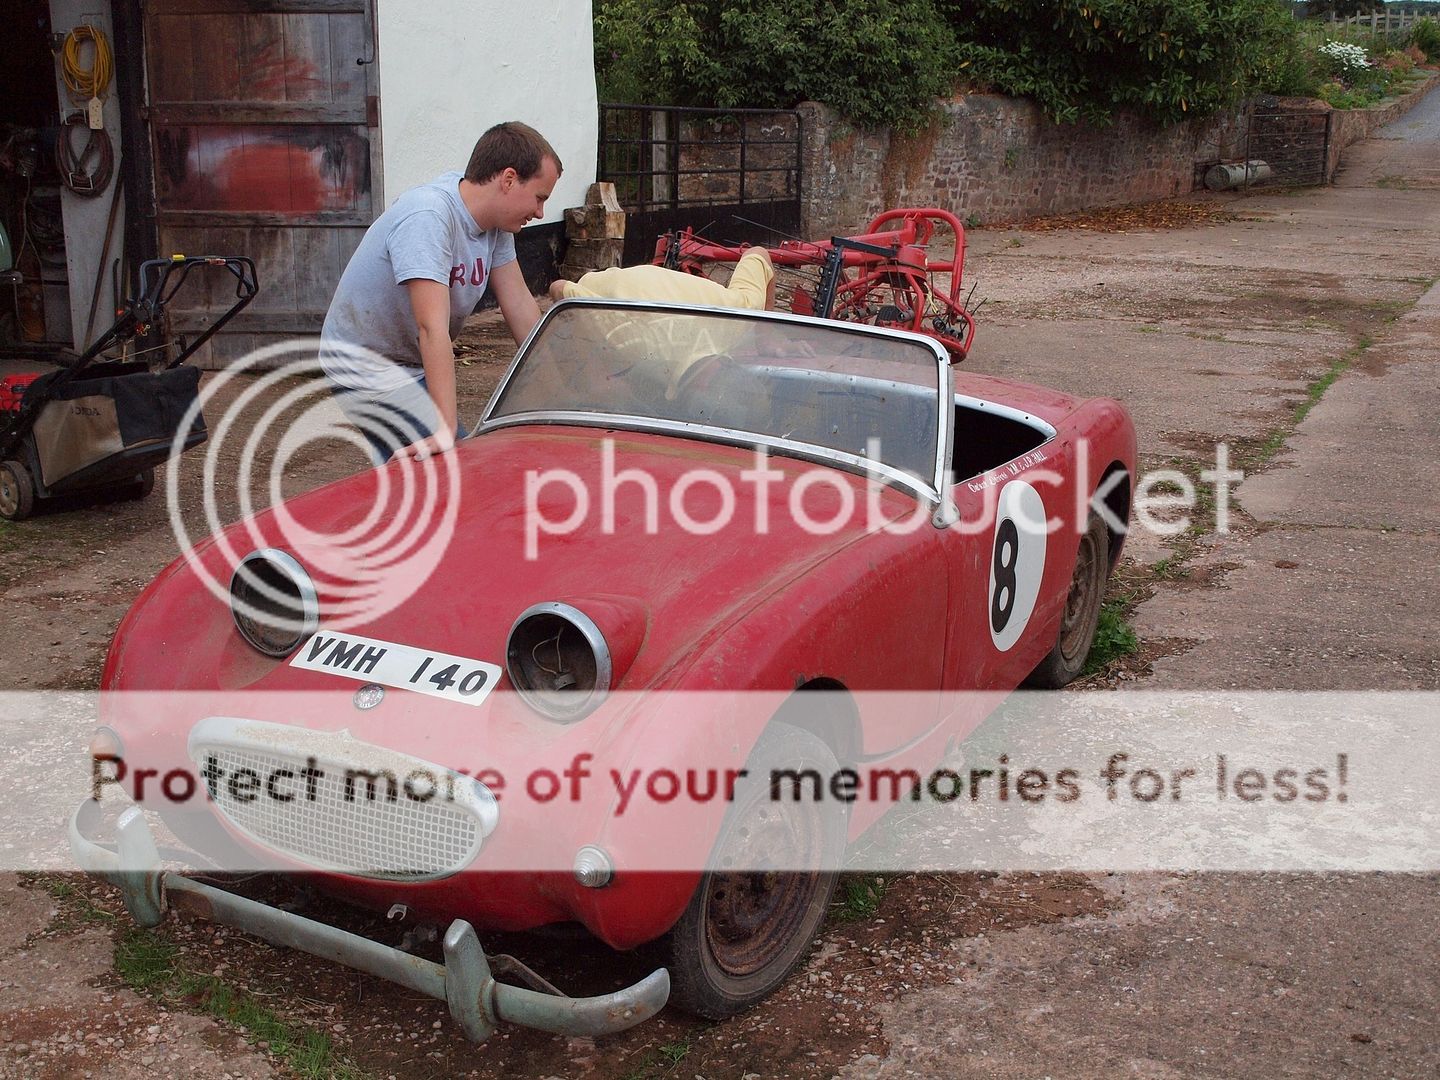
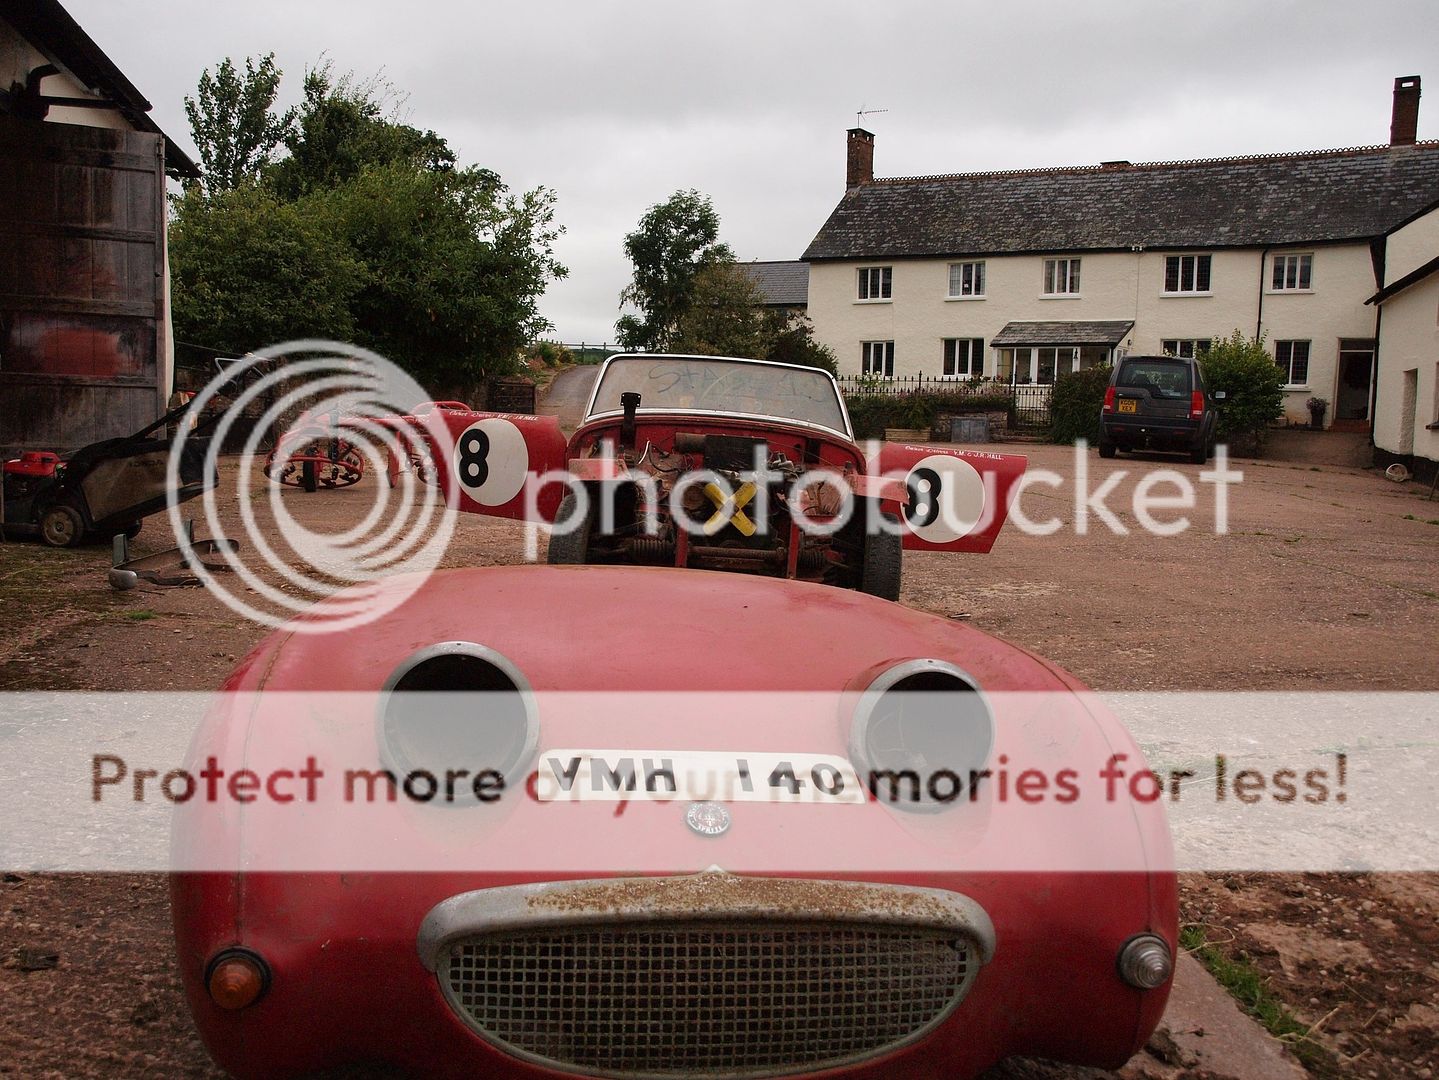
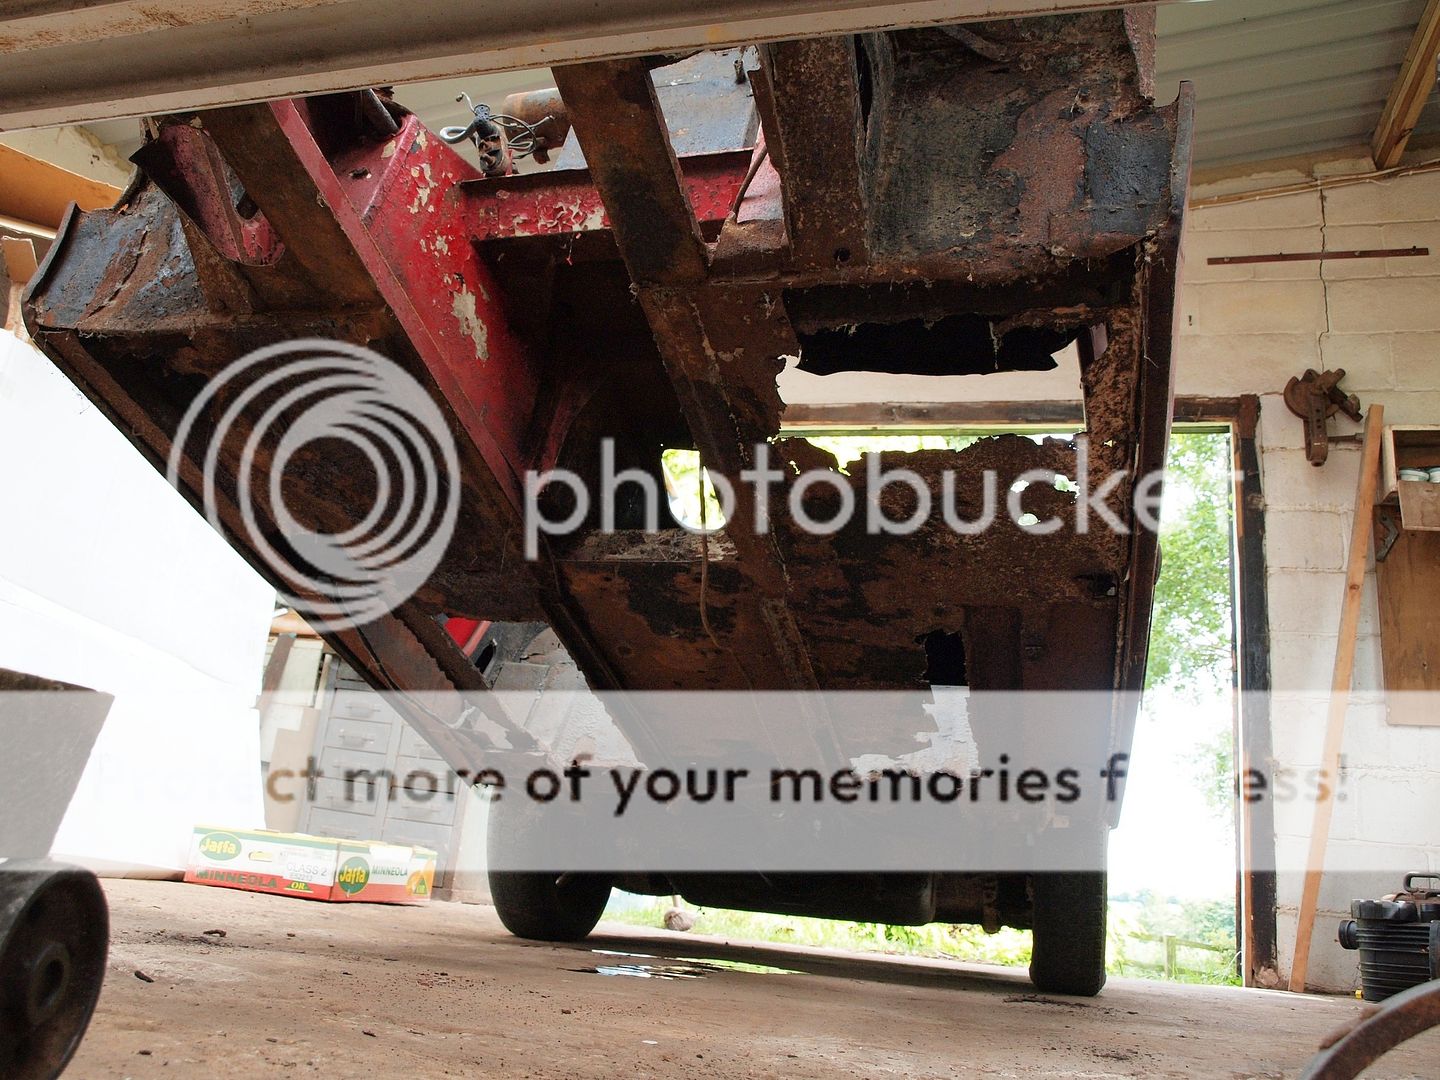
First step was to strip her down and assess the damage....


The result:
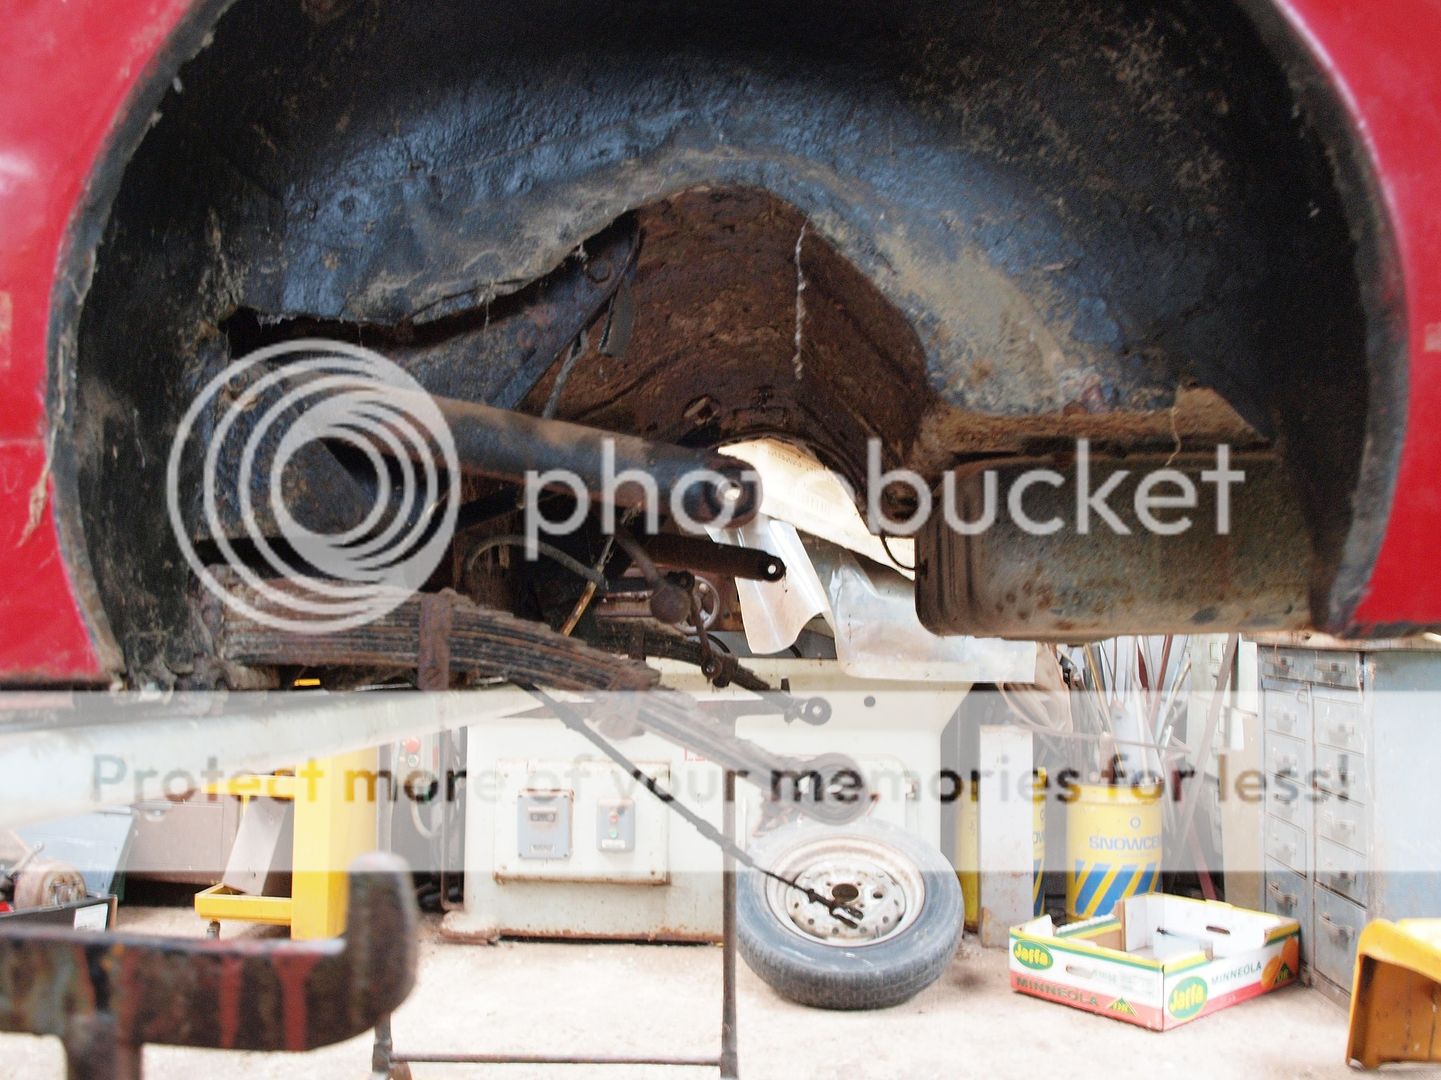
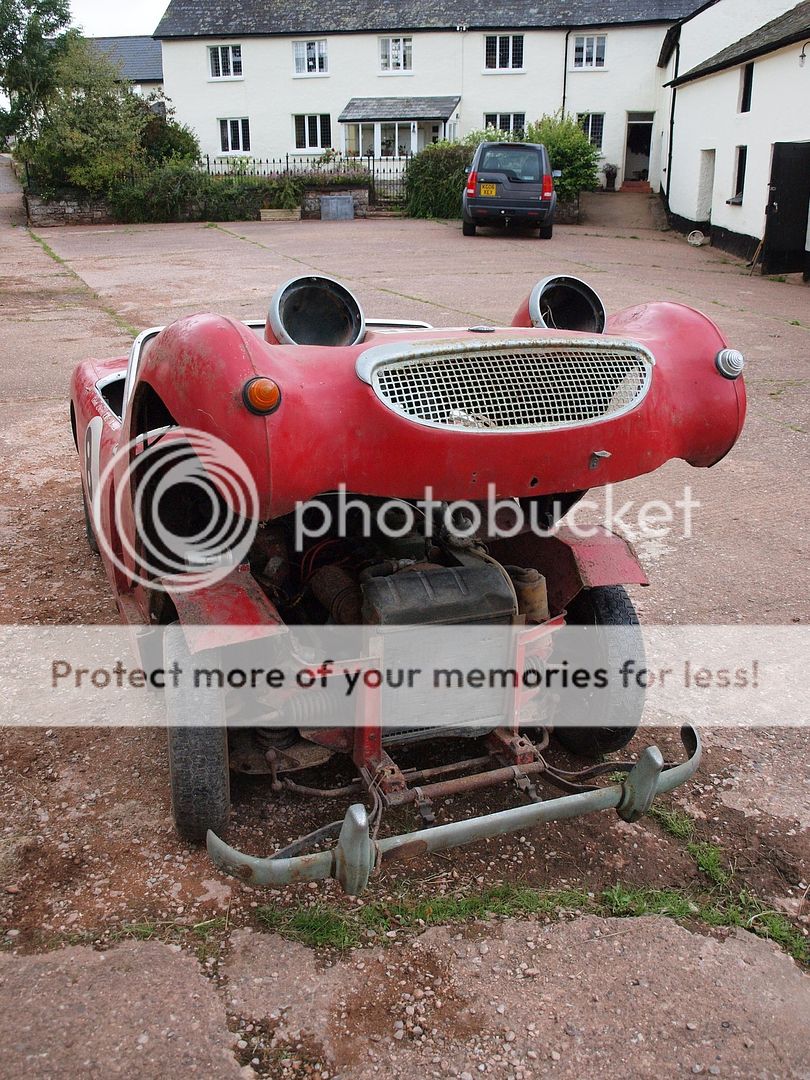
(That inner wheel arch? one rivetted piece of ally over mountains of rust, all held together with WaxOil...)
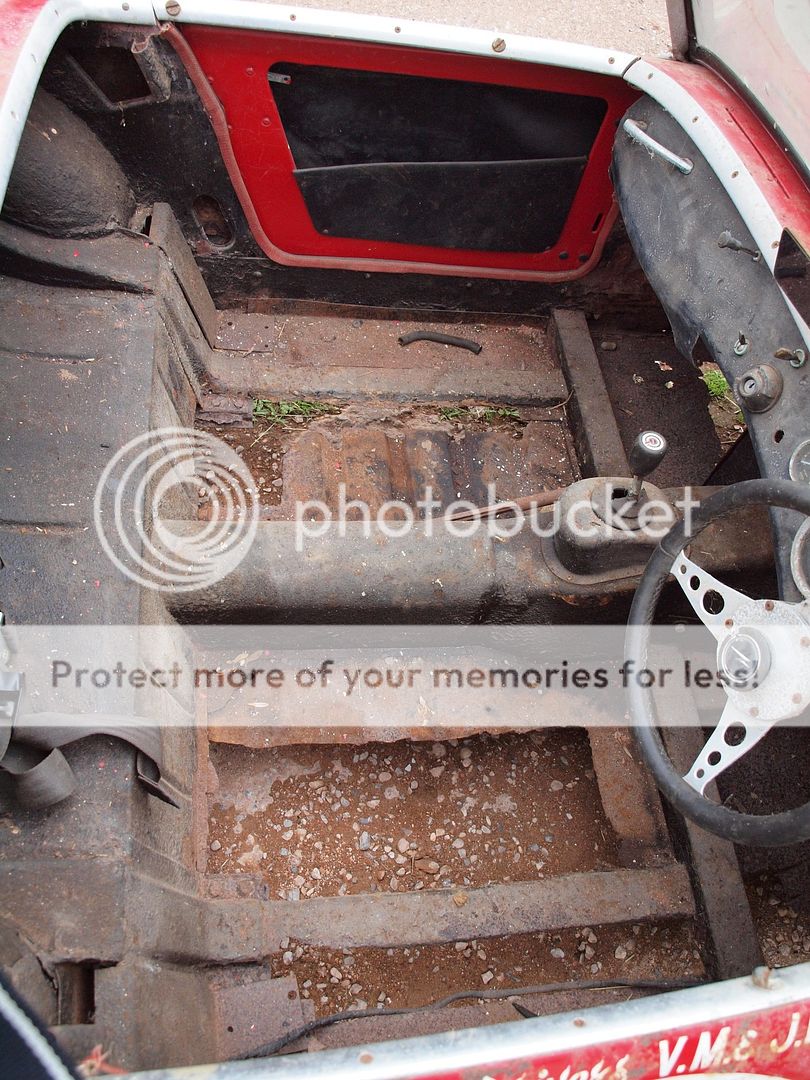
- one body shell that was beyond repair: front chassis members rotten/floors gone/rear bulkhead rotten total along with spring hangers/rear wings an absolute mess: having been repaired at some stage by brazing (?!) [Must get some photos of the old body shell up as it now sits stripped - its not pretty]
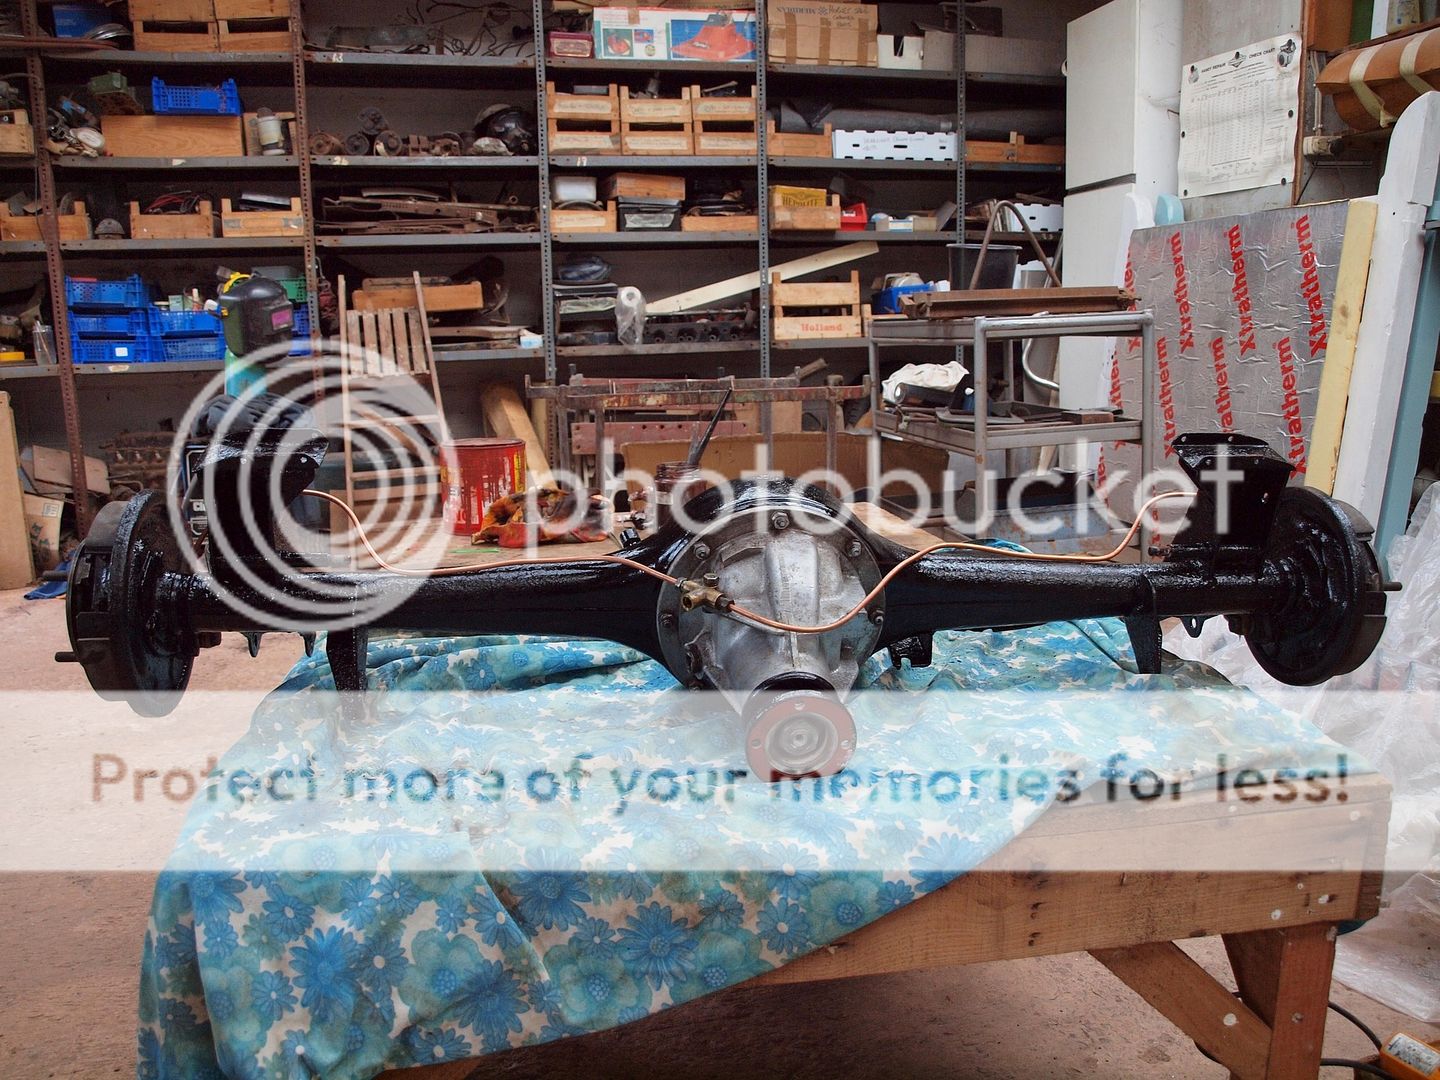
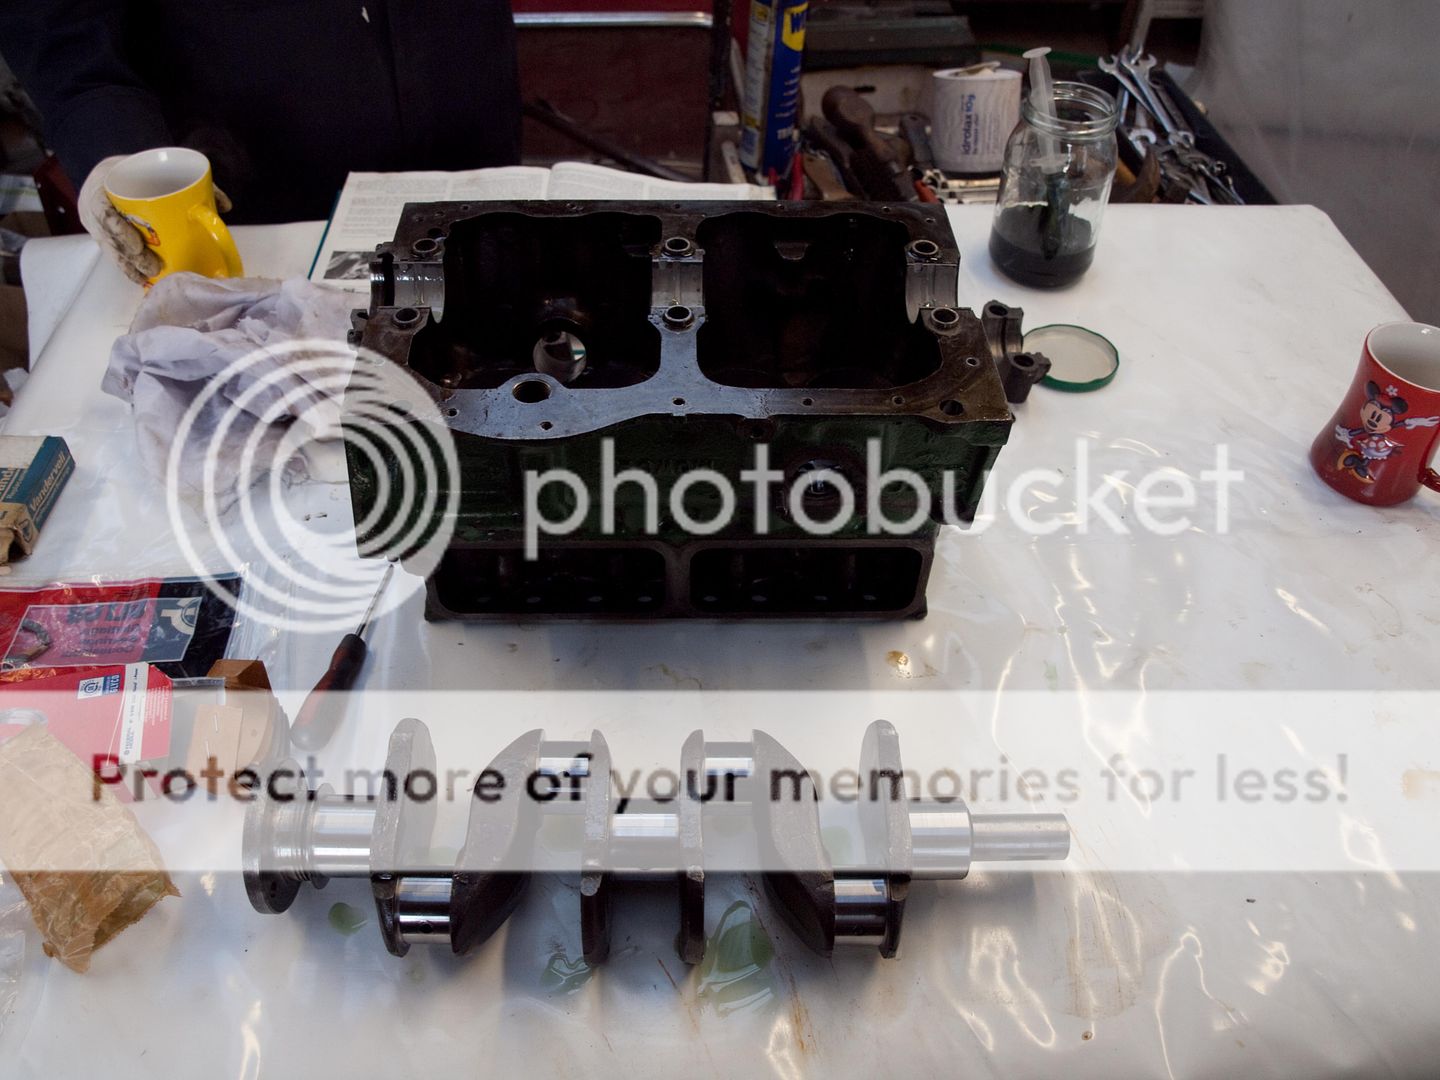
- one engine in questionable state: crankshaft journals needing attention/an unknown camshaft/one bruised conrod
- lots of boxes full of bits in all sorts of states.
The Plan:
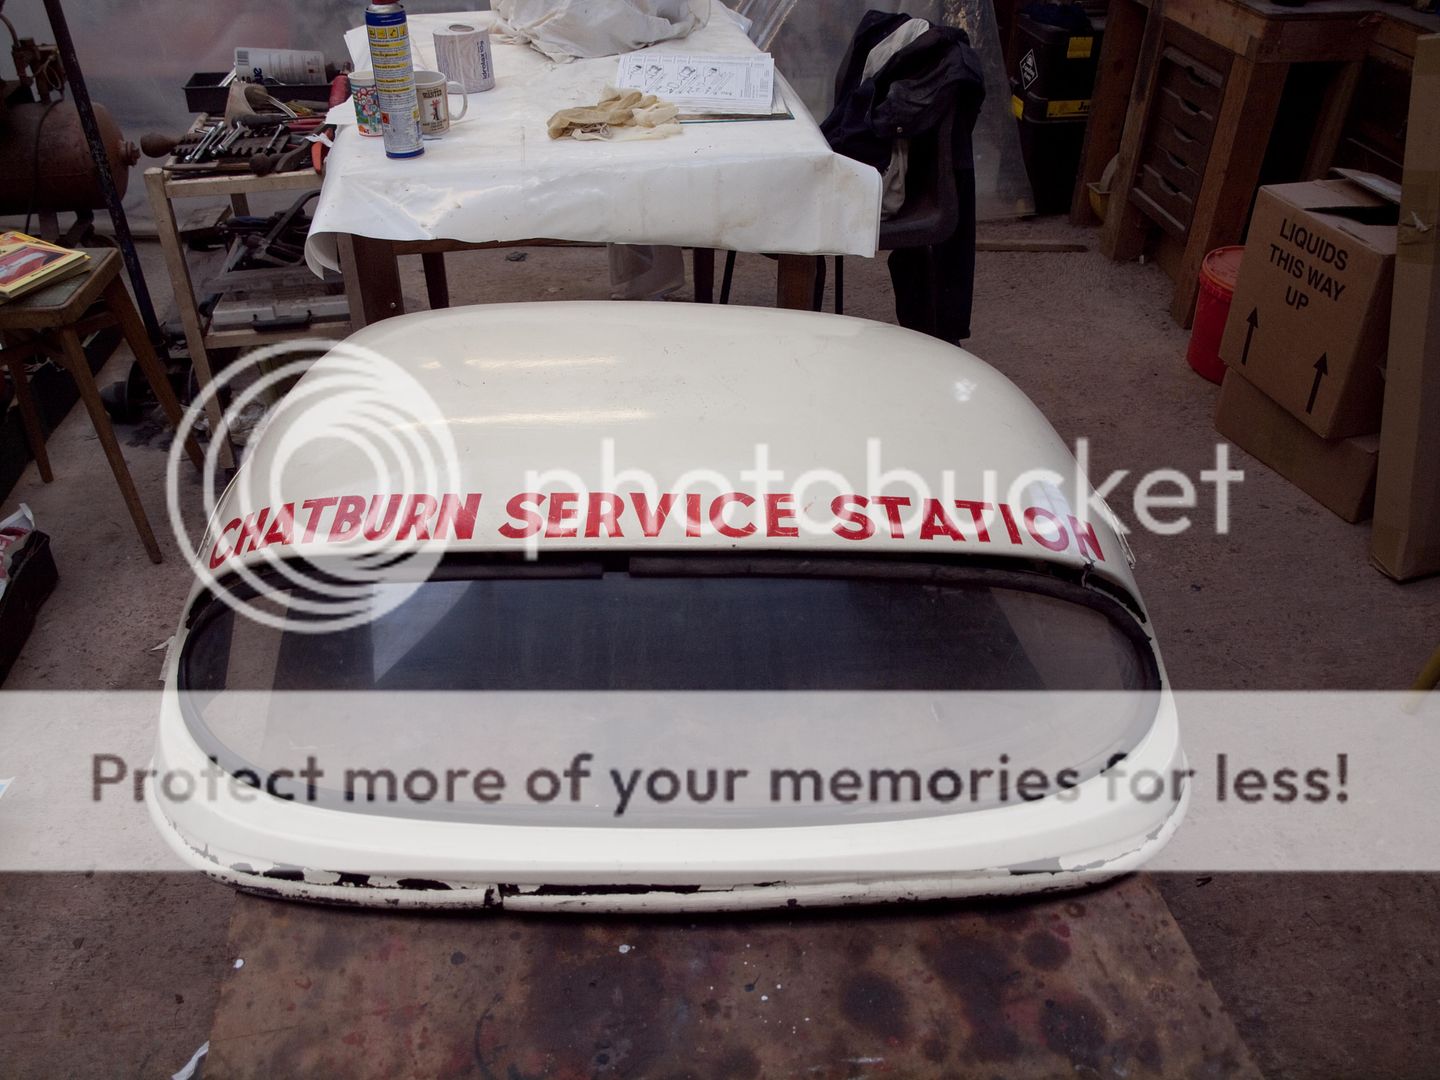
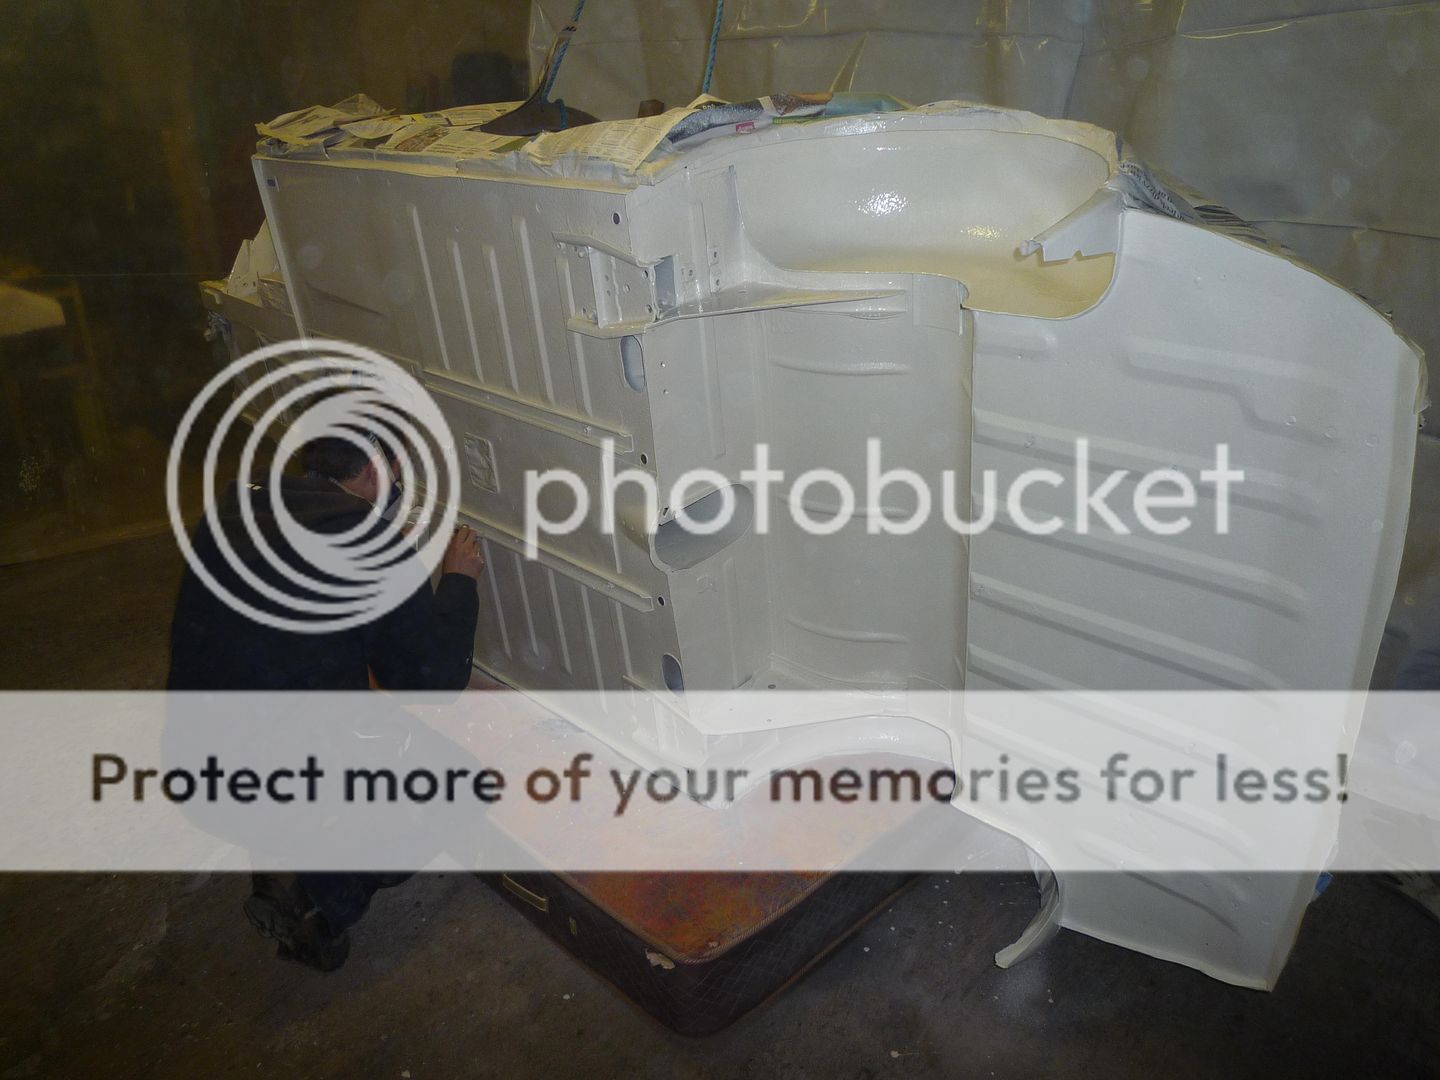
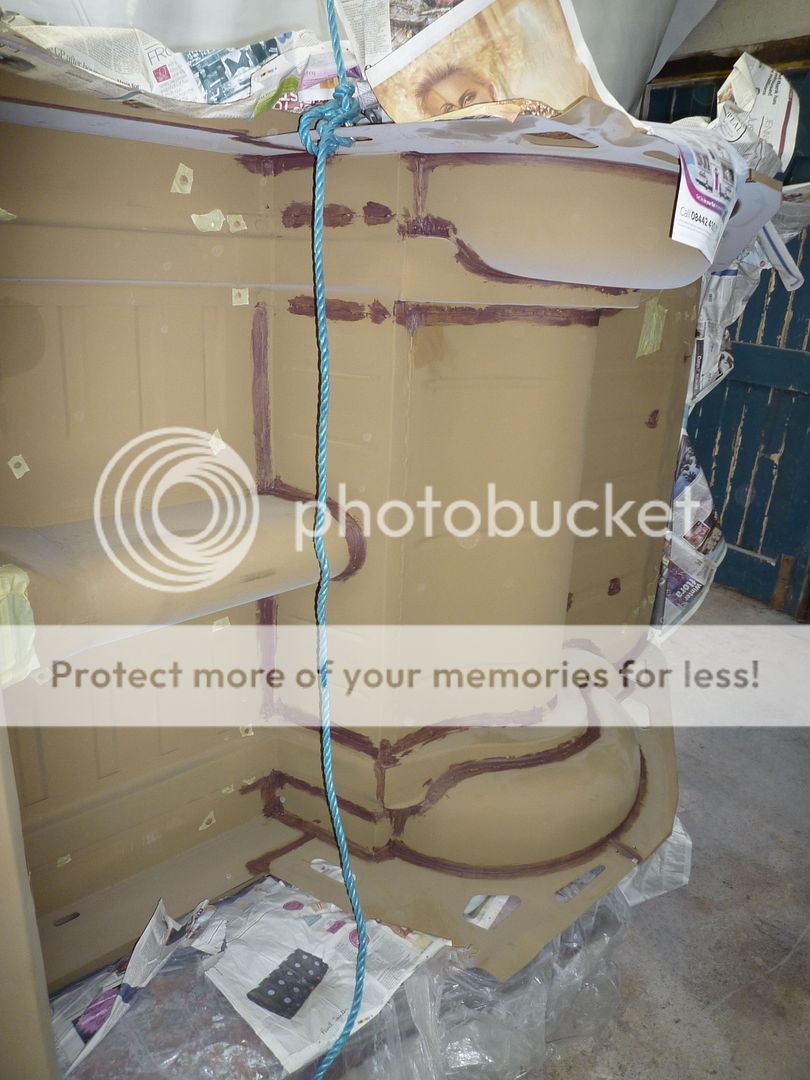
The construction of a new car using a Wheeler and Davis stage 1 body shell along with Archers Sebring Bonnet/Fibreglass rear +/- doors and using an unusual (Pride and Clarke?) hardtop we have.
The engine had already been heavily modified:
Bored +60.
Fully balanced crank, conrods, fly wheel etc
Hepolite Flat top Pistons (18519's).
After market clutch
3 to 2 to 1 exhaust manifold
High capacity oil pump
unknown performance cam (spider drive so 1970's probably)
To give it a little more go: 12G295 head that has been gas flowed and ported + Pair of HS2's.
The Progress:
Approximately 30 years ago (Unfortunately don't have the paperwork on me!) this car was bought by my grandfather when he travelled up the North of England to buy a completely different car....
The Sprite was brought back to the West Country but unfortunately sat in a barn on his farm until August 2011 when it was dragged out to start a fresh project for myself and my little brother....we had no idea what we were getting ourselves into.
Whilst I personally am pretty green behind the ears on this kind of thing my brother had recently finished rebuilding a 1974 Mini Clubman Estate that had been rotting in the barn in a similar state for just as long and my father who lives on the farm has seemingly had one restoration or another on the go since he was 18.
First step was to strip her down and assess the damage....
The result:
(That inner wheel arch? one rivetted piece of ally over mountains of rust, all held together with WaxOil...)
- one body shell that was beyond repair: front chassis members rotten/floors gone/rear bulkhead rotten total along with spring hangers/rear wings an absolute mess: having been repaired at some stage by brazing (?!) [Must get some photos of the old body shell up as it now sits stripped - its not pretty]
- one engine in questionable state: crankshaft journals needing attention/an unknown camshaft/one bruised conrod
- lots of boxes full of bits in all sorts of states.
The Plan:
The construction of a new car using a Wheeler and Davis stage 1 body shell along with Archers Sebring Bonnet/Fibreglass rear +/- doors and using an unusual (Pride and Clarke?) hardtop we have.
The engine had already been heavily modified:
Bored +60.
Fully balanced crank, conrods, fly wheel etc
Hepolite Flat top Pistons (18519's).
After market clutch
3 to 2 to 1 exhaust manifold
High capacity oil pump
unknown performance cam (spider drive so 1970's probably)
To give it a little more go: 12G295 head that has been gas flowed and ported + Pair of HS2's.
The Progress: