Thank you John, I saw a demonstration of sand casting at the metal museum in Memphis. I also would like to take the class as it could be useful. Still a lot of snow here but nothing like Texas. Hope you all can catch a break soon.
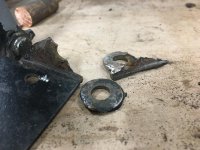
This was no surprise as I could tell that the PO had done a repair to this bracket and it did not take much for it to fall apart.
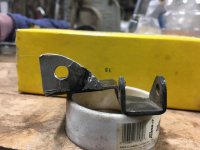
There are many ways to repair this but I chose to remake the entire tab as this will be better than it was originally. The new repair tab is slightly thicker (maybe .010") than the parent metal. The tab is made before the original is cut off. I marked the hole then clamped a piece with a hole in it on top so that the hole in the repair would be exactly where it is supposed to be.
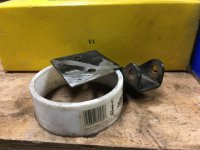
Here the tab has been carefully removed with a cut off wheel. This way the repair tab is already sized to sit on top of the part that is removed and this also gives you a reference to line up the edge.
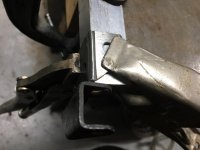
Here the bracket and repair tab are lined up ready to be welded. It is worth the time to clamp pieces that you are going to weld so that you can get in a comfortable position to do the welding. It takes a little more time but the end result is so much better. The new repair tab has the bottom edge beveled at a 45 degree angle almost to a sharp edge. This bevel allowed me to basically melt the parent metal to the repair tab for almost 100% penetration. I then easily added a little filler metal along the top edge of the joint. To finish that edge only took a minute with a file and was just like it was formed originally. I did flip the bracket over and weld the other side to make sure that there was complete penetration. I don't think this one will break.
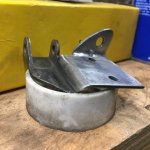
The repair has been welded and all that is left to do is radius the top corner to match an original. I don't have an original but it looks like the pictures I have found and I am sure it is close enough.
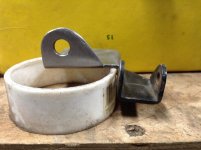
Here is the finished bracket. This was a fun little project. When I can get out to get some material to work on the safety catch I will bring you along for that part. Frank
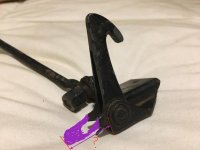 Snowed in today and more to come so took a shot at drawing on a picture. John, hope you still have power, sounds like Texas got a lot also. The little paddle area is broken off so I could use a measurement from the mounting bracket to the end of the paddle area and the thickness of the paddle area. No rush on this as I can't get out to get any material to make this but it is on the radar to tackle when the mood strikes me. Thank you for all the help, Frank
 Hi Guest!

 smilie in place of the real @
 Pretty Please - add it to our Events forum(s) and add to the calendar! >>


