Hi Guest!

 Hey - did you know if you click on the title of a thread it will take you to the first unread post since you last visited that thread?
 but were afraid to ask:
  STOP!! Never post your email address in open forums. Bots can "harvest" your email! If you must share your email use a Private Message or use the
  smilie in place of the real @
 Pretty Please - add it to our Events forum(s) and add to the calendar! >>
Randy Forbes
Yoda
Offline
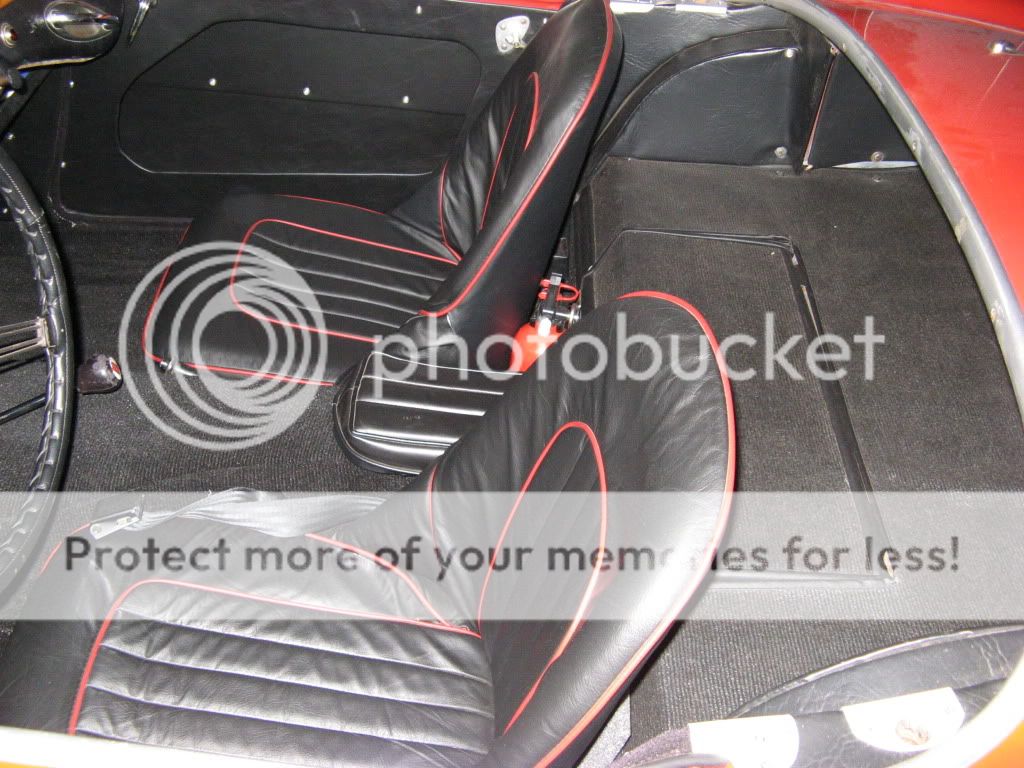
I started on the interior makeover a couple of months ago, but I only had the seat cover and carpet sets, the side panel kit being a longer delivery item (read: custom order for 2-seater rear kick panels).
Wednesday night/Thursday morning was devoted to getting an MSD AL6-2 ignition control installed and tested. Results, so far, are very promising__I don't know why I waited so long to do it.
Thursday night saw the front kick panels and inner door trims (liners) installed. Friday I fitted both outer door panels, including gluing the vinyl to the doors (above where the panels stop) and all the hardware.
It took a full day, Sunday & Monday, to do each rear kick panel, as there was much modifying of the Moss supplied panels to get an acceptable fit. Not fun, but doable. I think that Moss would better serve their customers if the rear panels were supplied in "kit" form, as peeling back previously glued on vinyl (so the wood can be recontoured) wasn't my idea of a good time.
However, the end results look good, and the only outstanding work left to do, is fit the stirrup on each side (need to look at a local__all original trim BN7__to see what kind of screws were used). I also decided to replace the bright trim on the tops of the rear panels; the aluminum surround plates for the topframe legs & the finishers for the windlace, as my originals look gnarly next to the new vinyl.
For some of the interior parts, this is the first time they've been fitted since I owned the car__it's never had the top stowage boxes or stirrups in the thirty-two plus (32+) years I've had it.