Hi Guest!

 Hey - did you know if you click on the title of a thread it will take you to the first unread post since you last visited that thread?
 but were afraid to ask:
  STOP!! Never post your email address in open forums. Bots can "harvest" your email! If you must share your email use a Private Message or use the
  smilie in place of the real @
 Pretty Please - add it to our Events forum(s) and add to the calendar! >>
Johnny
Darth Vader
Offline
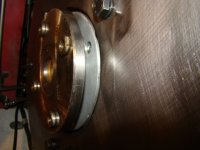
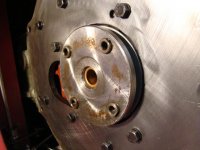
Just installed a Moss crank seal kit in my BJ7. Didn't have any problems installing it other than getting that little springy thing around the rubber seal, but I finally did get it installed. Now I have to remove some of the backing plate material in order to get it to fit. This is not easy as the backing plate is what about 3/8" thick? It's also very heavy. How did others do this?

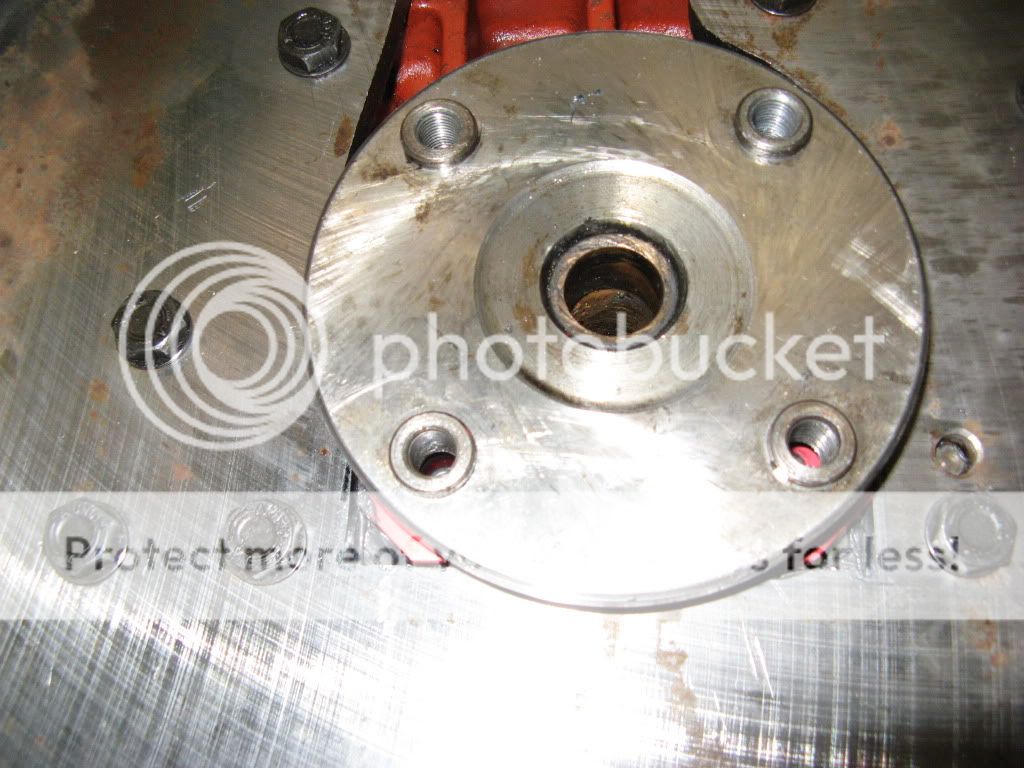
 Finally finished it. Like I said, not sure it was worth all the effort but now it's done. I have to agree that this is only one area that leaks.