Hey Guest!


 but were afraid to ask:
  STOP!! Never post your email address in open forums. Bots can "harvest" your email! If you must share your email use a Private Message or use the
  smilie in place of the real @
 Pretty Please - add it to our Events forum(s) and add to the calendar! >>
CraigLandrum
Jedi Hopeful
Offline
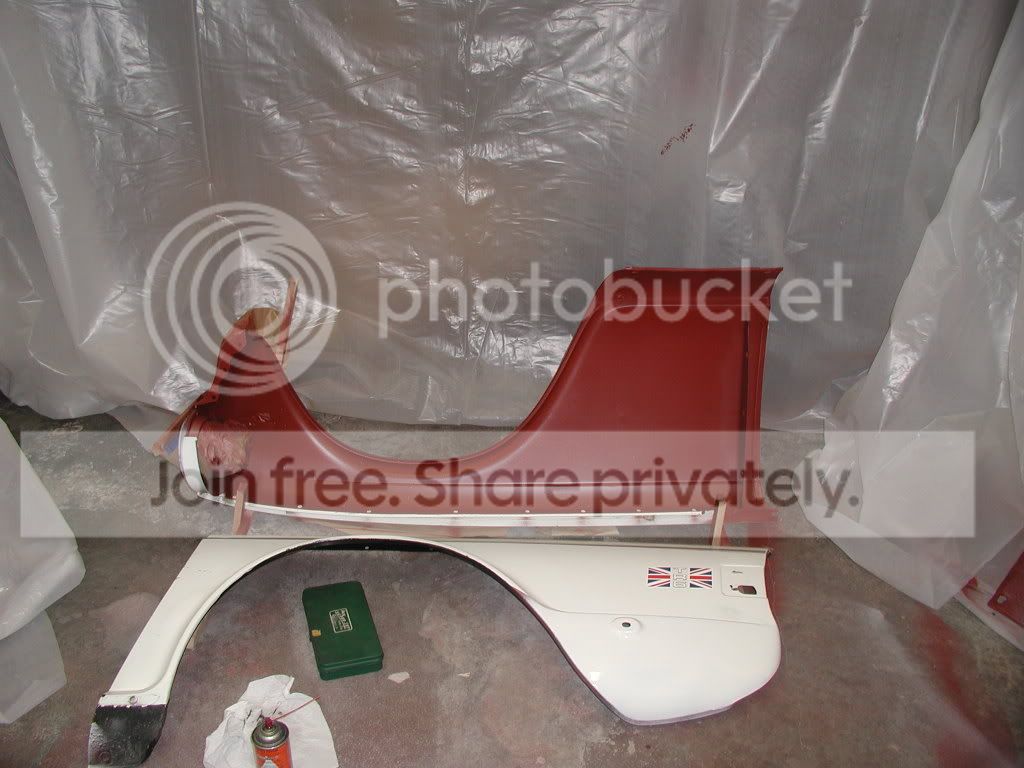
Our TR3A body is off the frame, everything removed, body and panels all blasted, dents pounded out, cheesed places patched with welded sheet metal, and small amounts of bondo applied to smooth out a few rough spots. Frame has been blasted, coated, and all new brake lines, brakes, fuel line, exhaust, handbrake cables, etc all done and ready for a painted body.
I bought a kit from www.paintforcars.com. Its the "British Racing Green Urethane Base coat Clear coat kit featuring 5 star Clear coat". To go along with that, I also bought a gallon of "MAXX Fill 2K High Build Urethane PrimerSurfacer w/ Activator Lt Grey" and for good measure I also bought a gallon of "5 Star Direct to Metal Self-Etching Primer w/Reducer". We have a 25CFM compressor that can provide up to 175 psi, two brand new Devilbliss gravity fed paint guns, a dessicant hose, plus mask and coveralls, mixing bowls, laquer thinner, acetone, etc.
My son blasted the panels and tub. We did not use soda, but used a relatively small/medium grit. Everything is down to the bare steel.
Now that you know the background, I would very much appreciate any advice from anyone that has done this themselves at home. Some of my questions are:
What did you use to wipe down/clean the metal before priming, and is it needed if I used the self-etching stuff? Is acetone or laquer thinner appropriate? Brake cleaner?
Would you recommend I use the 5-Star self-etching primer or the MAXX Fill 2K primer? The difference seems to be that the 5-Star forms a thinner 1-mil layer that *may* not need to be sanded before applying the basecoat, if this is done within 24 hours. The MAXX Fill claims to provide up to 2-mil coats.
Am I likely to need sanding regardless off the primer I use, or is it really practical to expect to be able to go right through the self-etching primer to color and clear within 24 hours as the primer can states?
If I have to use the MAXX Fill against the metal, the instructions indicate that I have to sand before applying color. Would I sand and go to color, or should a use the MAXX Fill, sand, put the 5-Star on top of the MAXX Fill, and then go immediately to color and clear?
If I have to sand, what do you recommend I take the sanding grit down to? 400? 600? 1500?
We are painting in a very large basement and have a long roll of thin clear plastic sheeting we were planning on putting up to protect walls, workbenches, etc. We were simply going to staple-gun it in wide strips to the basement floor joists, letting the strips hang to the floor. Has anyone done this? I've seen where some recommend misting down the plastic and the floor before painting. Is that really needed?
OK, I've asked a lot here. This will be our first attempt at painting a car ourselves and I feel fairly good that we have the right paint, the right tools, and the right area in which to work. Now we just need the benefit of your hard-earned wisdom to help us not screw up
Advice?