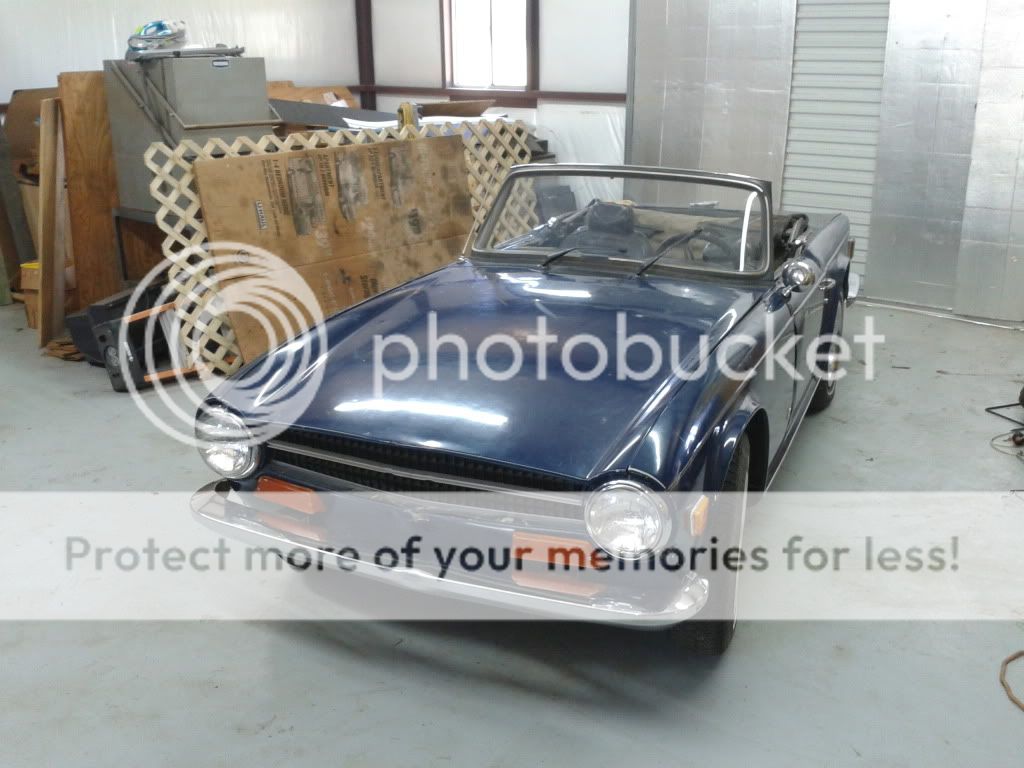
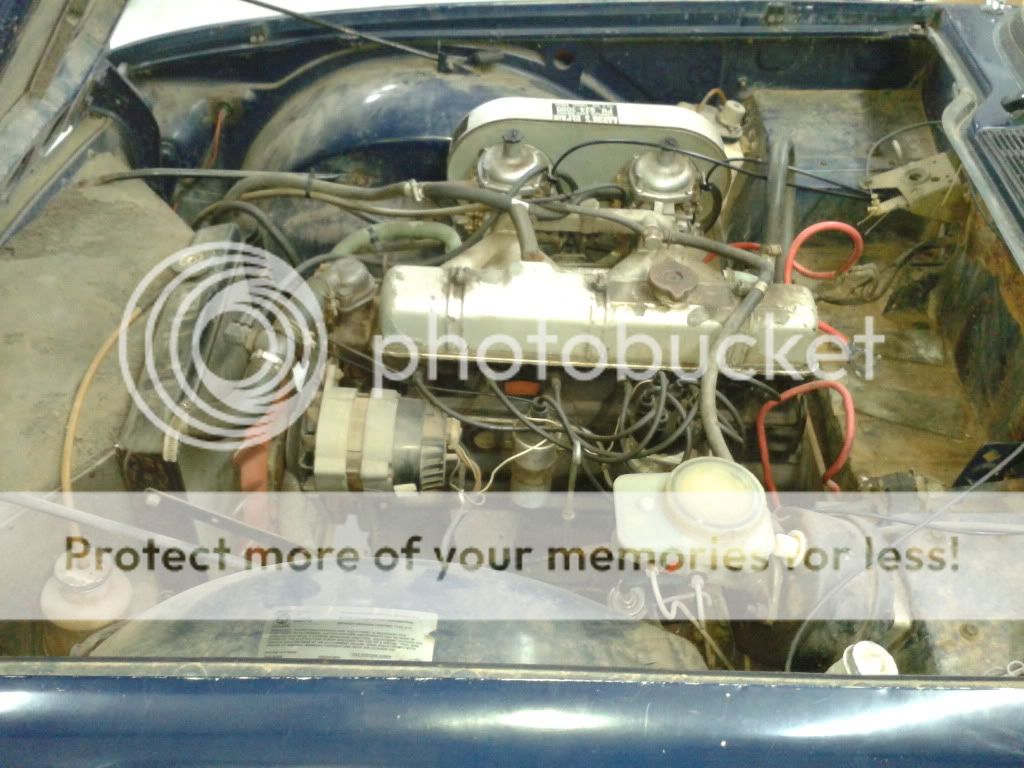
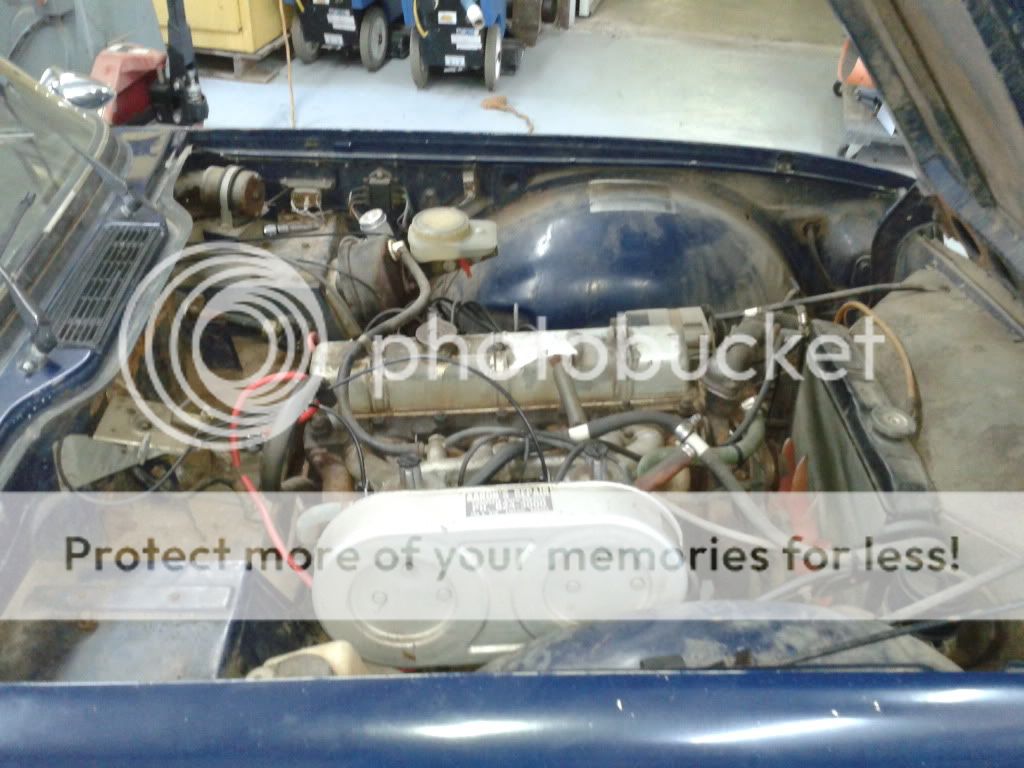
I opened up my Bentley book turned back to the body section and started pulling it apart.
The bonnet(hood), the hood (convertible top), boot (trunk) and bumpers are pretty straight forward and following the Bentley book will get it done.
Similarly, the doors are pretty straight forward, the only issue I had was getting the check strap off. Mine were so worn out, that I just decided to cut them in half and remove the rivet later.
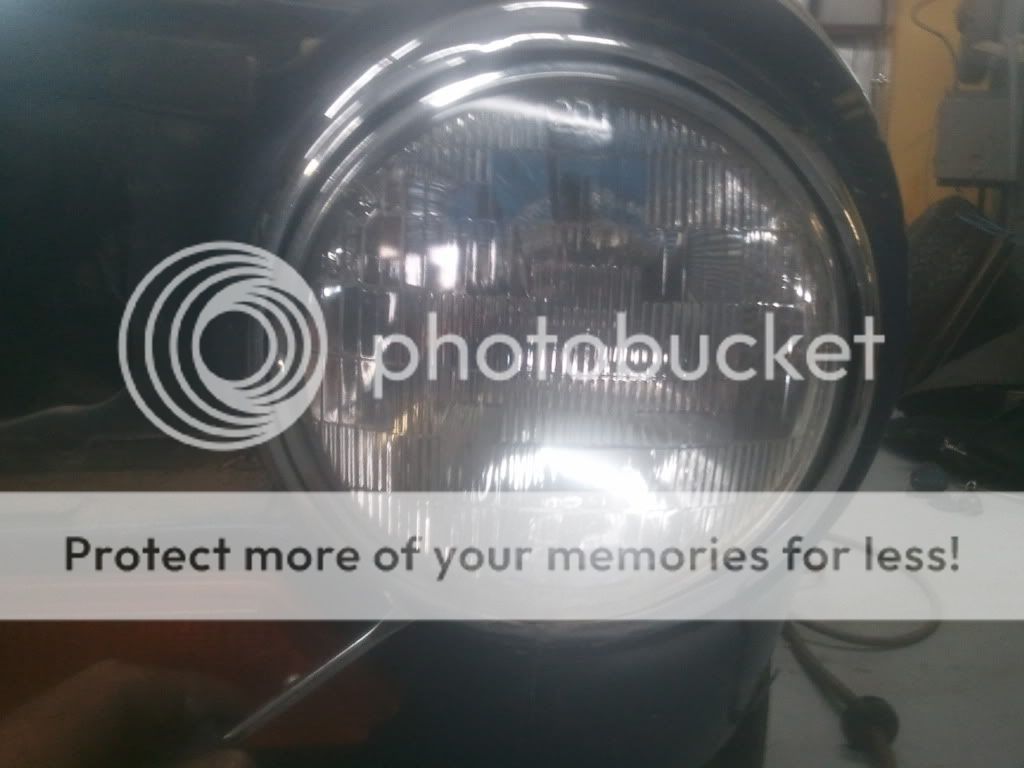
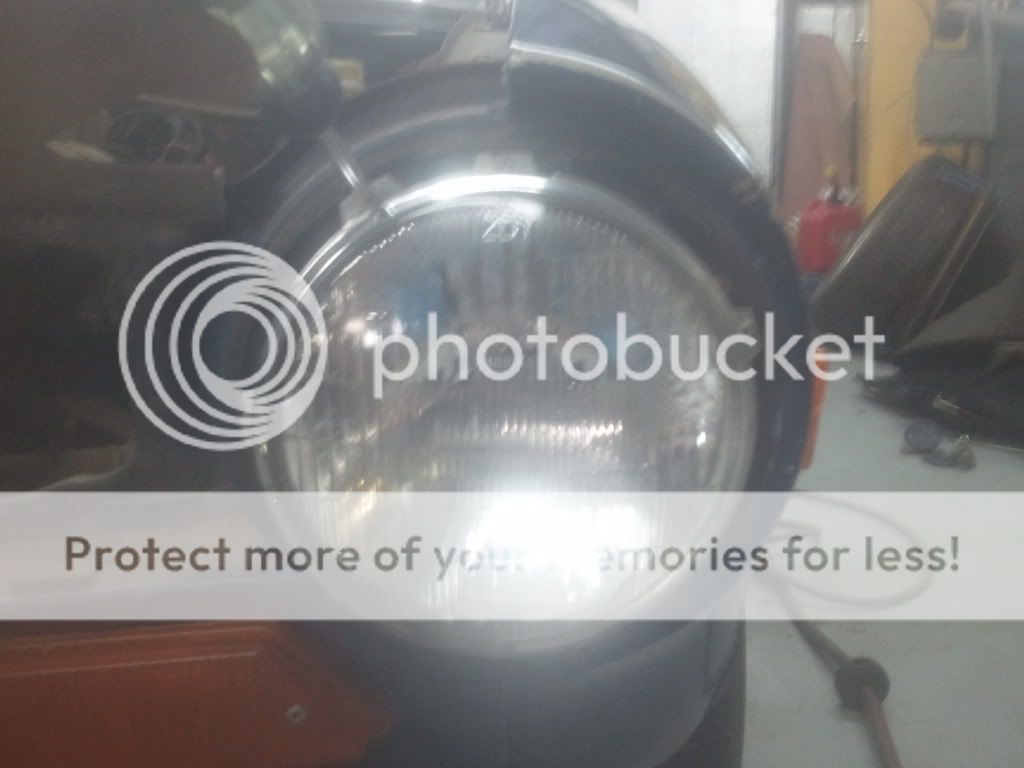
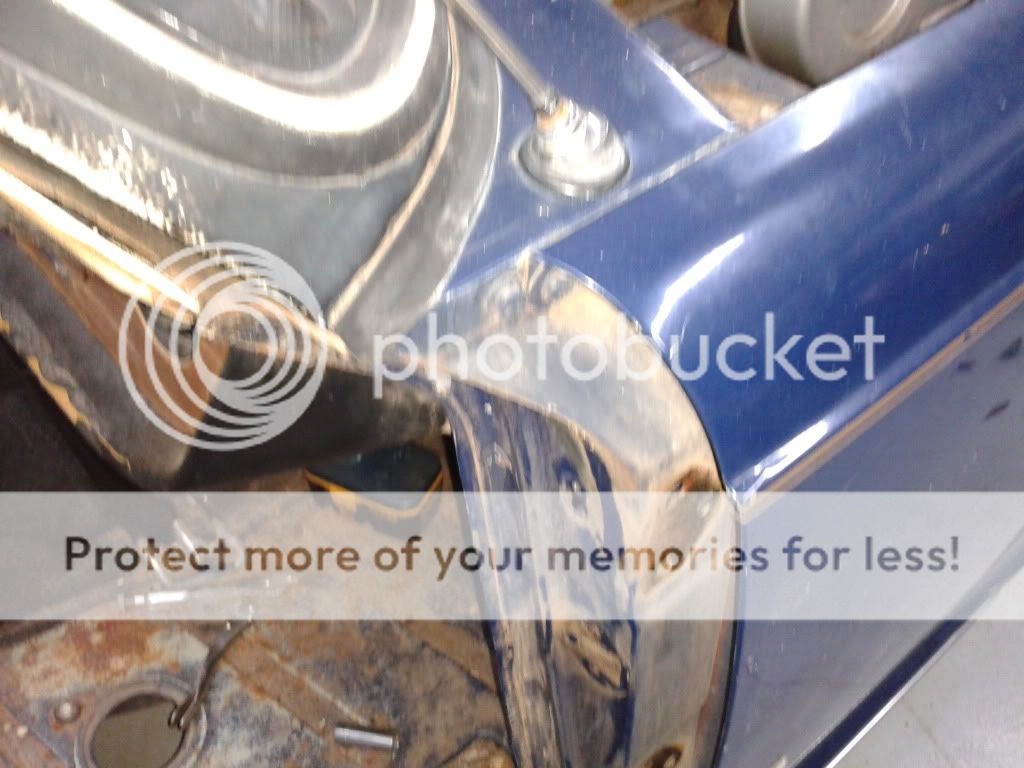
Removing the Front wings is a little more of a hassle. You have to remove the entire head light assembly.
First remove the trim ring with a screwdriver.
Then remove the three screws and withdraw the headlamp.
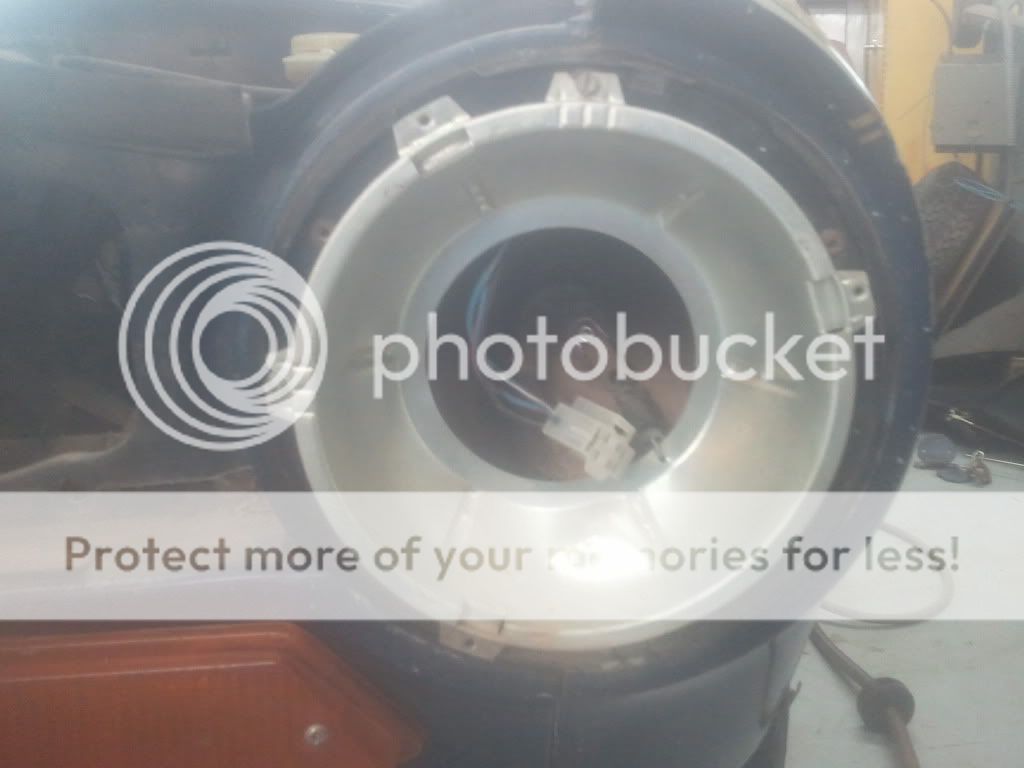
reach in and unhook the spring and remove the adjusting ring.
Now the fun starts, you need to remove the three rivets holding the headlight bucket in place.
I tried drilling them out but 2 just started spinning. A cold chisel will work but I found a high speed grinder works best.
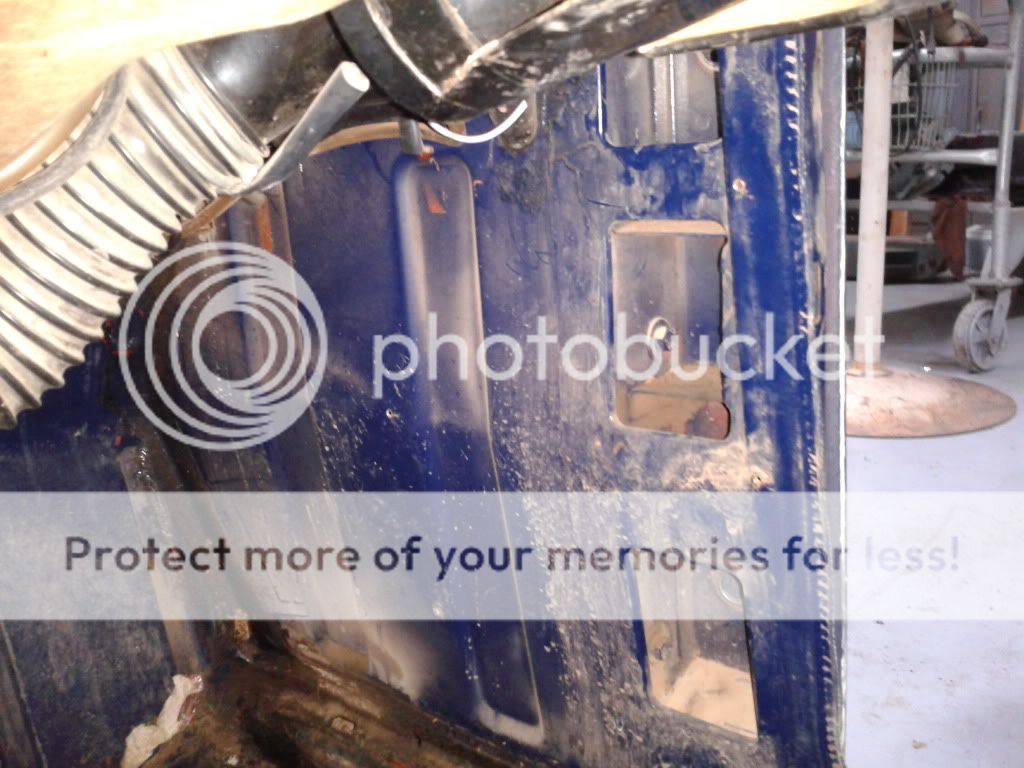
Once the headlight bucket is loose, you will need to disconnect the headlight wiring harness. Following the wires back to the engine bay and unplug the bullet connectors from the wire harness.
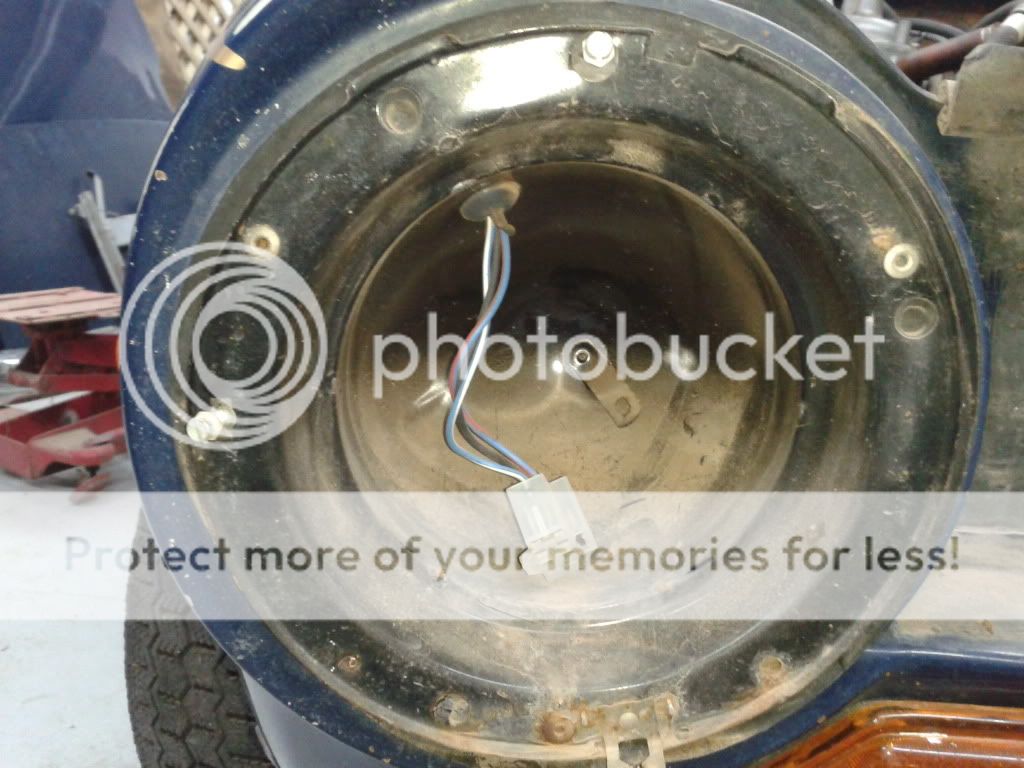
I also removed the side market light at this point. Disconnect it from the wire harness in the engine bay and remove the nuts attaching the light to the fender. (Note: the undercoating might require you to play with it a bit to get it out.
Now we need to remove the mounting kit. The wing attaches along 5 lines.
Inside the headlight space.
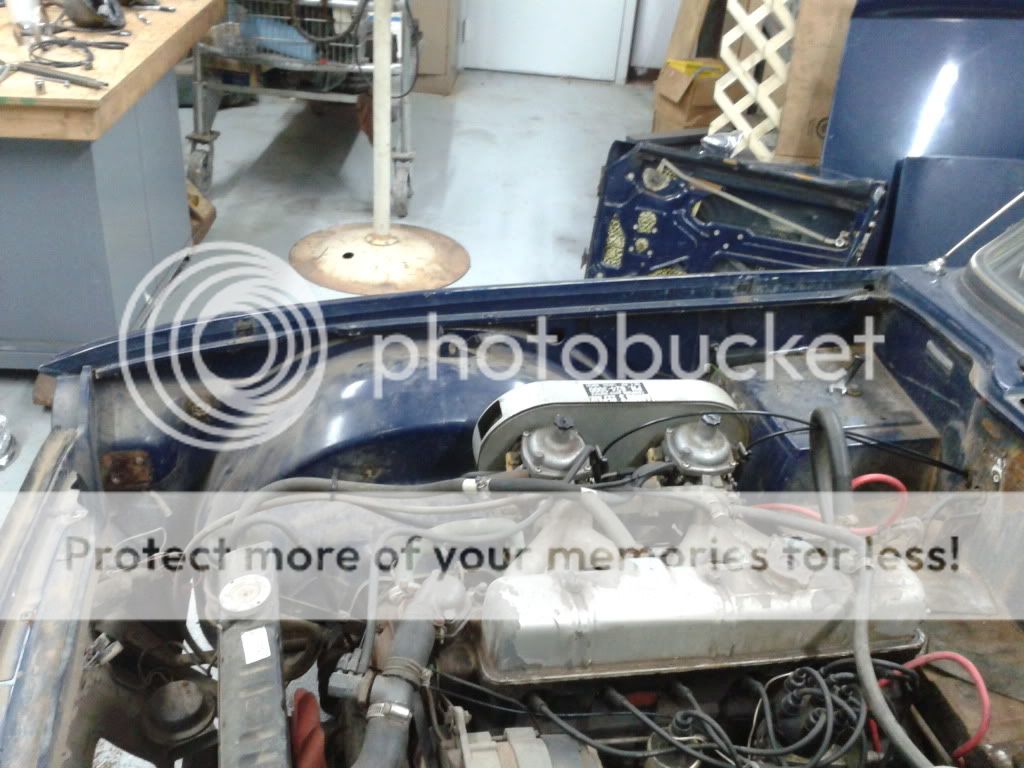
3 bolts Along the lower front of the engine bay.
Along the top of the engine bay
Don't forget the one outside the engine bay.
Three inside the cabin. They are located in the same holes as the door mounts.
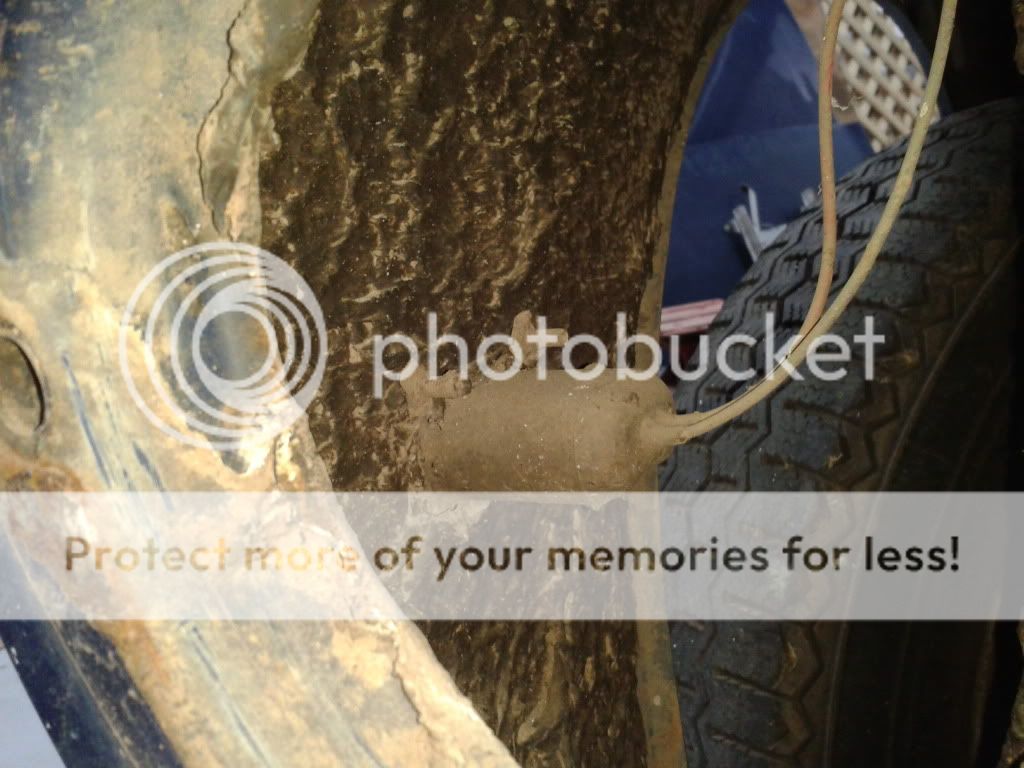
Finally, there are 3 more along the bottom of back of the fender.
img
 Hi Guest!

 Hey - did you know if you click on the title of a thread it will take you to the first unread post since you last visited that thread?
 but were afraid to ask:
  STOP!! Never post your email address in open forums. Bots can "harvest" your email! If you must share your email use a Private Message or use the
  smilie in place of the real @
 Pretty Please - add it to our Events forum(s) and add to the calendar! >>