• Hi Guest!
    You can help ensure that British Car Forum (BCF) continues to provide a great place to engage in the British car hobby! If you find BCF a beneficial community, please consider supporting our efforts with a subscription.

    There are some perks with a member upgrade!
    **Upgrade Now**
    (PS: Subscribers don't see this gawd-aweful banner
Tips
Tips

Reinforced Front Wheel Arches

David_Doan

Jedi Warrior
Country flag
Offline
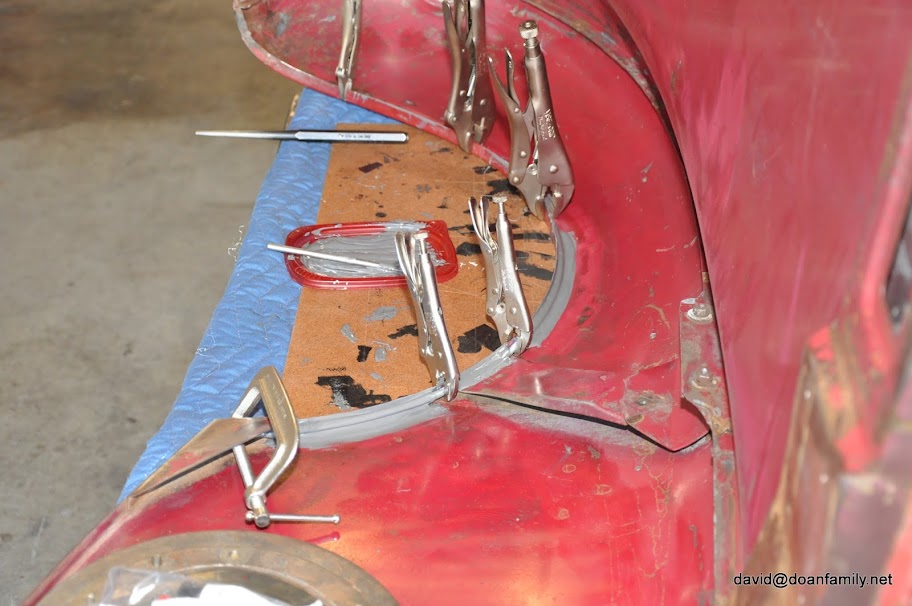
So, the wheel arches in my bonnet have the usual cracks. The common fix I have read about is to weld in 1/4" rebar. I don't weld and the local hardware stores don't carry 1/4″ rebar. I substituted 1/4″ all-thread for the rebar and JB-Weld for welding. I thought the threaded bar would work better with JB-Weld than smooth bar. I used about half a dozen pairs of vice-grips to hold the all-thread in place while gluing. When it dries I'll remove the vice-grips and glue the rest of the area. Hopefully it will hold. You can't tell in the pic, but I did sand the area to be glued with coarse sandpaper.

Update: The JB weld held solid.

DSC_0514.JPG


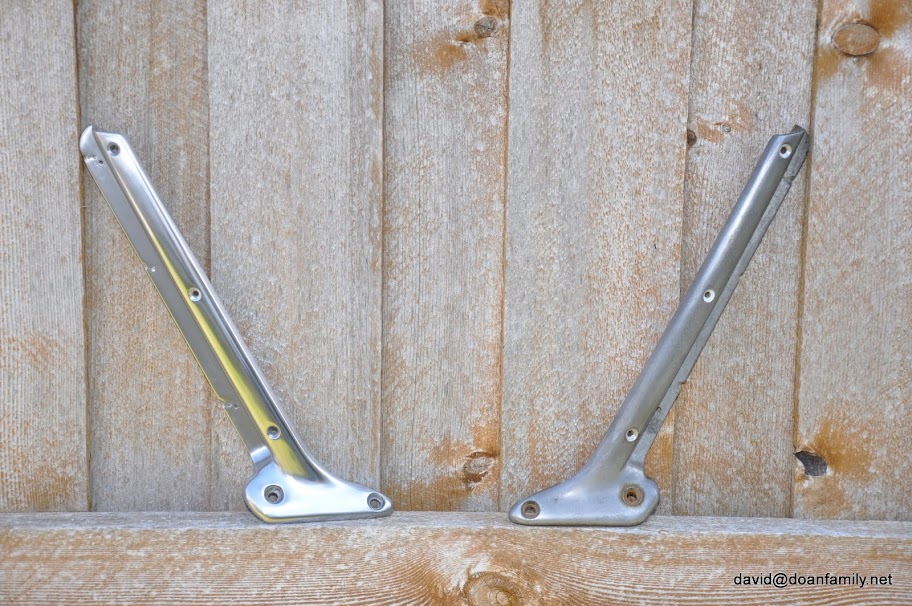
While waiting for the JB-Weld to dry, I polished one of the windshield posts.

Update: when i did the 2nd post, i was not happy with the shine. Bought more sandpaper 800, 1000, 1500. These last steps to not take long, but improve the looks significantly. Shiny with no lines or scratches at all.

DSC_0518.JPG
 
Last edited:
David,

That sure looks like and effective alternative to welding and burning holes through some thin metal like I did when I first started to try and fix Bugsy I's bonnet and the thread gives the JB Weld something to hang on to. My windshield posts on Bugsy II look like your before. Nice to know these clean up.
 
While you've got bonnet where you can take a good look at it take a look at all of the braces up in the front. around the radiator opening. Typically you will find rust in there. And if you are forward tilting want to make sure that area is strong.
 
I awalys test stuff like that afterwards before installation to make sure it'll hold. I can never get JB to stick to anything. Might be a good idea to try and pry up the ends to make sure it will hold.
 
That sure looks like and effective alternative to welding and burning holes through some thin metal like I did when I first started to try and fix Bugsy I's bonnet and the thread gives the JB Weld something to hang on to. My windshield posts on Bugsy II look like your before. Nice to know these clean up.

That's the great thing about aluminum, with enough effort you can always make it look great. I know they are supposed to be painted, but I love the look of polished aluminum. Especially on a car from the 50's, I love the metal-retro look.

While you've got bonnet where you can take a good look at it take a look at all of the braces up in the front. around the radiator opening. Typically you will find rust in there. And if you are forward tilting want to make sure that area is strong.

Mine has little rust, but I am going to do a little reinforcement.
 
I awalys test stuff like that afterwards before installation to make sure it'll hold. I can never get JB to stick to anything. Might be a good idea to try and pry up the ends to make sure it will hold.

Yep, I chickened out on taking the clamps off tonight, I'm going to let it set up for the full 24 hours. (it will actually be a week since I'm headed out of town for work.) I've had decent luck with JB-Weld with proper prep. I sanded the wheel arches with 60 grit sandpaper until the paint was gone.
 
I believe that only the original post's for the press stud 58 windshield were painted. All the later were just Al, polished. PO had mine chromed and it is flaking.

Kurt.
 
Windshield Posts::Did you strip them with something (oven cleaner) before you polished?

I have tried that in the past without success. What always works is sandpaper. Start at 60 or 80 grit to knock off the anodizing then work up to 600 (or however high you want to go). I used 60, 100, 180, 400, 600. Most of the real work goes on at 180 grit. Make sure all the rough marks from the coarse sandpaper are gone before you move on to 400 and higher. At 600 is where you will realize anything you missed and you will have to go back to 180.

Do not use a grinding wheel or a wire-brush on AL. The grinding wheel will clog. The wire brush will make it shiny but melts the surface leaving a rough, but shiny texture. For really deep scrapes or imperfections, a file works well.

Depending on how much gloss you want 0000 steel wool can also be used for the final shine. I prefer 600 or 800 grit sandpaper, then Mothers Aluminum Polish. the Mothers will make it look awesome.
 
So a sanding block or just by hand?
 
Bead blasting gives a great finish as well. It's important to follow every step in the sanding process as David says to get a good quality result.
Rut
 
Using lye as a bath will strip off the anodizing making it much easier to sand. Depending on condition, you may be able to skip 60/80 grit if soaked in lye first. I once stripped the anodizing of a 1911 frame using just sandpaper. MAN, was that a PITA!
 
So Lye as in - Oven Cleaner? Or what would I know it as?
 
running through the dishwasher seems to take the anodizing off my cook wear. What? no dear, I would never run car/scooter parts through the dishwasher, I was just making an observation.

I think chroming aluminum is immoral.
 
I'm very interested in seeing how the allthread/JBWeld experiment goes...I have to reinforce my arches very soon too.
 
Back
Top