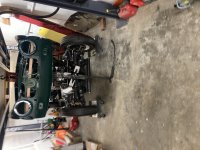
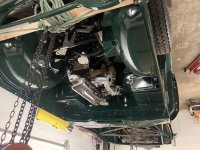
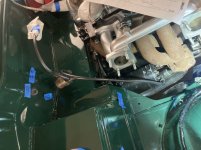
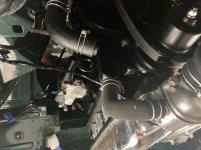
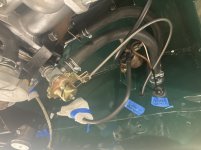
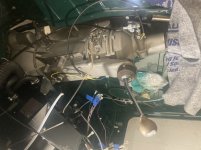
I spent this Saturday listening to the Triumph engineers in heaven (h3ll??) laughing at me: I installed the wipers. This task ideally requires four hands, each the size of a toddler with the strength of the hulk. …ok, it was not that bad, but challenging plus a few choice words, all the while trying hard not to scratch the new paint.
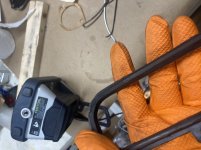
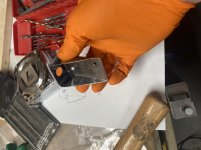
The wiper motor was disassembled, cleaned, and new brushes from Moss were installed, following this post by Alan John Turner:
> TR4/4A - Rebuildiing a wiper motor < (thank you!! I gave you a thumbs up eight years after posting)
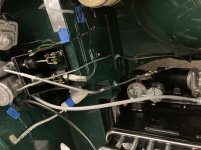
I don’t have any photos of the install (that would have required a fifth hand, plus editing to remove foul language

). But happy to answer questions.
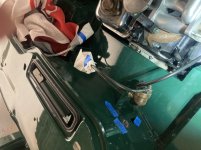
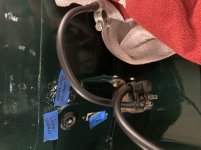
I bought 1/8” ID tubing for the wiper fluid from the hardware store (fuel tubing). I would have preferred silicone tubing for flexibility and heat / fluid resistance, but probably am overthinking this. I have not yet installed but will shortly.
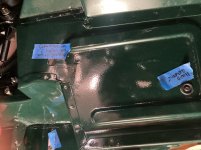
I will seal the wiper box cover plates with butyl tape. (After routing wiper tubing.)
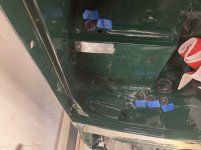
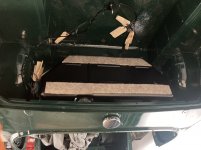
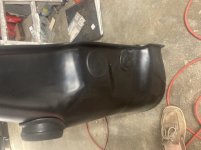
Finally, I installed the cowl vent. I trimmed the new seal, such that the top of the seal is flat - essentially changing the seal cross section from “H” to an upside down “U”. This allows the cowl to close pretty near to flat. I’ll give it a few months to compress and may trim a little more in the future. (It is difficult to cut the rubber neatly. I used an exacto knife with a fresh blade, however it might be better to trim it on while installed on the car instead of on the workbench.)
 Hey there Guest!
 Hey - did you know if you click on the title of a thread it will take you to the first unread post since you last visited that thread?
 but were afraid to ask:
  STOP!! Never post your email address in open forums. Bots can "harvest" your email! If you must share your email use a Private Message or use the
  smilie in place of the real @
 Pretty Please - add it to our Events forum(s) and add to the calendar! >>


 A friendly reminder - be careful what links you click on here. If a link is posted by someone you don't know, or the URL looks fishy, DON'T CLICK. Spammers sometimes post links that lead to sites that can infect your computer, so be mindful what you click.