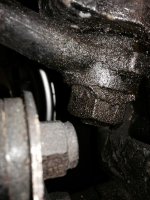
The grease is a dead give-away, it needs to be rebuilt at least. The only point in using grease is when the box is so badly worn that it won't hold oil any more. Evidently, the zerk was added because it won't even hold grease now!
The "spring top" makes no sense to me, except as a cover-up for wear and/or misadjustment. The box is designed to have some play off to the side (not straight ahead); but it mostly doesn't matter because the front suspension is always trying to pull the wheels back to straight. The only exception is at very low speeds (eg parking) where the friction of the tires on the road keeps the suspension from centering. And when properly adjusted (and not worn), the box has no play in the straight-ahead position, which is the only time it really matters.
Also, there is a lot of upwards force on the peg in a hard turn. If the spring is strong enough to not be compressed by that force, then it is going to cause a lot of extra friction. And if the force is stronger, you are still going to have play that only shows up when you are trying to make a hard corner. Not exactly the time to have the steering develop a mind of it's own!
I've never installed one myself; but several people have come to me for help with their steering boxes after installing one. The results were awful, IMO, much worse than what I know is possible without the spring. My advice to them has always been to lose the top and do the adjustment carefully; every one has said it got better after doing that.
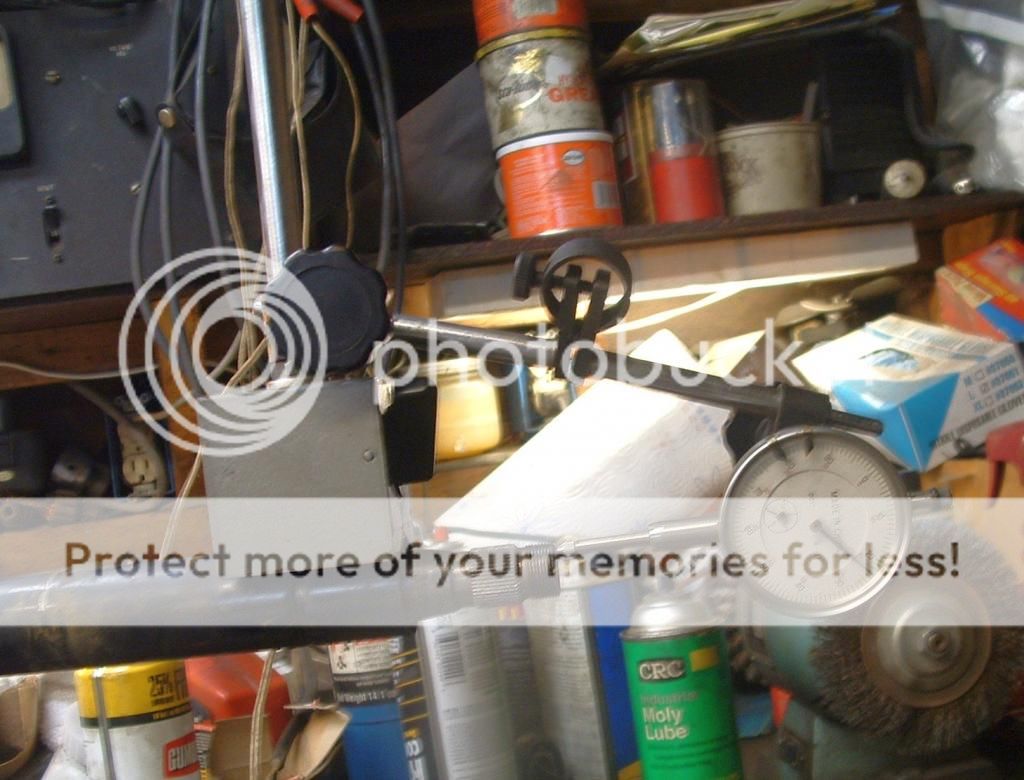
I've tried several approaches to adjustment; the one that works best for me is to hang a dial indicator on the end of the shaft (mounted to the outer column). Add a shim, then with the top adjustment backed off, observe the dial indicator while trying to move the shaft by moving the Pitman (aka drop) arm. The total indicator reading is how much shim you need to remove to get to exactly zero.
BTW, Enco almost always has an inexpensive dial indicator and magnetic base on sale for $25 or so. Definitely not the same quality as Starrett or Mitutoyo, but I've owned that one for many years now and it has served me well. Seems to be on sale for $20 at the moment.
https://www.use-enco.com/CGI/INSRIT...MKANO=388&PMKBNO=3495&PMPAGE=44&PARTPG=INLMPI
Or you can get one from HF for about the same price, but in my opinion, Enco is just a little bit better even when buying the cheap "import" grade tools.
Once the end float is set to exactly zero; center the box (without hooking up the center link or steering wheel) and tighten the top adjustment just finger-tight while rocking the shaft back and forth with your fingers. The proper adjustment is when you can just barely feel the box bind as it goes through center. Lock the nut and check it again.
I use Valvoline full synthetic GL5 gear oil in the box, as it seems to cut down on friction.
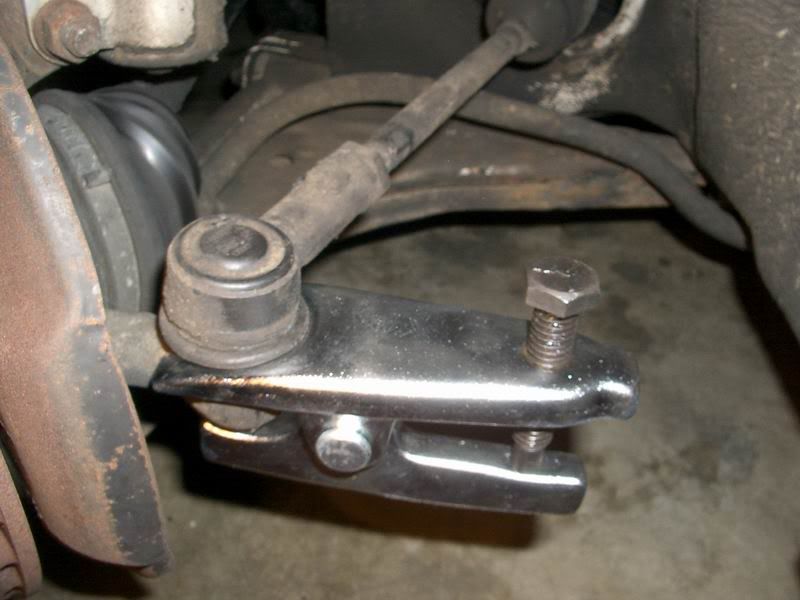
I also converted to free-turning pivots instead of the "Silentblocs". Joe didn't offer the Delrin ones back then, so mine are brass & SS from BFE. If I ever do manage to wear them out, I'll use the Delrin ones. The brass & SS ones didn't fit just right out of the bag, I had to add a shim to one of them and relieve the other one. That was some 25 years ago though, so likely no longer true today (if BFE even still sells them). I also added grease zerks so they can be greased every other blue moon.
But I converted mostly because the Silentblocs I was getting back then never seemed to last more than a few years. I doubt the change made much difference to steering effort.
Tires do make a big difference, though. I recently replaced the (NLA) Potenzas with Kumho Ecstas and the difference was quite noticeable. It's now easy to parallel park with one hand, while before it was just doable.
 Hey there Guest!
 Hey - did you know if you click on the title of a thread it will take you to the first unread post since you last visited that thread?
 but were afraid to ask:
  STOP!! Never post your email address in open forums. Bots can "harvest" your email! If you must share your email use a Private Message or use the
  smilie in place of the real @
 Pretty Please - add it to our Events forum(s) and add to the calendar! >>
 Hello,
4BQhKtUSGfw~~60_57.JPG)


 A friendly reminder - be careful what links you click on here. If a link is posted by someone you don't know, or the URL looks fishy, DON'T CLICK. Spammers sometimes post links that lead to sites that can infect your computer, so be mindful what you click.