 Hey there Guest!
 Hey - did you know if you click on the title of a thread it will take you to the first unread post since you last visited that thread?
 but were afraid to ask:
  STOP!! Never post your email address in open forums. Bots can "harvest" your email! If you must share your email use a Private Message or use the
  smilie in place of the real @
 Pretty Please - add it to our Events forum(s) and add to the calendar! >>
CJD
Yoda
Offline
This will be the last of my big TR2 restoration threads. I say TR2, but with a few slight changes to patterns and shapes, all Triumph interiors are installed the same way. I am no expert in this, so if anyone has a better technique or suggestion...please chime in! I won;t get my feelings hurt and I always like to learn new ways of doing things.
My first dabbling in upholstery was replacing the seats in my 1970 scout, over 50 years ago now. The first thing that caught my attention as I progressed to different upholstery jobs in many different marks is that, for the most part, modern upholstery is still a throwback to the 17th century horse and buggy days! In the last 300 years I think the biggest change has been the power stapler in place of tacks and hammer. But the rest of it is the same. Synthetic leather, or vinyl was a big change, but from a practical view it still works and handles the same as leather.
So let's get going! I'll start with a quick break down of the supplies I have been collecting for the job. My TR2 is as bad as an interior could get. Anything of steel dissolved. Anything of vinyl or leather cracked and crumbled. There is absolutely nothing I could re-use. I hope most of you are able to save at least a panel here and there!
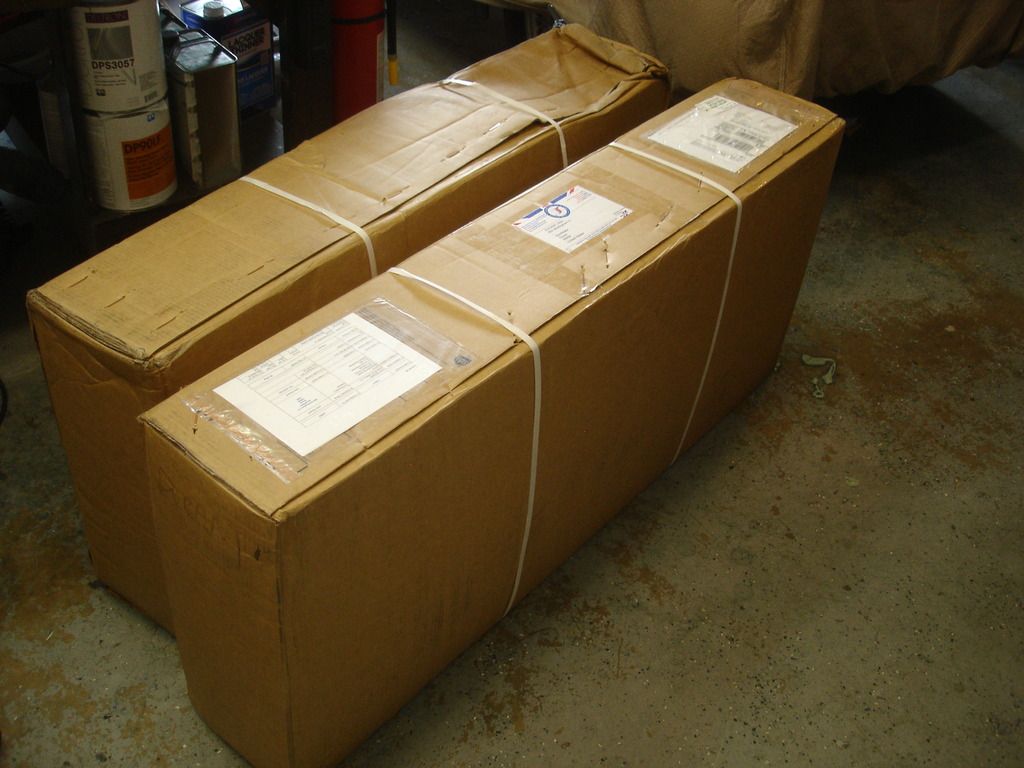
These are the boxes from Jonathon Skinner in the UK. I have used kits from TRF and Moss, and have no real complaints about any of them. This time around the exchange rate made it cheaper to order out of the UK, and Jonathon has a long standing reputation for quality. Moss and TRF have sales on upholstery at least every year, so when the rate against the pound goes up, you can save 20% domestically if you wait for a sale.
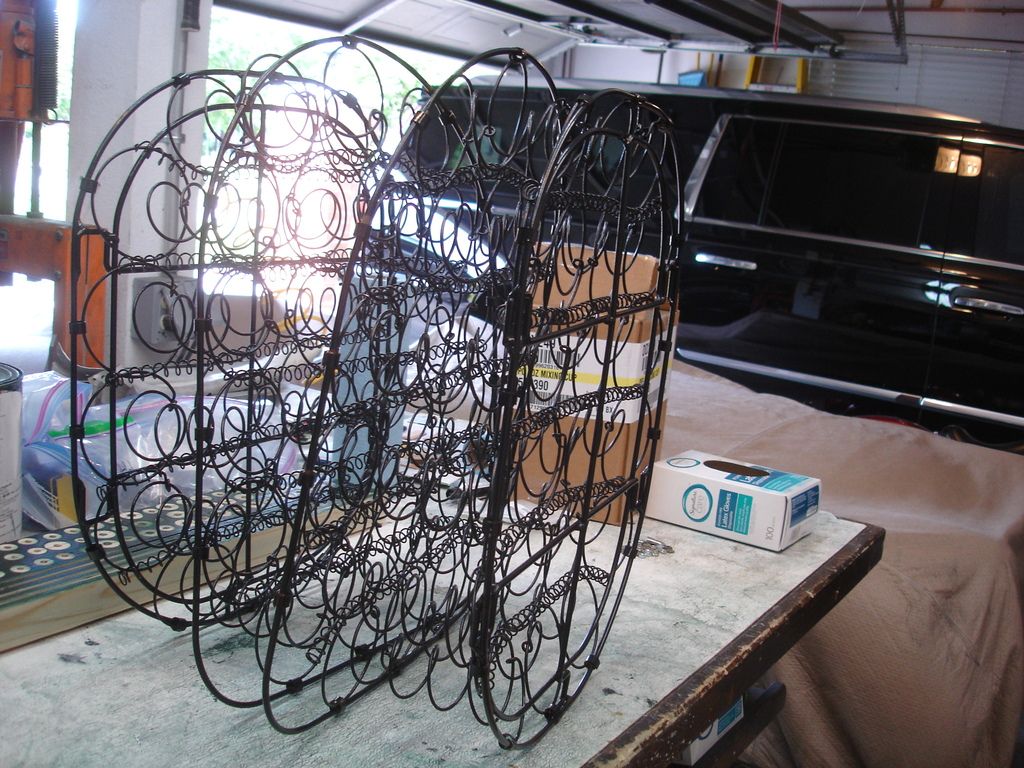
One part that seems to go fast are the seat pans and seat springs. I guess that's 2 parts!?! In fact, it is near impossible to find used in any condition worth using...I shopped Ebay and word of mouth for 4 years, and finally ordered these from Rimmer Bros. Again, only because of the exchange rate.
The bonus of getting new seat pans is they come painted. Hoorah! If yours are salvagable, they will still need to be stripped welded and re-painted. I have yet to see a pan that is not cracked around the rear bolt holes. The springs did not come painted, so I sprayed a coat of rustoleum over them to slow their demise due to occasional rain showers with the hood off.
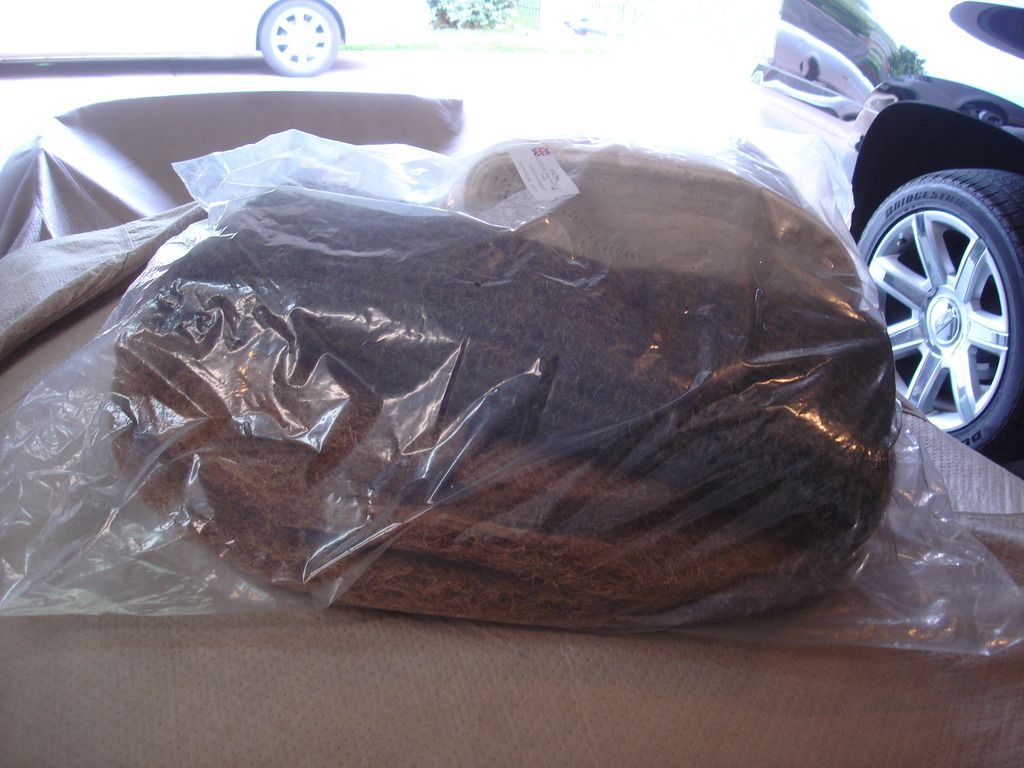
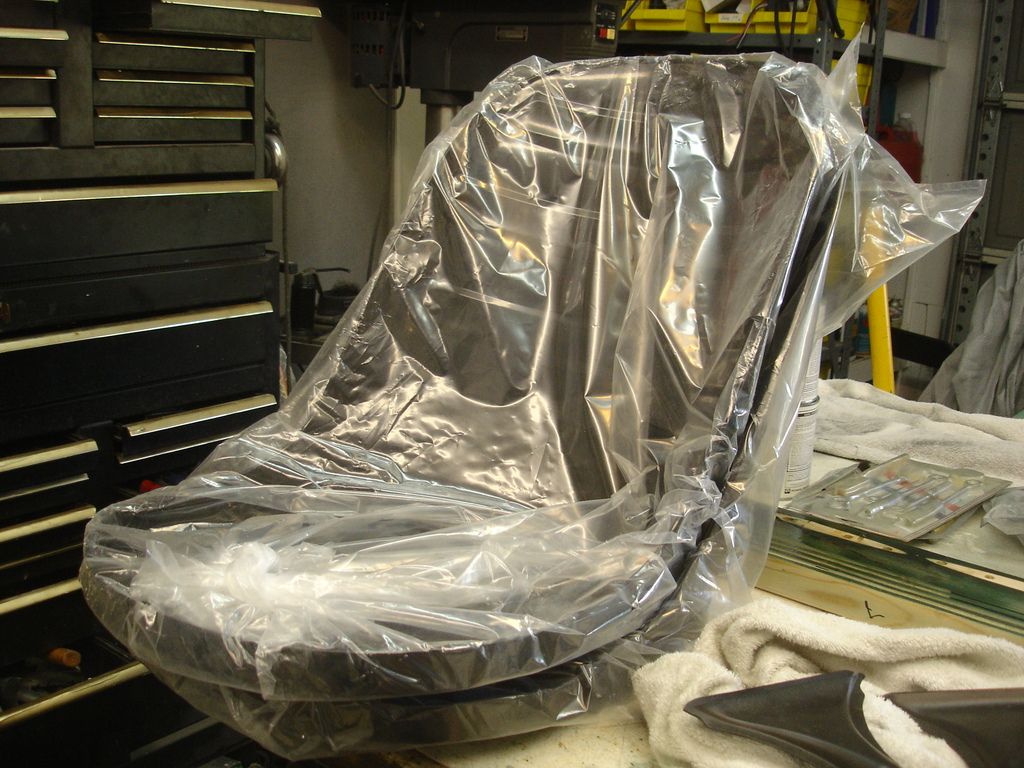
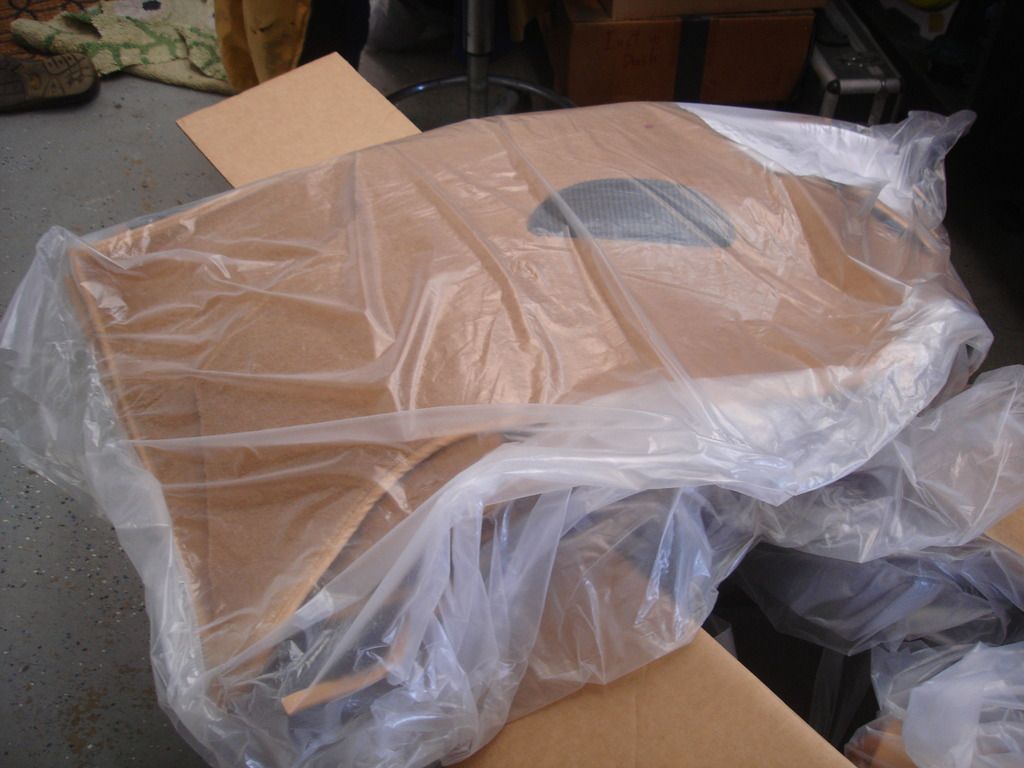
This is a seat padding kit from Moss. The original padding was horse hair. Like, REAL Horse hair. Remember what I said about the 17th century? Anyway, horse hair is hard to find in mats anymore, so these kits use some kind of Jute looking fiber that emulates the horse hair. There are also foam padding kits around. They are probably more comfortable AND easier to install. For now we'll be using the original style padding kit. Maybe someone else can show pics of the foam kits when we get to them!
I did not order the sidescreens. I did ask Jonathon to supply extra matching PVC covering for them, so I could sew them up later. Note I say PVC. It turns out that vinyl exposed to sunlight is actually PVC plastic. Those covers include the hood, tannau, and stick cover. The interior vinyl is, well, really vinyl! Small point. The important thing to remember is the PVC is cotton cloth backed, and it does not stretch much. The interior vinyl is polyester backed, and stretches a good bit.
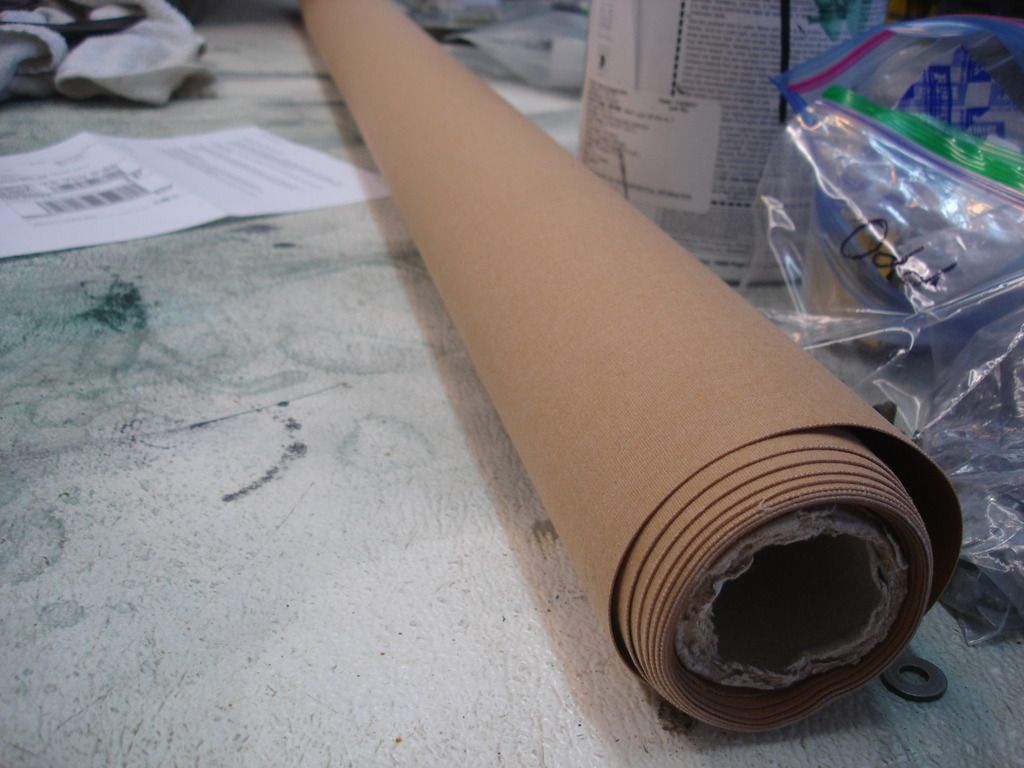
This is jute pad kit. Jonathon seems to include much more padding than was original. The original was only a pad here and there. More has to be better, right? Anyway, it insulates and doesn't show.
This kit is the tacking strip kit for the seats. These will rivet to the metal seat pans and provide a medium to staple the edges of the seat covers to. Original seats will already have the tack strips, but make sure they have not rotted and will hold a staple.
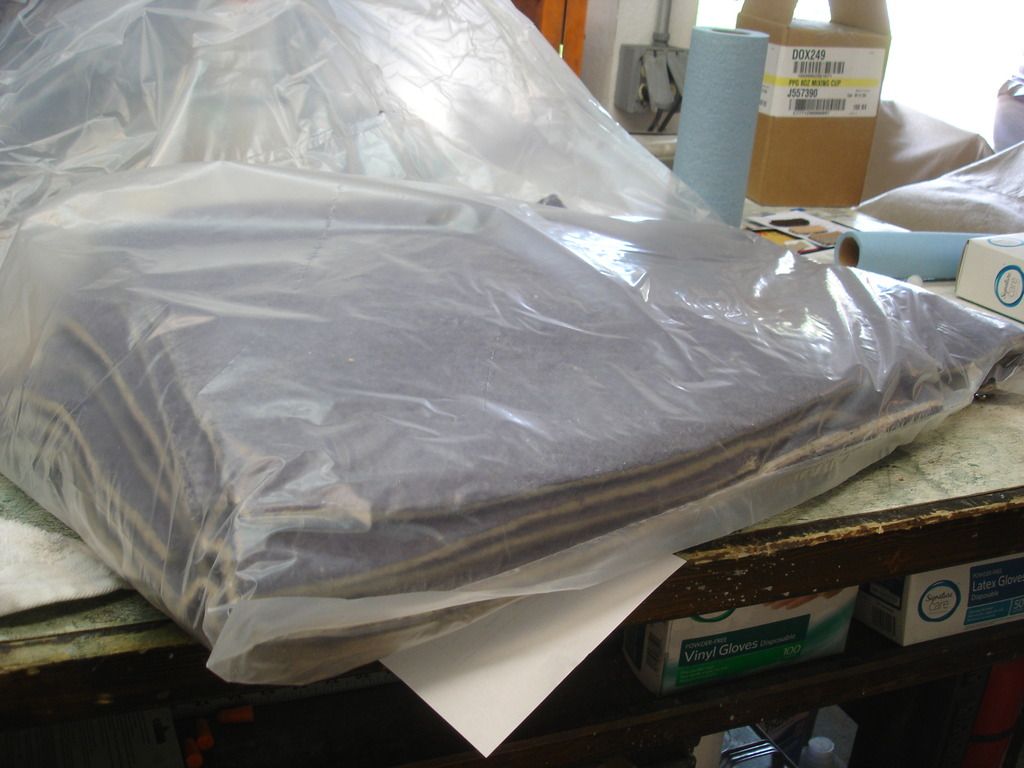
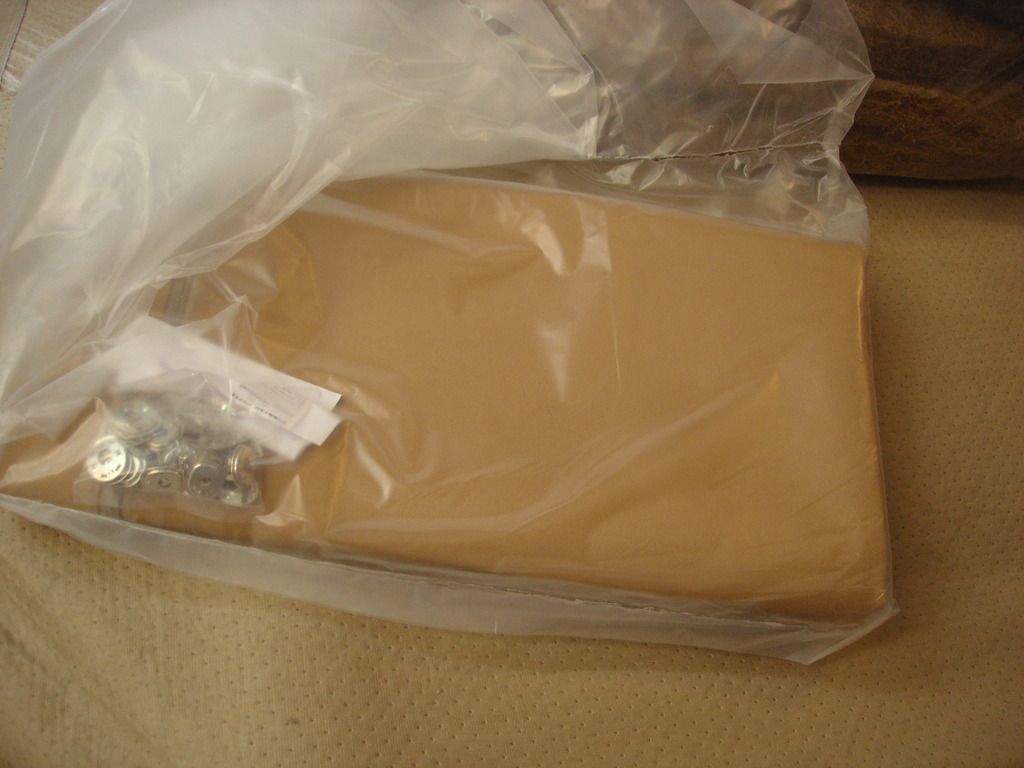
This is both sides of the "panel kit". It includes all the panels that go in the cabin space.
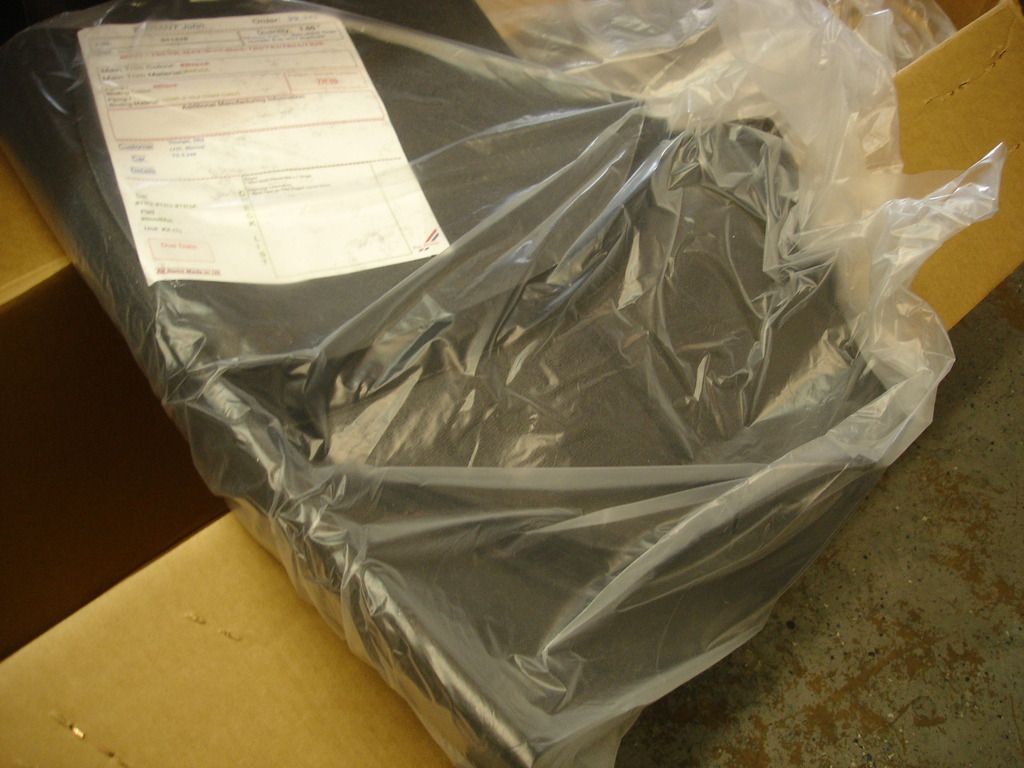
This is the tank cover for the boot. In my year TR2 it was always black. Later cars were body or interior colored, depending on the year.
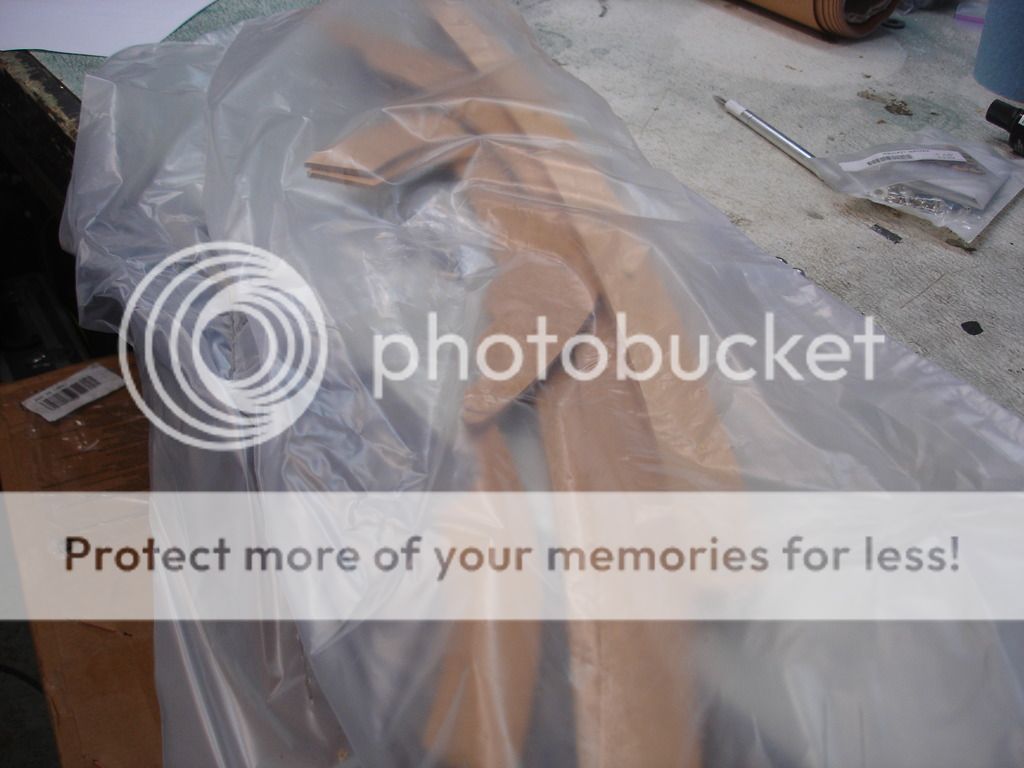
This is the rubber padding along the top of the doors.
Hard to believe it...but this tiny bag is the entire hood! I had to open this one to make sure, it was so compact. Here I did find an issue with the Skinner kit. My car uses all tenax fasteners. If you have a sharp eye, the hood and tannau were sent with lift-a-dot retainers. I have an email out to see if they will send the correct ones.
This is the carpet set.
This is the boot carpet set. Again, only the early TR2's had black boots.
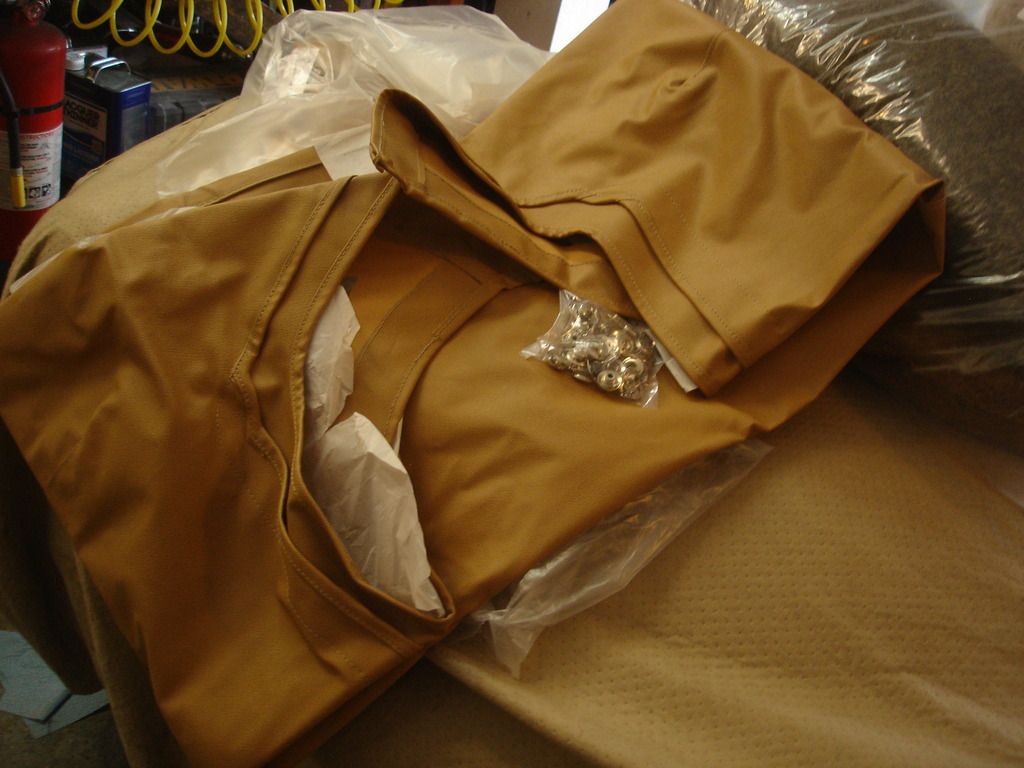
And...the seat covers, front and back.
Well, that's where we start. The only other part I need is a snap kit for the carpet, and a trim screw kit for the interior panels. I ordered the snaps and screws from Jonathon. The snaps look perfect. The screws came with phillips heads. Bummer. Our cars do not use phillips!! A trim screw is very obvious and will give away a non-original restoration in a flash. So, call tomorrow to TRF...
We'll get started tomorrow on the dash covering. That has to be done before we can install the gages.
Until then!
My first dabbling in upholstery was replacing the seats in my 1970 scout, over 50 years ago now. The first thing that caught my attention as I progressed to different upholstery jobs in many different marks is that, for the most part, modern upholstery is still a throwback to the 17th century horse and buggy days! In the last 300 years I think the biggest change has been the power stapler in place of tacks and hammer. But the rest of it is the same. Synthetic leather, or vinyl was a big change, but from a practical view it still works and handles the same as leather.
So let's get going! I'll start with a quick break down of the supplies I have been collecting for the job. My TR2 is as bad as an interior could get. Anything of steel dissolved. Anything of vinyl or leather cracked and crumbled. There is absolutely nothing I could re-use. I hope most of you are able to save at least a panel here and there!


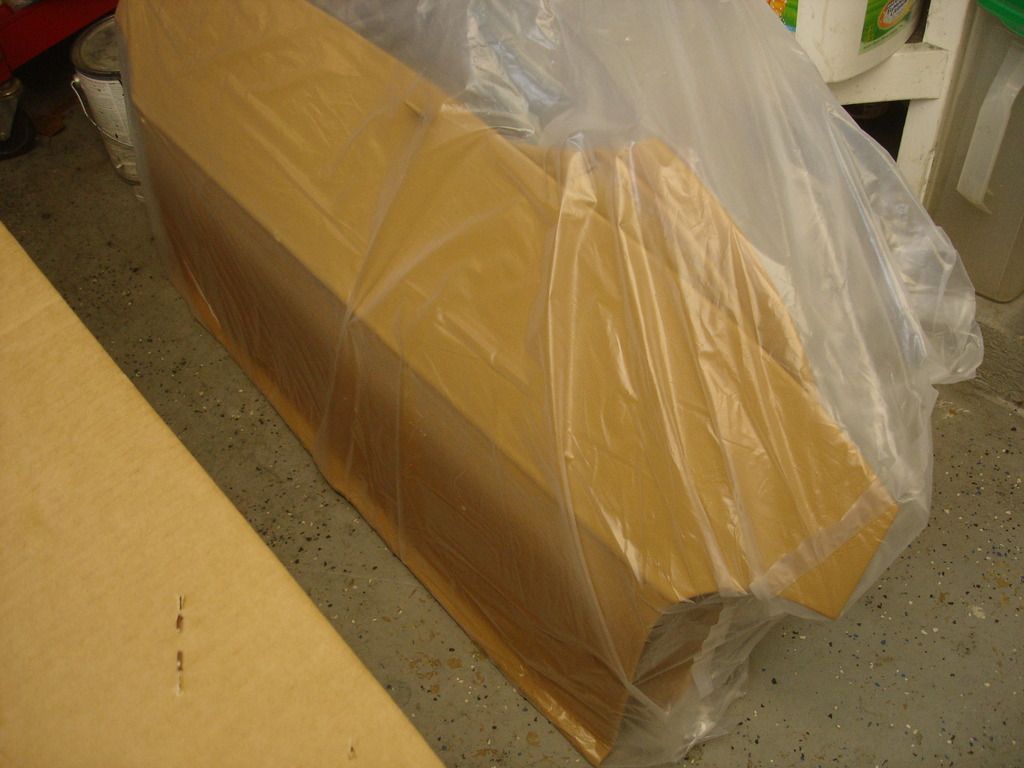
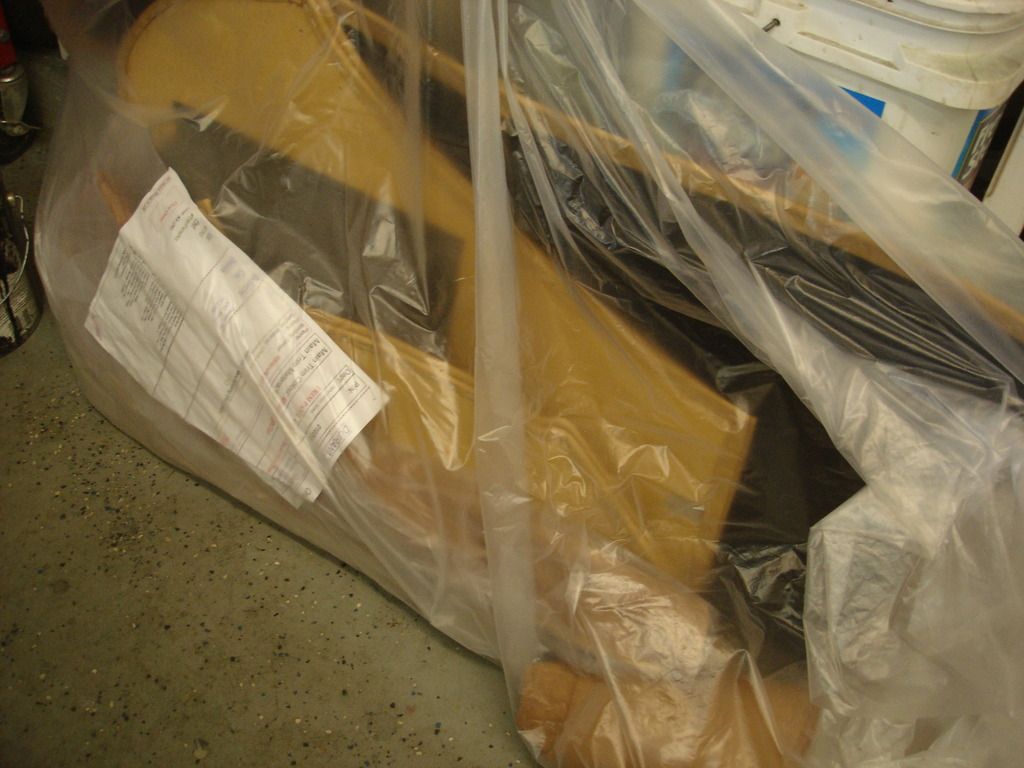
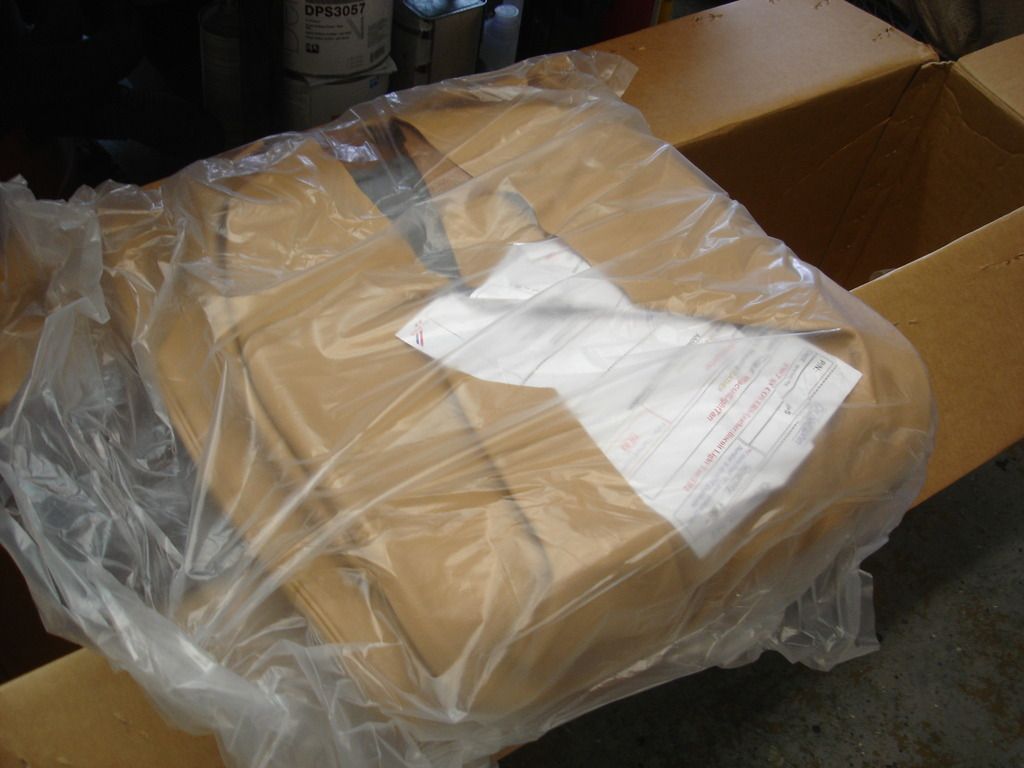
These are the boxes from Jonathon Skinner in the UK. I have used kits from TRF and Moss, and have no real complaints about any of them. This time around the exchange rate made it cheaper to order out of the UK, and Jonathon has a long standing reputation for quality. Moss and TRF have sales on upholstery at least every year, so when the rate against the pound goes up, you can save 20% domestically if you wait for a sale.


One part that seems to go fast are the seat pans and seat springs. I guess that's 2 parts!?! In fact, it is near impossible to find used in any condition worth using...I shopped Ebay and word of mouth for 4 years, and finally ordered these from Rimmer Bros. Again, only because of the exchange rate.
The bonus of getting new seat pans is they come painted. Hoorah! If yours are salvagable, they will still need to be stripped welded and re-painted. I have yet to see a pan that is not cracked around the rear bolt holes. The springs did not come painted, so I sprayed a coat of rustoleum over them to slow their demise due to occasional rain showers with the hood off.

This is a seat padding kit from Moss. The original padding was horse hair. Like, REAL Horse hair. Remember what I said about the 17th century? Anyway, horse hair is hard to find in mats anymore, so these kits use some kind of Jute looking fiber that emulates the horse hair. There are also foam padding kits around. They are probably more comfortable AND easier to install. For now we'll be using the original style padding kit. Maybe someone else can show pics of the foam kits when we get to them!

I did not order the sidescreens. I did ask Jonathon to supply extra matching PVC covering for them, so I could sew them up later. Note I say PVC. It turns out that vinyl exposed to sunlight is actually PVC plastic. Those covers include the hood, tannau, and stick cover. The interior vinyl is, well, really vinyl! Small point. The important thing to remember is the PVC is cotton cloth backed, and it does not stretch much. The interior vinyl is polyester backed, and stretches a good bit.

This is jute pad kit. Jonathon seems to include much more padding than was original. The original was only a pad here and there. More has to be better, right? Anyway, it insulates and doesn't show.

This kit is the tacking strip kit for the seats. These will rivet to the metal seat pans and provide a medium to staple the edges of the seat covers to. Original seats will already have the tack strips, but make sure they have not rotted and will hold a staple.


This is both sides of the "panel kit". It includes all the panels that go in the cabin space.

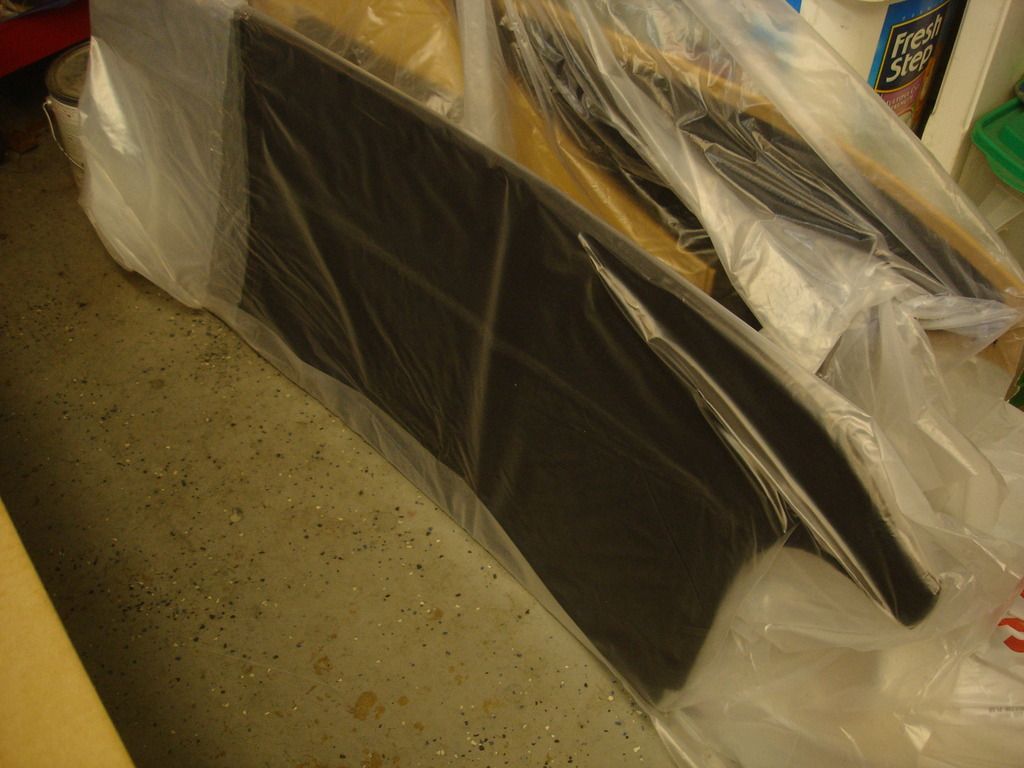
This is the tank cover for the boot. In my year TR2 it was always black. Later cars were body or interior colored, depending on the year.

This is the rubber padding along the top of the doors.


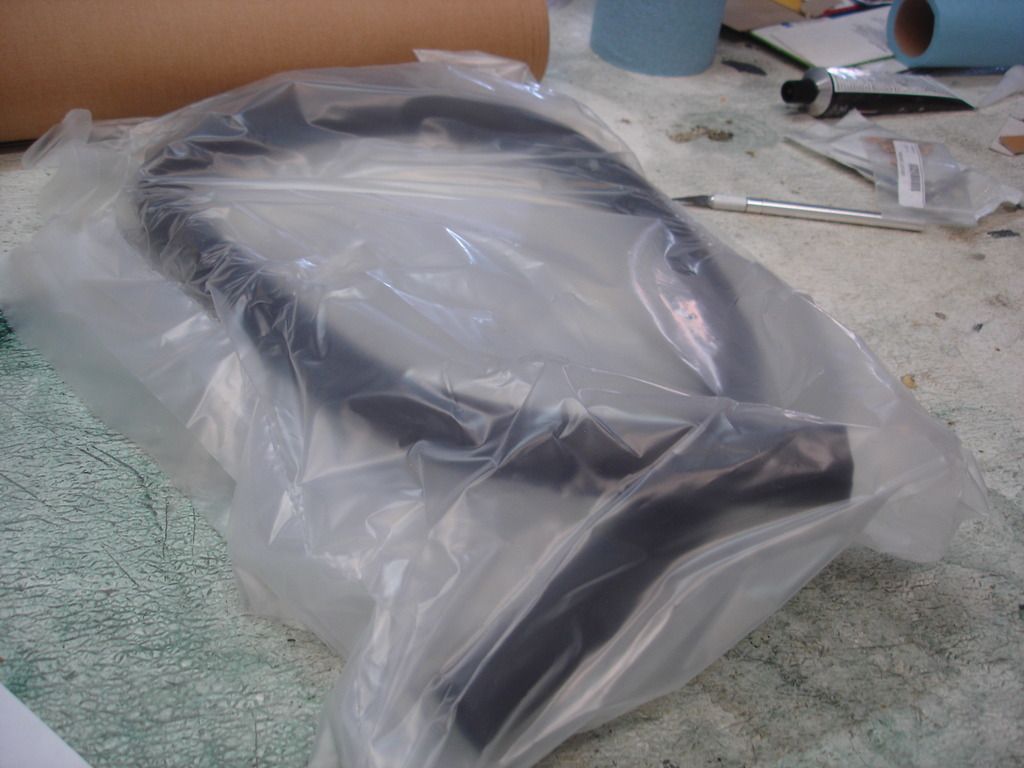
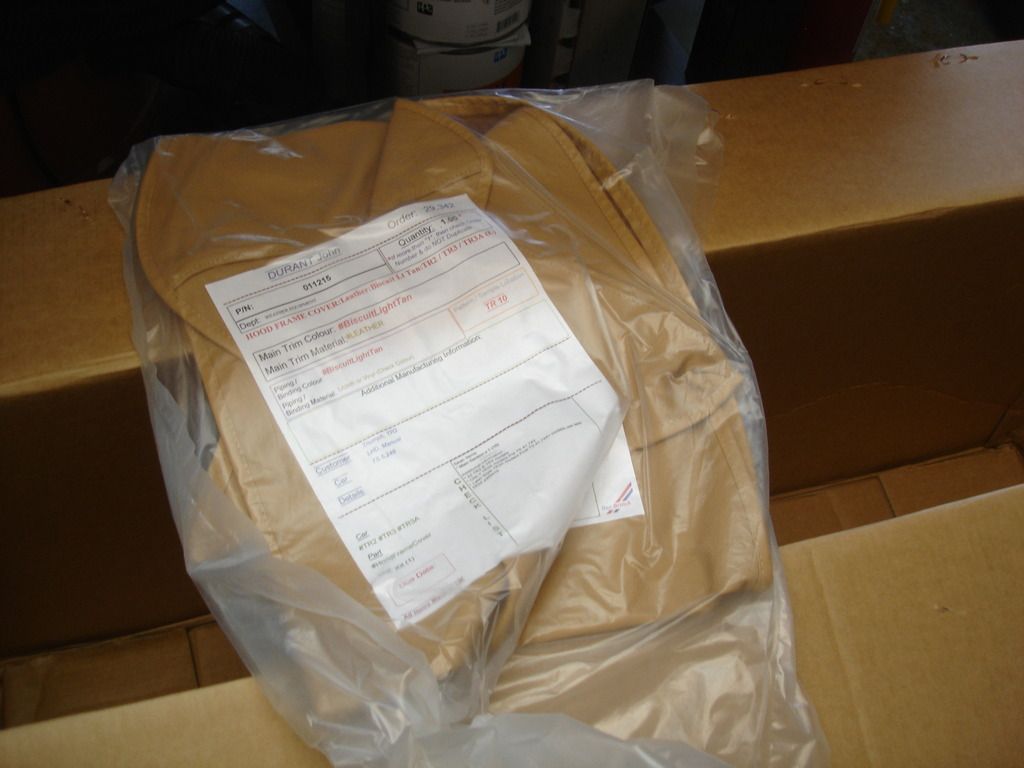
Hard to believe it...but this tiny bag is the entire hood! I had to open this one to make sure, it was so compact. Here I did find an issue with the Skinner kit. My car uses all tenax fasteners. If you have a sharp eye, the hood and tannau were sent with lift-a-dot retainers. I have an email out to see if they will send the correct ones.

This is the carpet set.

This is the boot carpet set. Again, only the early TR2's had black boots.


And...the seat covers, front and back.
Well, that's where we start. The only other part I need is a snap kit for the carpet, and a trim screw kit for the interior panels. I ordered the snaps and screws from Jonathon. The snaps look perfect. The screws came with phillips heads. Bummer. Our cars do not use phillips!! A trim screw is very obvious and will give away a non-original restoration in a flash. So, call tomorrow to TRF...
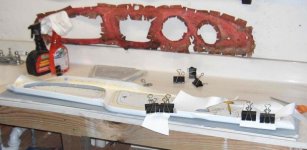
We'll get started tomorrow on the dash covering. That has to be done before we can install the gages.
Until then!
Last edited:


 A friendly reminder - be careful what links you click on here. If a link is posted by someone you don't know, or the URL looks fishy, DON'T CLICK. Spammers sometimes post links that lead to sites that can infect your computer, so be mindful what you click.